Iridescent Christmas ornaments work best when the shifting color or reflective detail supports a recognizable silhouette instead of competing with it. This collection ranges from flat snowflakes, stars, bells, and trees to dimensional baubles, stockings, mittens, pudding ornaments, and snowmen. That gives you several ways to introduce an iridescent look: around an outer edge, in a contrasting cuff, through embroidery, or as a smaller accent against a quieter main color.
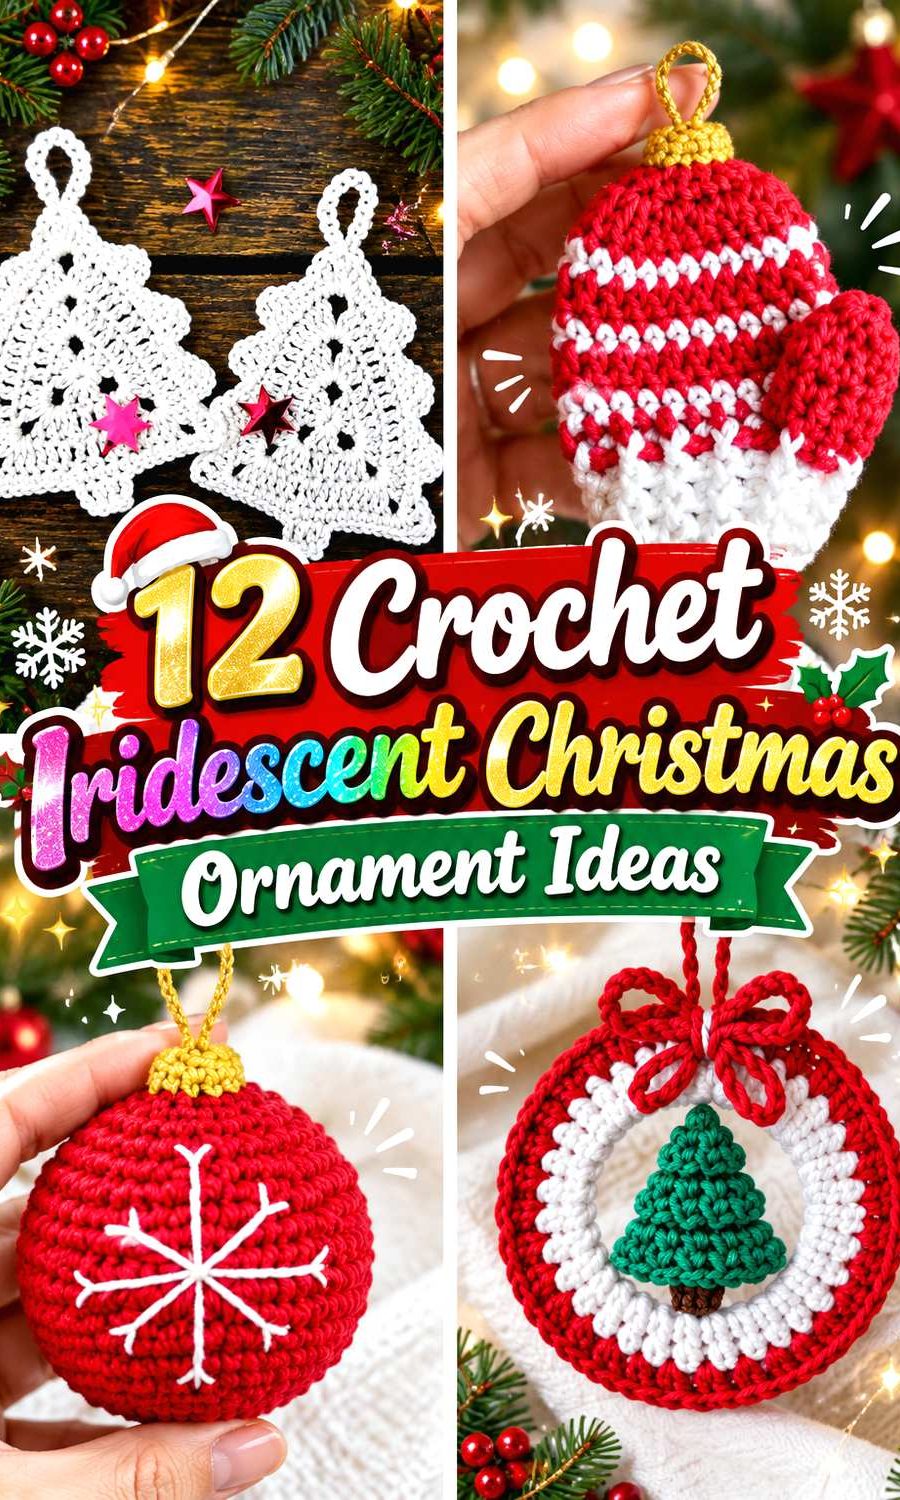
The linked tutorials establish the underlying ornament constructions. Except where a source specifically includes sparkle, the iridescent treatments below are suggested adaptations rather than features claimed by the creator. That distinction is useful when choosing a project: a subtle carry-along effect may suit an open snowflake, while a more concentrated shimmering accent can keep a tiny stocking or mitten easy to read from across the tree.
Quick List
- Crochet Snowflake Ornament with Sparkly Outer Detail
- Crochet Bell Ornament with an Iridescent Edge
- Crochet Candy Cane Ornament with Color-Shift Spirals
- Crochet Star Ornament with Pearly Contrast
- Crochet Icicle Ornament with Shimmering Coil
- Crochet Wreath Ornament with Iridescent Accent
- Crochet Bauble Ornament with Color-Shift Embroidery
- Crochet Stocking Ornament with a Shimmering Cuff
- Crochet Christmas Tree Ornament with Shimmer Highlights
- Crochet Mitten Ornament with an Iridescent Cuff
- Crochet Christmas Pudding Ornament with Pearly Icing
- Crochet Snowman Ornament with Shimmer Accessories
Where Iridescent Detail Works Best
“Iridescent” describes the visual finish rather than a particular crochet construction, so it helps to decide where that effect should appear before changing materials. Open shapes such as snowflakes, stars, bells, and trees already have plenty of outline and negative space. Concentrating a color-shifting strand around the perimeter can emphasize those edges without obscuring them.
Dimensional ornaments offer a different choice. A bauble can carry decorative embroidery, a stocking has a natural cuff, and a snowman already has separate accessories. Those boundaries give you places to add shimmer without making every stitch compete for attention. If you substitute a different yarn for the tutorial material, first check how it behaves in a small sample rather than assuming the original tension, dimensions, or firmness will remain unchanged.
Choose Flat or Dimensional Ornaments for the Display
Flat ornaments are useful when you want clear silhouettes and relatively little visual bulk. Snowflakes, bells, stars, trees, wreaths, and icicles can also sit comfortably among more dimensional decorations because their outlines remain the main feature.
Baubles, stockings, mittens, puddings, and snowmen introduce more depth. That extra volume can make iridescent accents visible from several angles, but it also means stuffing, shaping, or small attached details may become part of the construction. Before making a whole coordinated set, try one ornament in the intended display area. Look at it both close up and from the normal viewing distance; that simple check tells you whether your iridescent element reads as a deliberate highlight or simply disappears among surrounding lights and decorations.
1. Crochet Snowflake Ornament with Sparkly Outer Detail
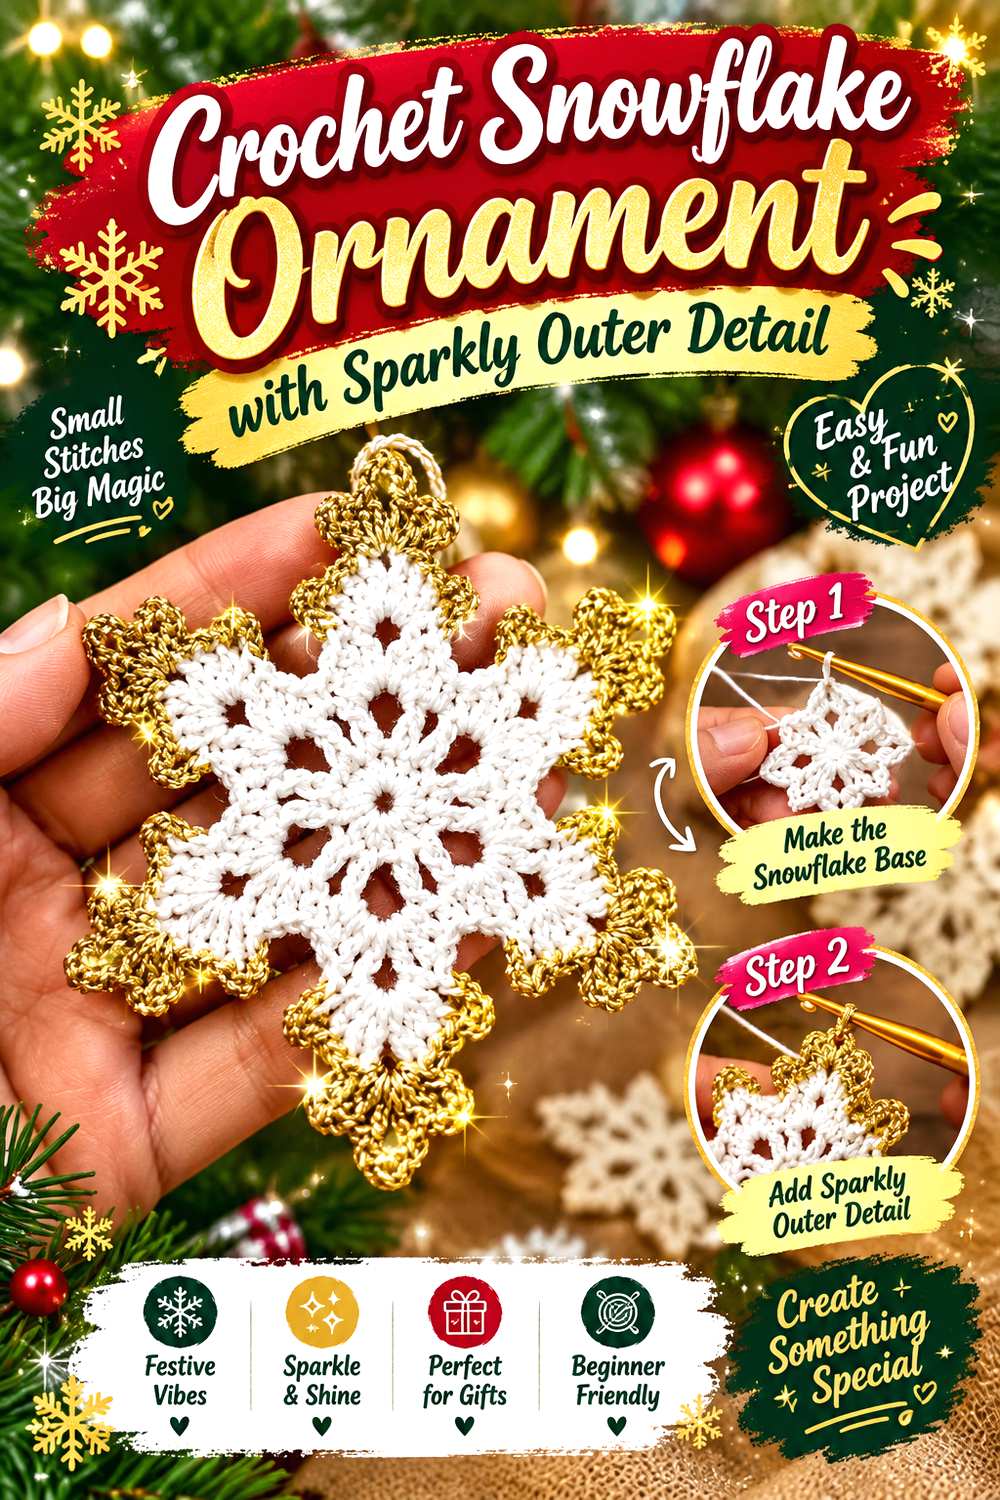
A snowflake is one of the strongest places to use shimmer because its interest comes from repeated points, openings, and an outer contour rather than from a solid block of color. The Crochet Craftsman tutorial is especially relevant to this collection because it explicitly includes an optional sparkly yarn in the final round, after the main snowflake has already been established. The source also covers finishing and shaping.
For an iridescent interpretation, that outer-detail approach is more controlled than replacing every strand from the beginning. You can keep the center readable and reserve the shifting color for the features that catch light around the perimeter. If your chosen iridescent yarn differs noticeably from the main yarn, test a small section before committing to the full final round. The visual goal is a crisp snowflake first and a reflective finish second.
Put the Color Shift Around the Outline
The perimeter is where a snowflake’s geometry is easiest to see. A restrained iridescent final round can therefore create contrast without requiring a second decorative motif. It also lets you compare the effect against the quieter central rounds as you work.
If the reflective strand visually overwhelms the stitches, consider using it only for selected outer details rather than every available section. That is an adaptation choice, not part of the source instructions, so keep the tutorial construction intact while deciding how much shine the finished ornament needs.
Treat Shaping as Part of the Design
The source includes shaping guidance, which matters because an irregular outline can distract from the color effect. Before changing the tutorial’s material choices, check how your substitute responds to the creator’s finishing method.
A reflective or specialty strand may behave differently from the main yarn, so avoid assuming that the same finishing treatment will produce an identical result. The useful question is whether the points and spaces remain distinct after finishing. If they do, the shimmer can act as an accent rather than camouflage.
Creator: Crochet Craftsman
2. Crochet Bell Ornament with an Iridescent Edge
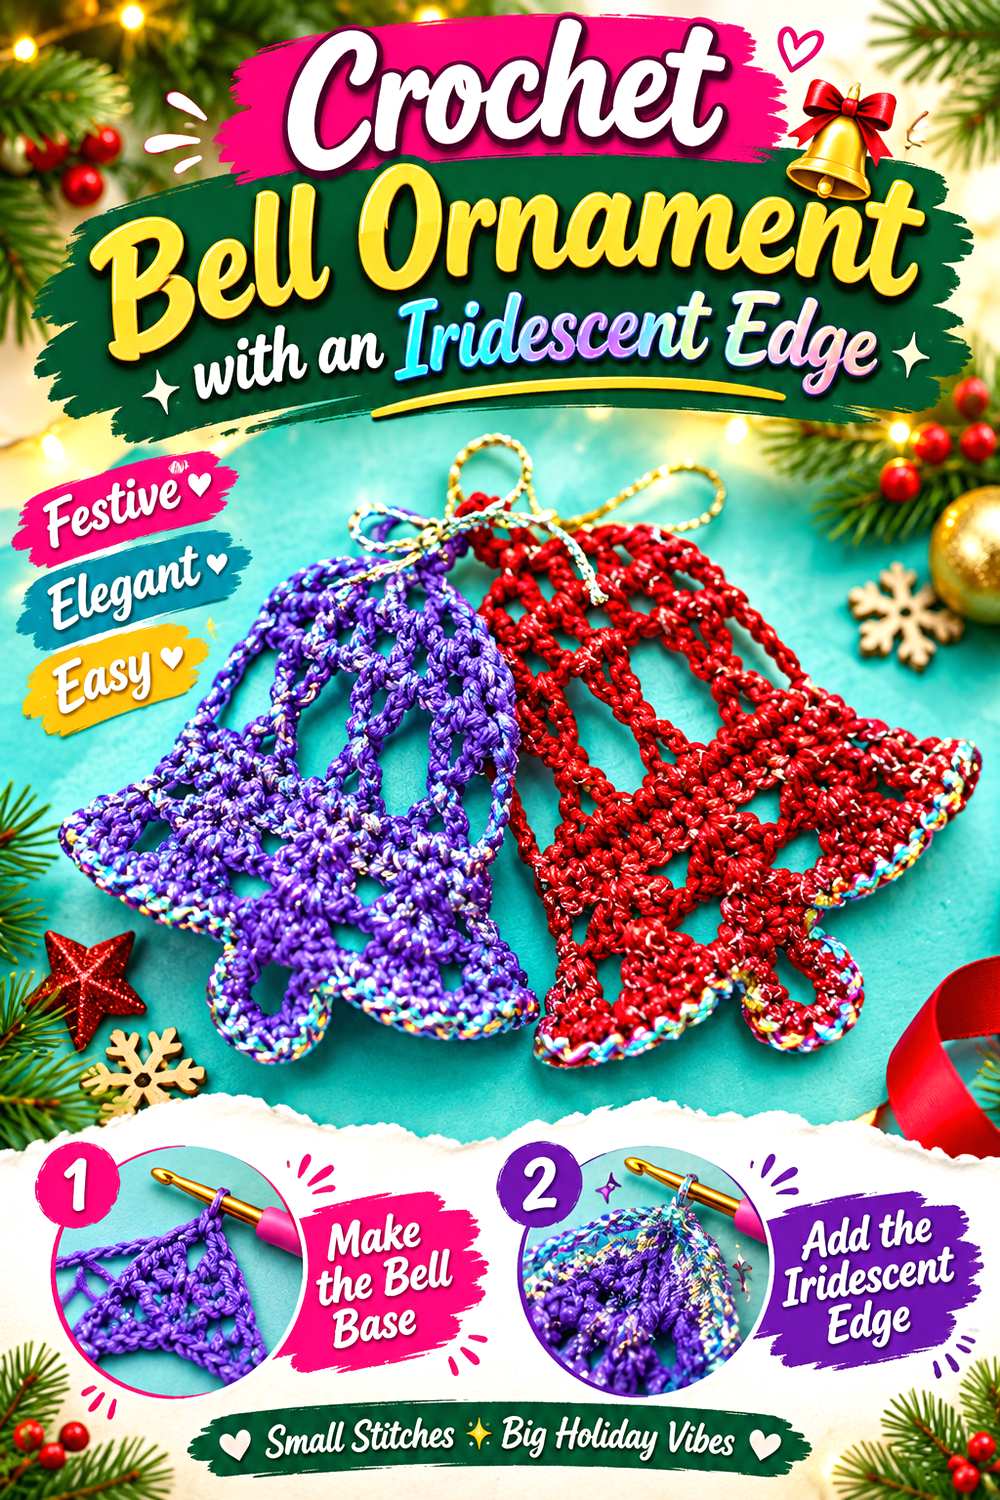
This bell offers a flatter alternative to a stuffed Christmas decoration. Crochet with Tuula Maaria’s tutorial teaches a bell applique intended for Christmas-tree decoration and includes the hanging loop as part of the construction. The creator also discusses hardening the finished bell, so this is a project where outline and finishing are closely connected.
An iridescent version could keep the main bell in a quieter shade and place the changing color near the lower flare or along another clearly defined edge. Because the source teaches the bell rather than an iridescent variation, that color placement is a suggested adaptation. It works particularly well conceptually because a bell has a simple recognizable profile: narrow above and wider below. Too many competing colors could weaken that shape, while one reflective boundary gives the eye an easy place to settle.
Decide How Crisp You Want the Bell to Look
The tutorial includes a hardening step, so think about the finished presentation before substituting materials. A bell displayed with a more defined outline creates a different effect from one allowed to remain soft and textile-like.
If you choose an unfamiliar iridescent strand, check its response to the intended finishing process rather than assuming it behaves like the tutorial yarn. A small material test is more useful than making a broad claim about all metallic, shiny, or color-shifting fibers.
Make the Hanger Part of the Color Plan
The hanging loop sits at the top of the silhouette, so it can either disappear visually or become another deliberate accent. If the bell itself already carries a reflective edge, a quieter hanger can keep attention on the body.
Alternatively, a small iridescent detail at the top can visually connect the hanger with the lower accent. Keep this secondary to the construction, however. The source establishes how the ornament hangs; any palette adjustment should preserve that practical role rather than treating the loop as purely decorative.
Creator: Crochet with Tuula Maaria
3. Crochet Candy Cane Ornament with Color-Shift Spirals
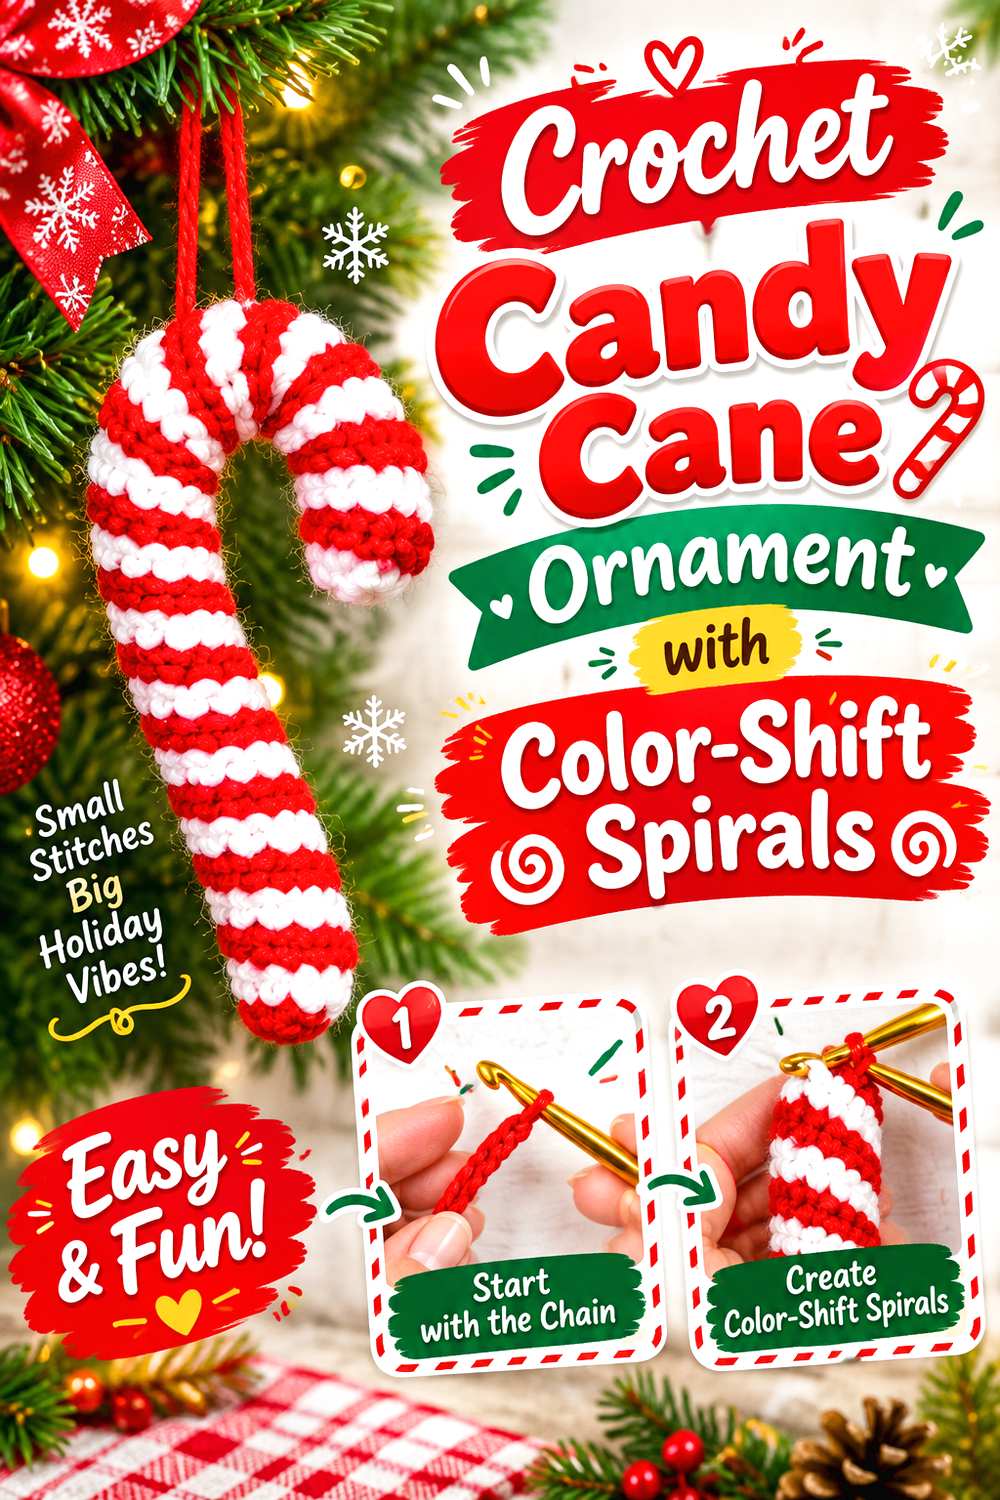
A candy cane brings a completely different kind of movement to an iridescent collection. Made by Phia’s tutorial constructs crocheted coils, combines them, and incorporates a pipe cleaner before forming the recognizable cane shape. That means the visual interest comes from both the spiral color relationship and the curved silhouette.
Instead of changing both colors to equally reflective yarns, consider making only one spiral iridescent. The second color then provides a calmer backdrop that helps the twist remain visible. This adaptation keeps the striped identity of the cane without relying on the traditional palette used by the tutorial. Because the source uses an internal support, material substitutions should be considered separately from that structure. A yarn that looks attractive when relaxed may behave differently once the finished crochet is shaped around the support.
Let the Spiral Supply the Decoration
This ornament already has a strong repeated pattern, so it does not need many additional embellishments. An iridescent strand in one coil can create changing highlights as the cane turns on the tree.
Before adding bows, beads, or further surface decoration, view the completed spiral from a normal distance. If the twist reads clearly, leaving it relatively uncluttered may produce the stronger design. The changing color can then reinforce the movement instead of competing with another focal point.
Check the Supported Shape After Substitution
The tutorial uses a pipe cleaner during assembly. That does not establish that every alternative yarn will wrap, bend, or settle in exactly the same way.
If you replace the tutorial yarn, make one complete test ornament before preparing a whole batch. Look particularly at the inner curve of the hook and the spacing of the two coils. The goal is to confirm that the new surface treatment still allows the candy-cane outline and spiral relationship to remain easy to recognize.
Creator: Made by Phia
4. Crochet Star Ornament with Pearly Contrast
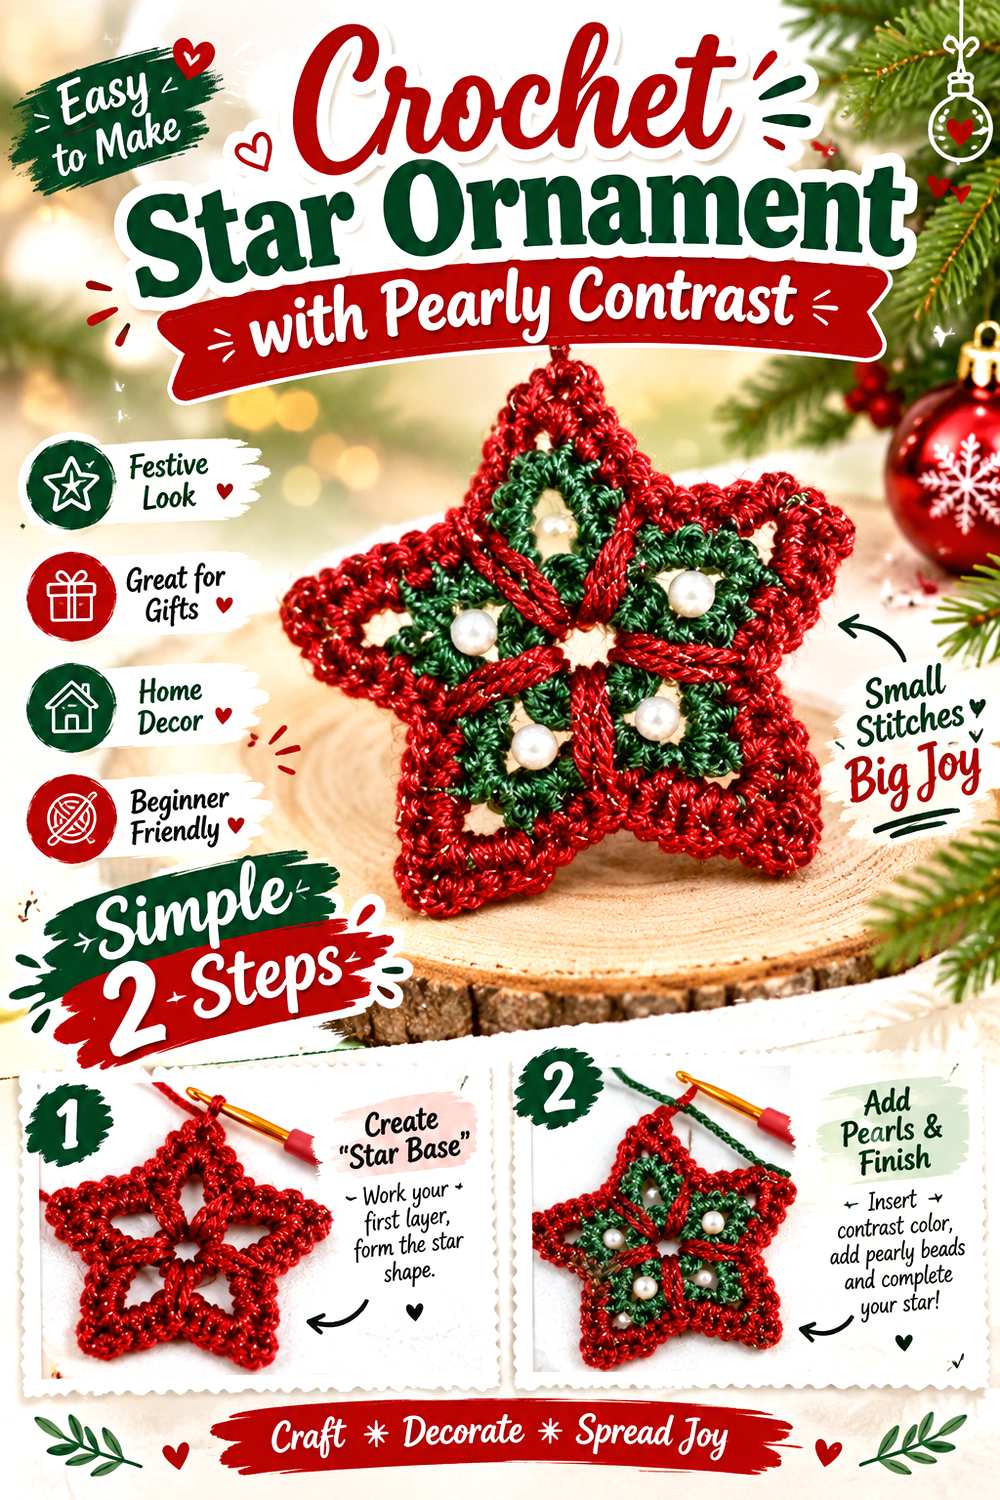
The Yarnspirations tutorial provides a complete crochet star ornament base, making it useful when you want radiating geometry without the finer branching associated with a snowflake. The finished star shown with the project uses contrasting areas within the motif, giving an iridescent adaptation an obvious place to work without changing the underlying construction.
One approach is to keep most of the star in a matte or softly textured yarn and reserve a pearly or color-shifting strand for a contrasting round or outer feature. Unlike a solid bauble, a star is read largely by its perimeter and interior openings. If the two colors are too close visually, those details can merge. Check the ornament against the actual tree or backdrop before deciding that a subtle pairing offers enough separation.
Preserve the Points Before Adding More Shine
The strongest information in a star is its outline. When planning an iridescent version, make sure the color placement does not make adjacent points visually run together.
A useful test is to hold the ornament at the distance from which it will normally be viewed. If you can still read the star immediately, the accent is supporting the shape. If the outline becomes visually busy, reducing the iridescent area may be more effective than adding still more contrast elsewhere.
Think About the Top Point and Hanger Together
A hanging star naturally creates a strong vertical relationship between its upper point and the suspension loop. That makes the top area a useful place to avoid unnecessary visual weight.
If the body already includes a strong reflective section, keep the hanger visually simple. If the star itself is restrained, a subtle changing-color hanging strand could become the small finishing accent. Either choice can work; what matters is that the loop does not disguise the point that establishes the star’s orientation.
Creator: Yarnspirations
5. Crochet Icicle Ornament with Shimmering Coil
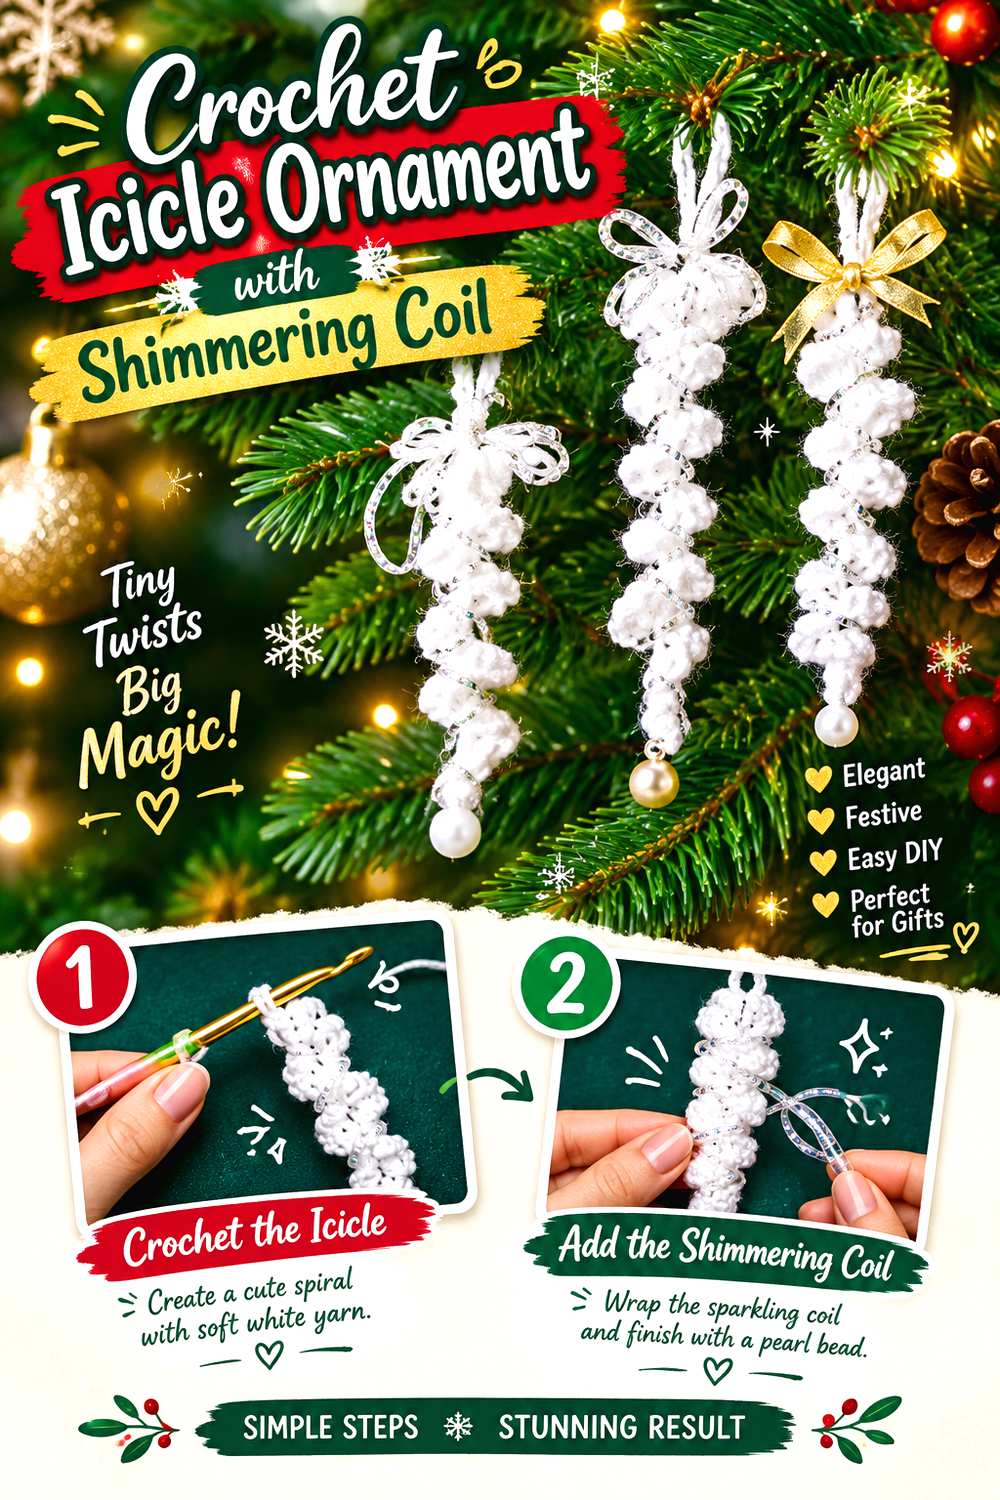
An icicle is an especially natural match for reflective yarn because its long, twisting form already suggests movement. Hectanooga1’s tutorial teaches a crocheted spiral icicle and explains how to add a hanging element at the top. The source also mentions an optional bell at the bottom, making the basic design easy to distinguish from the flatter ornaments elsewhere in this collection.
For an iridescent adaptation, you can let the spiral itself carry the changing color rather than adding a separate motif. A predominantly pale version with a shifting strand is one option, while alternating a quiet base with a reflective accent can emphasize the twist more strongly. Because the ornament is narrow, even a small amount of shimmer may remain visible as it rotates. Avoid assuming that a heavier substitute yarn will produce the same hanging behavior or length as the source.
Use Sheen to Emphasize the Twist
The eye follows an icicle from top to bottom, so reflective contrast can help reveal each turn. This differs from a star or snowflake, where attention spreads outward from a center.
If your chosen iridescent material has a strong color shift, consider keeping the rest of the ornament comparatively simple. The spiral already creates repeated highlights as its orientation changes. Extra surface decorations can interrupt that continuous line and make the icicle feel busier than necessary.
Decide Separately About a Bottom Accent
The tutorial mentions an optional jingle bell at the bottom. Treat that as a separate visual decision rather than an automatic part of an iridescent version.
A lower embellishment creates a focal endpoint, while leaving it off lets the crocheted spiral remain the main feature. If you add anything at the bottom, look at the ornament hanging freely before deciding. A detail that appears proportionate on a table can feel visually heavier once suspended beneath a narrow crochet form.
Creator: Hectanooga1
6. Crochet Wreath Ornament with Iridescent Accent
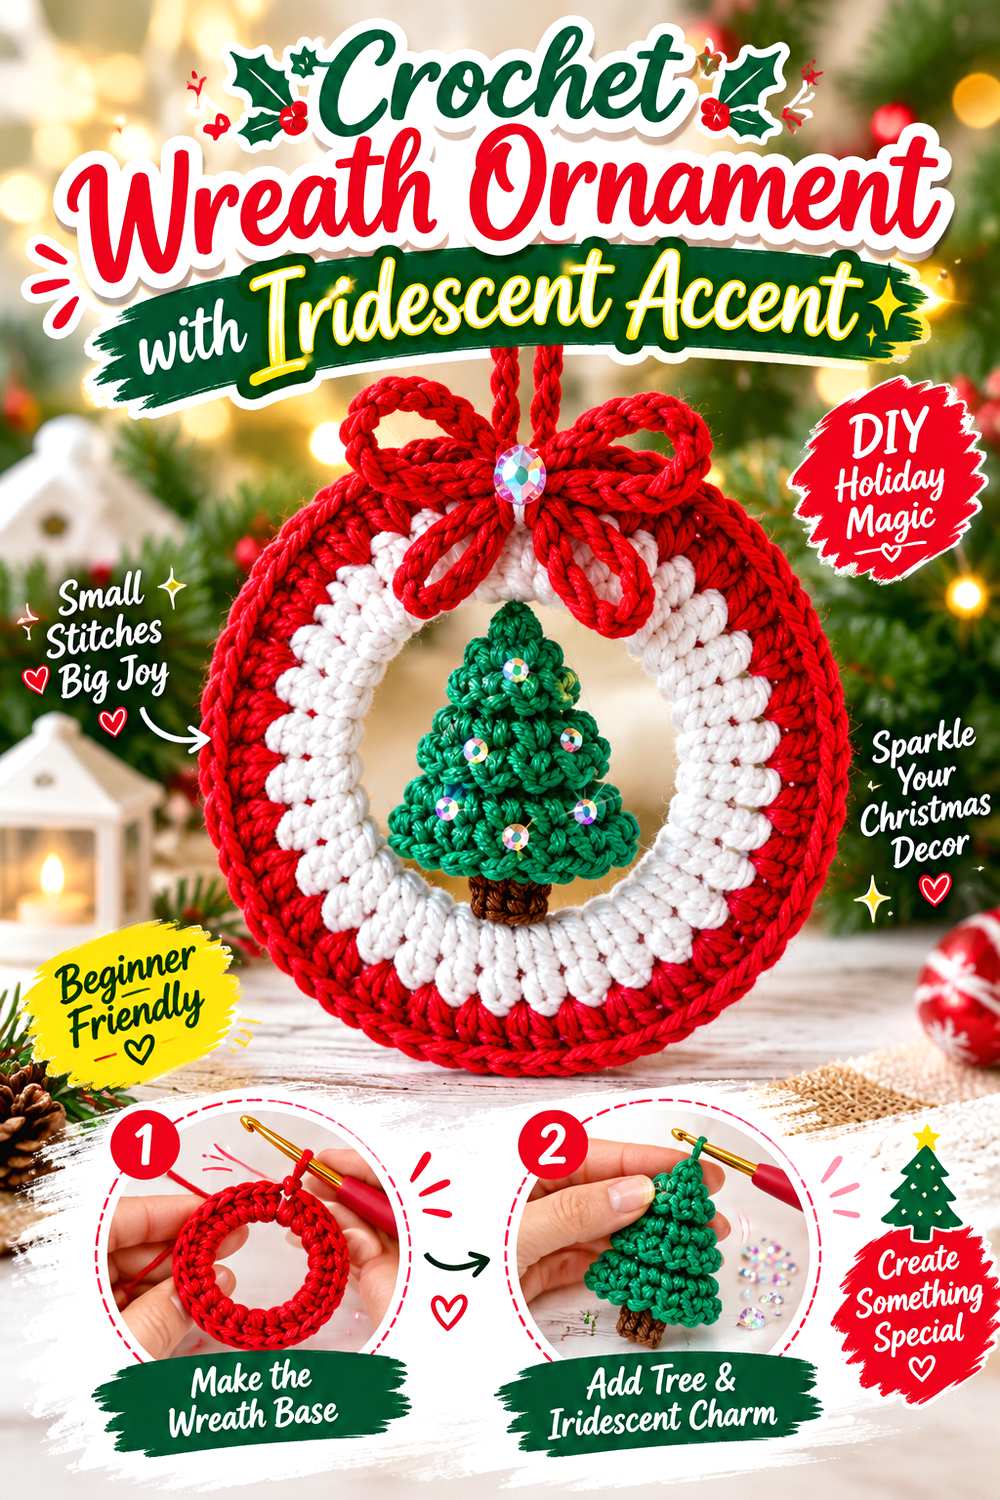
A miniature wreath gives this collection a strong circular shape and, just as importantly, an open center. Tuba Crochet’s tutorial teaches a Christmas wreath ornament as a complete decoration rather than simply demonstrating a ring-shaped motif.
For an iridescent version, preserving that center opening is more important than filling every available area with embellishment. You could work the base in a quieter Christmas shade and introduce a color-shifting accent in a small decorative section, or reverse that relationship and keep the added details subdued. The wreath is already recognizable through the contrast between its outer circle and empty middle. An adaptation that covers too much of the opening risks changing the visual balance. This is therefore a good project for makers who prefer a concentrated iridescent feature instead of all-over sparkle.
Keep the Center Opening Easy to See
The negative space is part of what identifies a small wreath. When planning extra color or texture, check that decorative additions do not visually bridge too much of that opening.
This matters particularly when the ornament will hang among dense tree branches. An open center that reads well on a plain surface may appear smaller against greenery. Test the finished wreath where it will actually hang before deciding that it needs another accent around the inside edge.
Give One Accent the Strongest Color Shift
A wreath can accommodate several decorative elements, but an iridescent version benefits from a clear hierarchy. If every trim, loop, and embellishment changes color equally, the circular form can become secondary.
Choose one area to provide the strongest reflective effect and let the surrounding crochet support it. This does not require copying the tutorial’s palette. It simply keeps the adaptation organized, making the shifting color look intentional rather than like a substitute applied indiscriminately across the project.
Creator: Tuba Crochet
7. Crochet Bauble Ornament with Color-Shift Embroidery
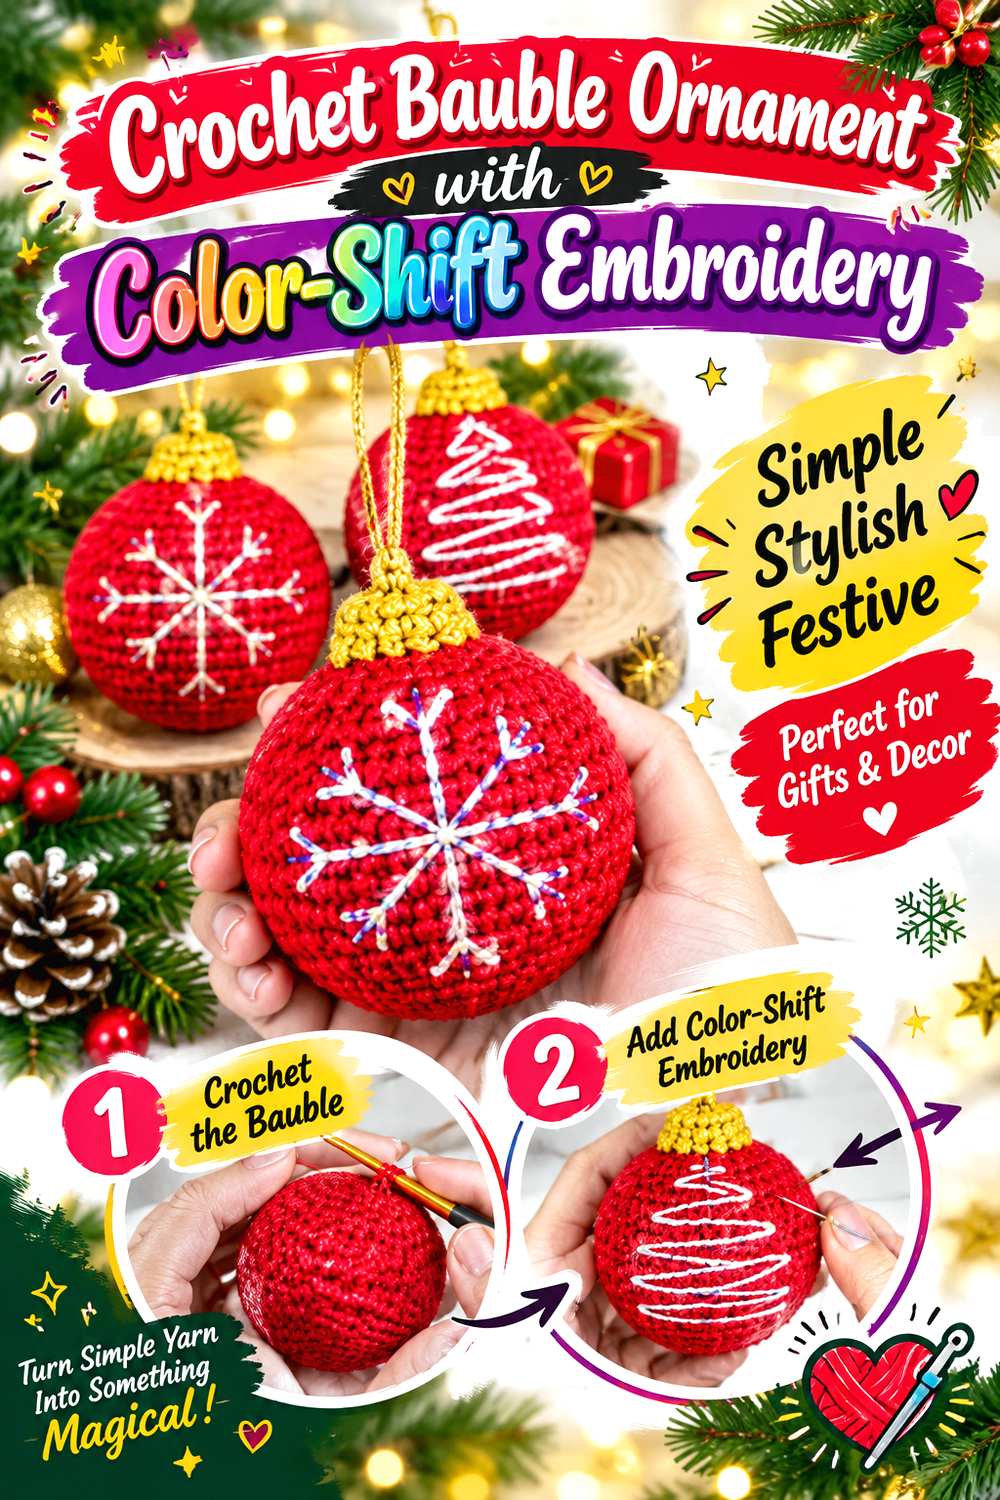
The round bauble is the most obvious choice when you want an ornament with depth rather than an applique-like profile. Amigurumi_Joys teaches a basic crocheted bauble, the hanging loop, and four embroidery decoration options, including a star, snowflake, and Christmas tree.
That separation between the bauble body and embroidered surface makes an iridescent adaptation particularly flexible. Instead of crocheting the whole sphere in a specialty yarn, you can keep the base comparatively calm and introduce the shifting color through embroidery. The result preserves the round silhouette while giving the reflective strand a defined job. Conversely, if you want the body itself to change color, consider keeping the embroidery simple so it remains visible. Because this is a stuffed three-dimensional form, test unfamiliar yarn substitutions before assuming the surface will shape exactly like the tutorial version.
Separate the Base Color from the Embroidery
Embroidery is easiest to notice when it has a clear visual relationship with the background. A highly variegated iridescent bauble body may compete with a detailed stitched motif.
One practical alternative is a restrained main color paired with a more dramatic embroidery strand. That concentrates the special material in a smaller area and gives you an easy way to repeat the same iridescent shade across several baubles while varying the embroidered symbol. The tutorial provides several decoration approaches to build from.
Watch Surface Tension on a Stuffed Shape
A stuffed ornament asks the crochet fabric to curve in several directions, so surface tension becomes more noticeable than it is on a flat star or bell. When using a substitute material, inspect the fabric as the form develops.
If the new yarn changes the appearance of the stitch gaps or makes embroidery sit unevenly, reconsider where you use it. Restricting the specialty strand to decorative stitching can preserve the tutorial’s base construction while still giving the finished bauble the intended iridescent character.
Creator: Amigurumi_Joys
8. Crochet Stocking Ornament with a Shimmering Cuff

A miniature stocking has several built-in color boundaries, which makes it easier to introduce iridescence without losing the object’s identity. Brunaticality’s tutorial covers the toe, heel, ankle, contrasting upper border, and hanging loop, producing a small stocking-shaped ornament.
The cuff is an especially useful place for an iridescent adaptation because it frames the opening and stays visually separate from the foot and heel. You could leave the main stocking body in a solid color and use a shifting shade only above it. Another option is a lightly shimmering body with a quiet cuff if you want the whole silhouette to catch light. Avoid changing several sections at once until you have seen how the colors divide the tiny shape; miniature projects have less room for competing details than full-size stockings.
Use the Cuff as a Controlled Highlight
A defined upper band gives you somewhere to place a specialty strand without affecting every structural section of the stocking. It also creates a repeated accent if you make several ornaments in different body colors.
Before committing to a large set, make one stocking and hang it vertically. Check whether the iridescent cuff reads as a clear top border rather than visually merging with the hanging loop. If those elements compete, simplifying the loop color can restore the separation.
Keep the Foot and Heel Legible
The tutorial specifically works through toe and heel shaping. Those details are what prevent the ornament from reading as a simple pouch.
If a highly reflective yarn makes the small changes of direction difficult to see, use it more selectively. A solid body with an iridescent cuff can preserve the stocking profile while still meeting the color theme. The same principle applies if you add any small decoration later: it should support, not obscure, the toe-to-heel outline.
Creator: Brunaticality
9. Crochet Christmas Tree Ornament with Shimmer Highlights
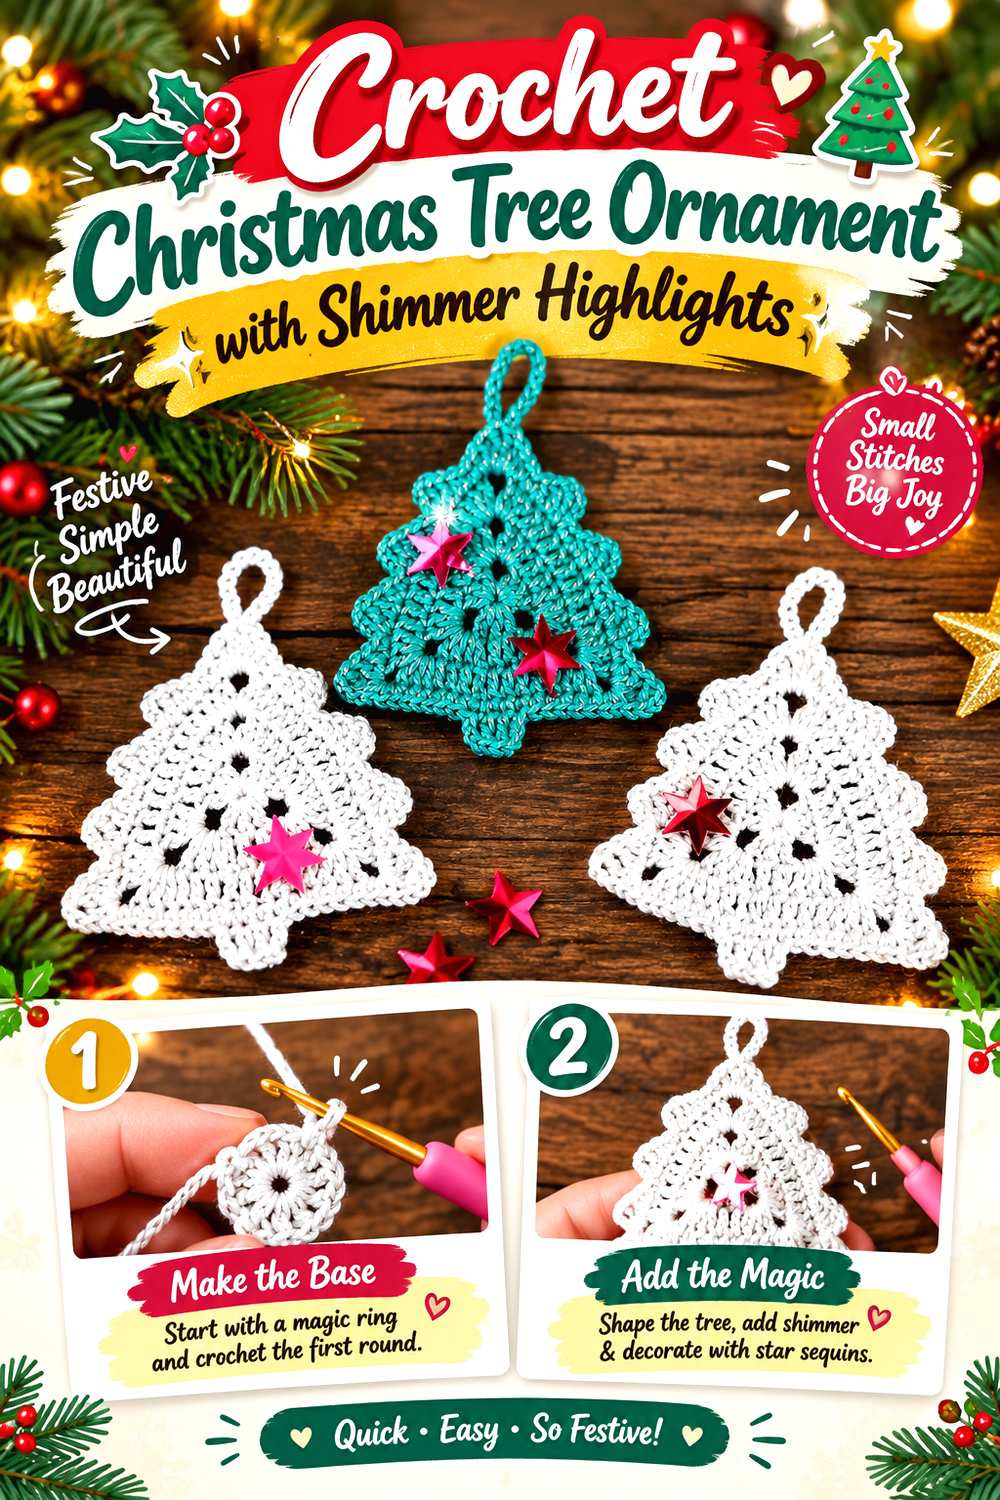
Kristines Crochets teaches a flat Christmas tree ornament worked through several rounds and finished with a distinct tree trunk. The source also provides the finished measurements for its demonstrated version, but a material substitution should not be assumed to reproduce those dimensions.
Visually, this project offers a broad triangular outline with openwork detail and a small trunk anchoring the bottom. That makes it a useful counterpoint to the circular wreath and bauble. For an iridescent interpretation, consider emphasizing selected outer sections rather than filling every open area with a high-contrast color change. The tree already contains enough internal structure to catch the eye. A restrained reflective strand can function like light along the branches while leaving the overall tree silhouette dominant. Because the tutorial itself does not promise an iridescent version, treat those highlights as an optional palette adaptation.
Protect the Tree Silhouette from Busy Color
The widest lower section, narrowing upper portion, and trunk together identify the shape. If a multicolor strand changes very rapidly across those areas, the outline may become less immediate from a distance.
Try viewing the ornament against both a plain wall and green branches. An effect that looks vivid on a table can behave differently against the tree itself. If the edges disappear, adding more shimmer is unlikely to solve the problem; stronger contrast between the ornament and its background may be the more useful adjustment.
Place Shimmer Where the Light Can Find It
Outer sections are natural places to use a color-shifting strand because they are less likely to disappear behind surrounding crochet. An internal accent can also work when the openwork leaves enough visual space around it.
Rather than deciding from the yarn ball alone, hold the partly finished tree near the intended lights and viewing angle. Iridescent materials can change appearance as the angle changes, so the placement that looks strongest under workroom lighting may not be the one that reads most clearly on the finished display.
Creator: Kristines Crochets
10. Crochet Mitten Ornament with an Iridescent Cuff
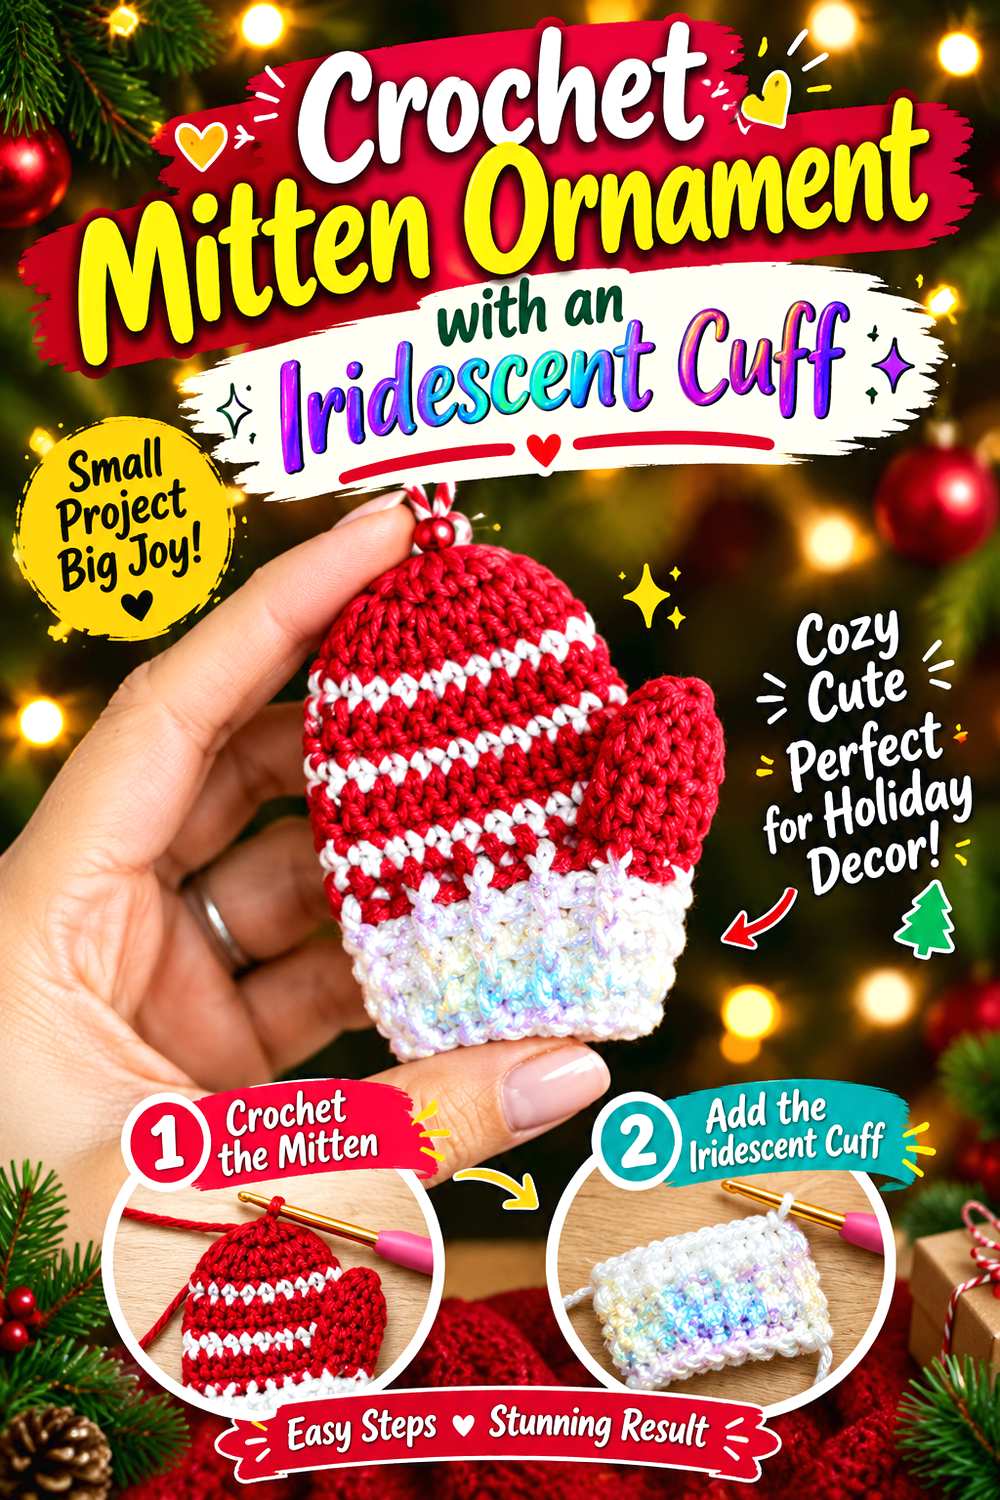
A miniature mitten introduces an asymmetrical feature—the thumb—that immediately separates it from stockings and other small hanging shapes. Crochetclubstore’s tutorial teaches the mitten hand, thumb shaping, and cuff, and presents the finished pieces as ornaments that can also be used in a garland.
That clear division makes the cuff the easiest place to add an iridescent treatment without interfering with the mitten’s small-scale shaping. A quieter hand section lets the thumb remain visible, while a reflective cuff creates a top border similar to the trim on a winter accessory. If you prefer a more dramatic effect, you could reverse the arrangement and keep the cuff solid. Whichever approach you choose, make one mitten first and check whether the color change emphasizes the shape or makes the small thumb harder to see.
Use the Cuff as the Visual Anchor
Because the cuff forms a horizontal band above the hand, it can visually organize a changing-color yarn that might look too active across the whole mitten.
This is particularly useful if you plan to make several coordinating ornaments. You can repeat the same iridescent cuff while changing the main mitten colors, or do the opposite. Either approach creates a relationship between the pieces without counting simple color changes as separate designs. The construction remains the same; the color planning is what establishes the collection.
Keep the Thumb Easy to Identify
The source devotes a separate section to thumb and hand shaping. That small projection is an important part of the silhouette, so do not let surface decoration hide it.
Before adding embroidery or other accents, view the mitten against the background where it will hang. If the thumb already needs close inspection to see, adding more detail near that edge can make the shape less clear. Moving the shimmer toward the cuff leaves the mitten profile comparatively quiet and readable.
Creator: Crochetclubstore
11. Crochet Christmas Pudding Ornament with Pearly Icing
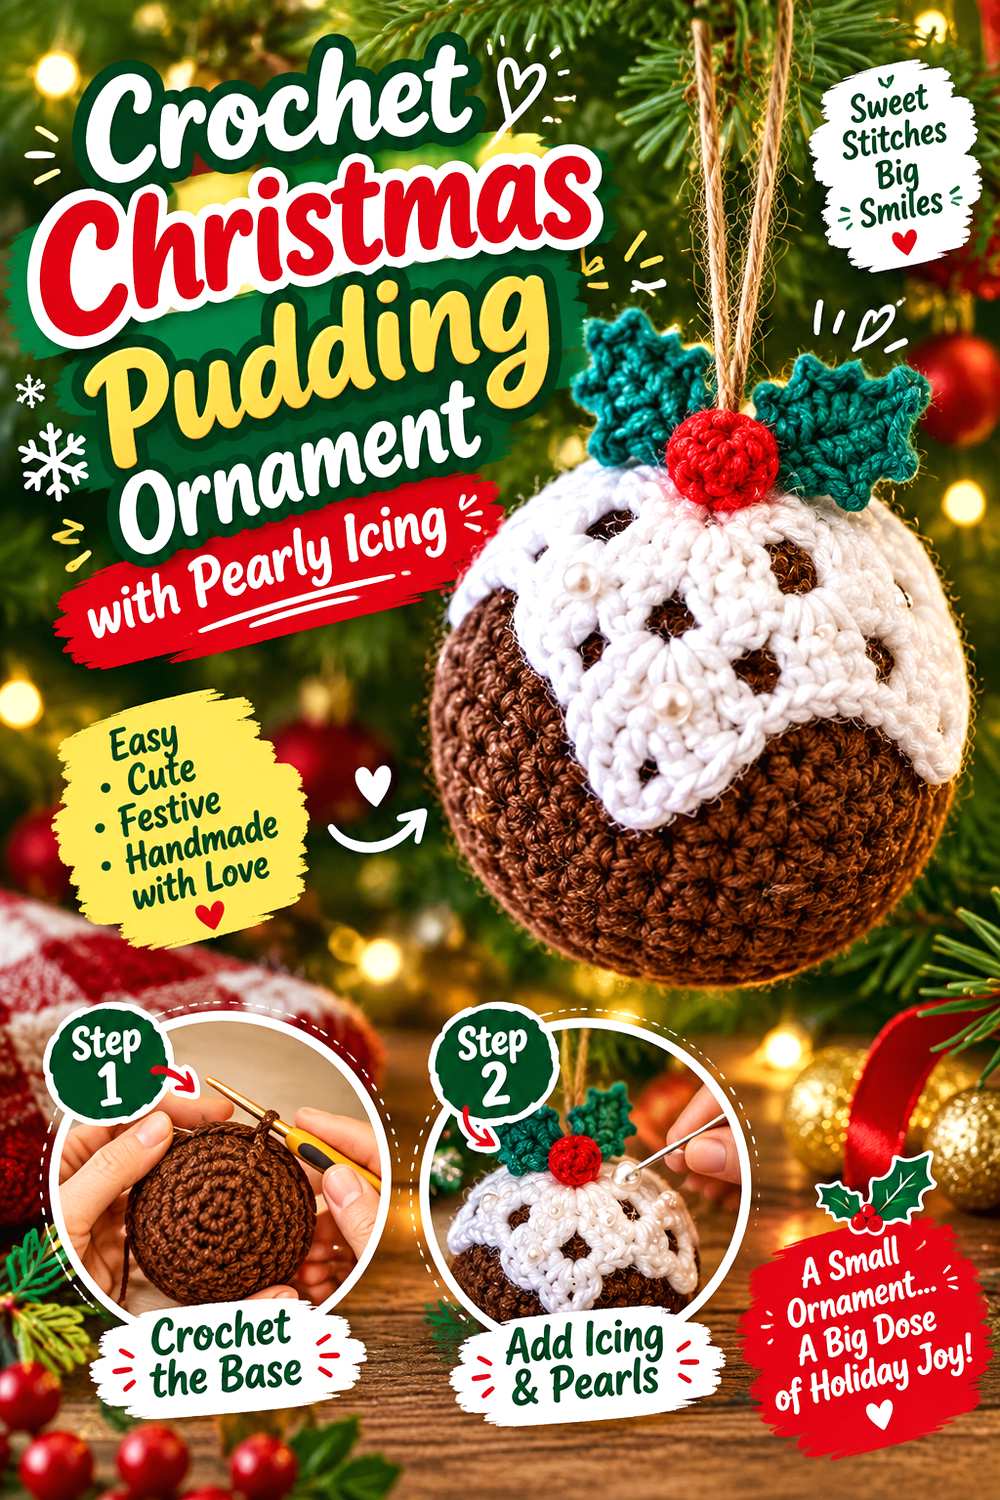
Kara Ella Uy’s Christmas pudding tutorial is one of the most detailed multi-component ornaments in this collection. The source covers the stuffed pudding body, a separate icing section, holly leaves, and a berry before bringing the pieces together as a hanging decoration.
Those distinct components make color planning straightforward. Instead of changing the entire ornament to an iridescent palette, a pearly or color-shifting icing section could supply the reflective effect while the pudding body remains visually quieter. The holly and berry can then act as small contrasting details rather than competing focal points. This approach is a suggested adaptation; the tutorial itself establishes the pudding construction and traditional component arrangement. The ornament has more visual layers than a star or bell, so restraint is useful. One strong reflective area may be enough to make the pudding fit an iridescent collection.
Let the Icing Carry the Reflective Effect
The icing sits across the upper surface of the pudding, creating a natural boundary where a different texture or finish can begin. That makes it a more controlled place for shimmer than scattering reflective stitches across every component.
If the chosen iridescent yarn changes color strongly, pair it with a simpler body so the icing remains easy to distinguish. Then evaluate the holly and berry afterward. Their job is to read as separate top details, and they may not need an additional reflective strand at all.
Keep the Top Decorations Distinct
The tutorial constructs the leaves and berry separately. On a small ornament, those features can easily become visually crowded if each one receives its own dramatic specialty yarn.
Consider giving only one area the strongest shimmer. If the icing is already iridescent, quieter leaf and berry colors can provide needed separation. If you want the icing subdued instead, a small color-shifting top accent offers another route. Compare both approaches before attaching everything permanently if your materials allow.
Creator: Kara Ella Uy
12. Crochet Snowman Ornament with Shimmer Accessories

Crouton Crafts teaches a stuffed snowman ornament with a two-part body shape, scarf, hat, hanging attachment, and added facial and front details. The source provides instruction across those components rather than stopping at the basic white body.
For an iridescent collection, the accessories are the most flexible place to introduce changing color. A shimmering scarf or hat can move the ornament into the chosen palette while leaving the snowman body visually calm enough for its face and outline to remain readable. An all-over iridescent body is possible as an independent adaptation, but it creates a much busier surface and may reduce contrast with smaller features. This ornament therefore suits anyone who wants a character-based design without making every component equally decorative. Treat the linked source as the construction guide and the iridescent placement as your separate color decision.
Accent the Scarf or Hat Before Changing the Body
The scarf and hat already form separate visual regions, so they can carry specialty yarn without changing the way the snowman’s main silhouette is organized.
Try one accessory in the iridescent strand before deciding to use it for both. A single reflective feature can sometimes provide enough connection to the rest of your ornament set. If the first accessory already creates a strong color shift, leaving the second one quieter may give the face and body more breathing room.
Preserve Contrast Around the Face
The tutorial adds facial details after the body is formed. Whatever palette you choose, those small marks need enough contrast against the crocheted surface to remain visible.
A strongly changing body color may create light and dark areas behind those details as the ornament turns. Keeping the main body more consistent avoids that issue and lets the accessories provide the shifting effect instead. Before finalizing any adaptation, inspect the ornament under the same lighting in which it will normally hang.
Creator: Crouton Crafts
Conclusion
For the most delicate iridescent effect, start with the snowflake, star, bell, or icicle and let the reflective strand emphasize edges and openwork. The bauble is better when you want a three-dimensional ornament with room for decorative embroidery, while the stocking and mitten provide ready-made cuffs for a concentrated color shift. Choose the pudding or snowman when separate components make selective shimmer more appealing than an all-over treatment.
A coordinated tree does not require all 12 projects to use the specialty yarn in the same way. Repeating one iridescent strand in different locations can create more variety while keeping the collection related. Use the linked original tutorials for exact construction details, then make your color and material changes only after considering how they affect each ornament’s outline and finish.
Frequently Asked Questions
Can I replace the tutorial yarn completely with iridescent yarn?
You can consider a substitution, but the linked tutorials do not establish that an arbitrary iridescent yarn will behave exactly like the demonstrated material. Thickness, construction, stretch, and surface texture can all affect how crochet fabric looks and shapes. Make a small sample or one complete test ornament first. For projects with stuffing or pronounced shaping, such as the bauble or snowman, this check is particularly useful before preparing materials for multiples.
What is the easiest way to add iridescence without changing the whole ornament?
Use the specialty strand in a visually separate area. The snowflake can take sparkle around its outer detail, the stocking and mitten have cuffs, the pudding has icing, and the snowman has a scarf and hat. Embroidery on the bauble offers another contained option. These placements preserve the tutorial’s primary silhouette while concentrating the reflective effect where it is easier to control.
Do all 12 ornaments need the same iridescent color?
No. A coordinated set can repeat a broader visual rule instead of one exact shade. For example, each project could combine a quieter main color with one changing-color accent. Another option is to reserve the strongest shimmer for outer edges on flat ornaments and for accessories or trim on dimensional pieces. Keeping the placement logic consistent can connect very different shapes without turning color alone into the reason for making separate designs.
Which ornaments are best if I prefer flat Christmas decorations?
The bell, star, snowflake, Christmas tree, wreath, and icicle are the strongest places to begin when depth is not your priority. Their identities depend heavily on outline, open space, or a hanging profile rather than a stuffed body. Compare the exact tutorial construction before assuming every one will lie identically flat, however. Material substitutions and finishing choices can change how a crocheted ornament behaves when suspended.
How should I plan a mixed set of flat and dimensional ornaments?
Start by deciding where each group will sit on the tree. Flat stars, bells, trees, and snowflakes can provide clear outlines between fuller decorations, while baubles, puddings, stockings, mittens, and snowmen add more visual depth. Make one or two examples first and view them among the actual branches and lights. That check is more informative than judging them only on a work surface because hanging angle, surrounding color, and viewing distance all affect how iridescent details appear.