Crochet poinsettia bags can range from full floral handbags to simple seasonal accents added to a tote, pouch, or reusable gift bag. Some designs focus on the bag itself, while others teach the poinsettia detail that can be placed on a bag front, handle, flap, or drawstring.
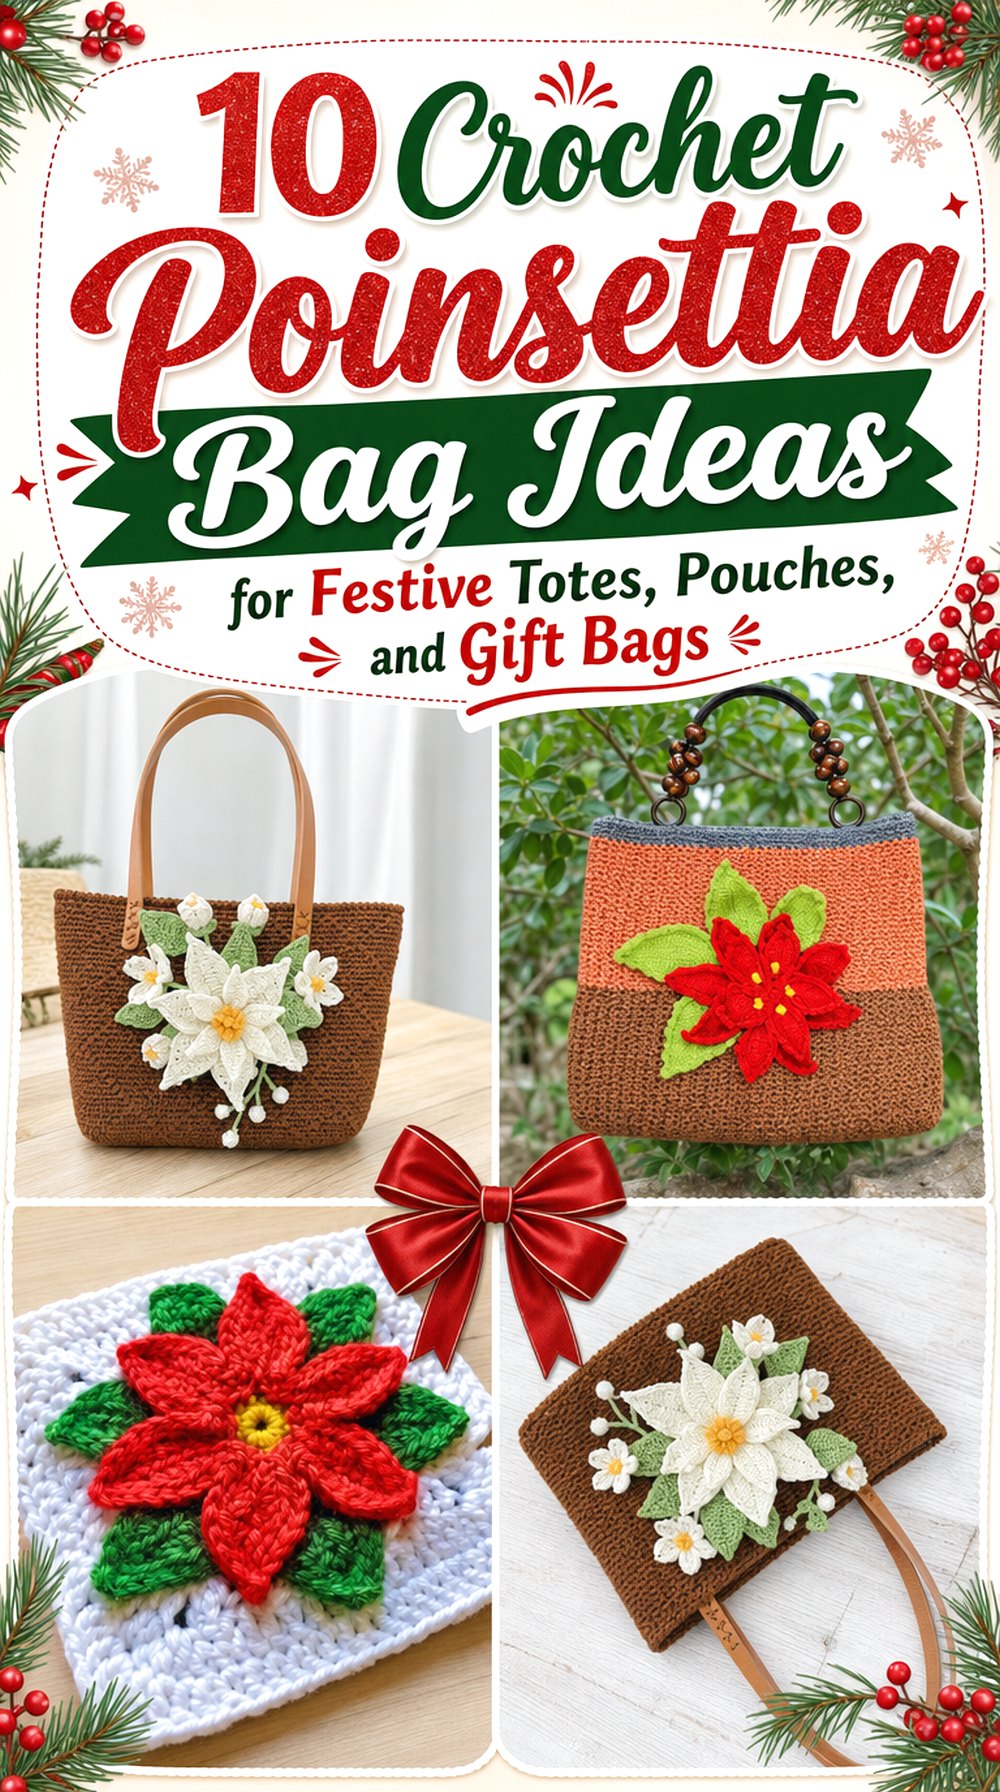
This list includes complete poinsettia bag tutorials where available, plus useful poinsettia appliqué and motif tutorials for makers who already have a favorite bag base. The projects differ by shape, placement, scale, and use, so readers can choose between a statement handbag, a holiday gift bag, a tote accent, or a small decorative pouch.
Quick List
- Crochet Full Poinsettia Flower Handbag
- Crochet Suzette Stitch Poinsettia Tote
- Crochet Poinsettia Gift Bag Accent
- Crochet Poinsettia Square Tote Panel
- Crochet Mini Poinsettia Drawstring Pouch Accent
- Crochet Large Poinsettia Shoulder Bag Detail
- Crochet Poinsettia Appliqué Clutch Decoration
- Crochet Layered Poinsettia Bag Charm
- Crochet Holly and Poinsettia Holiday Tote Accent
- Crochet Simple Poinsettia Bag Front Flower
Choosing the Right Poinsettia Bag Style
The main choice is whether you want the poinsettia to be the whole bag design or a removable accent. A full floral handbag gives the strongest poinsettia look, but it leaves less room to change the bag for other seasons. A tote or pouch with an added flower is easier to adapt because the base can stay plain while the poinsettia supplies the holiday detail.
Placement also matters. A large flower on the front works best as a statement detail, while a smaller flower can sit near a drawstring, handle, flap, or corner. For bags that will carry items, readers should pay close attention to the bag opening, strap placement, and whether the inside finish is clearly shown.
Crochet Full Poinsettia Flower Handbag
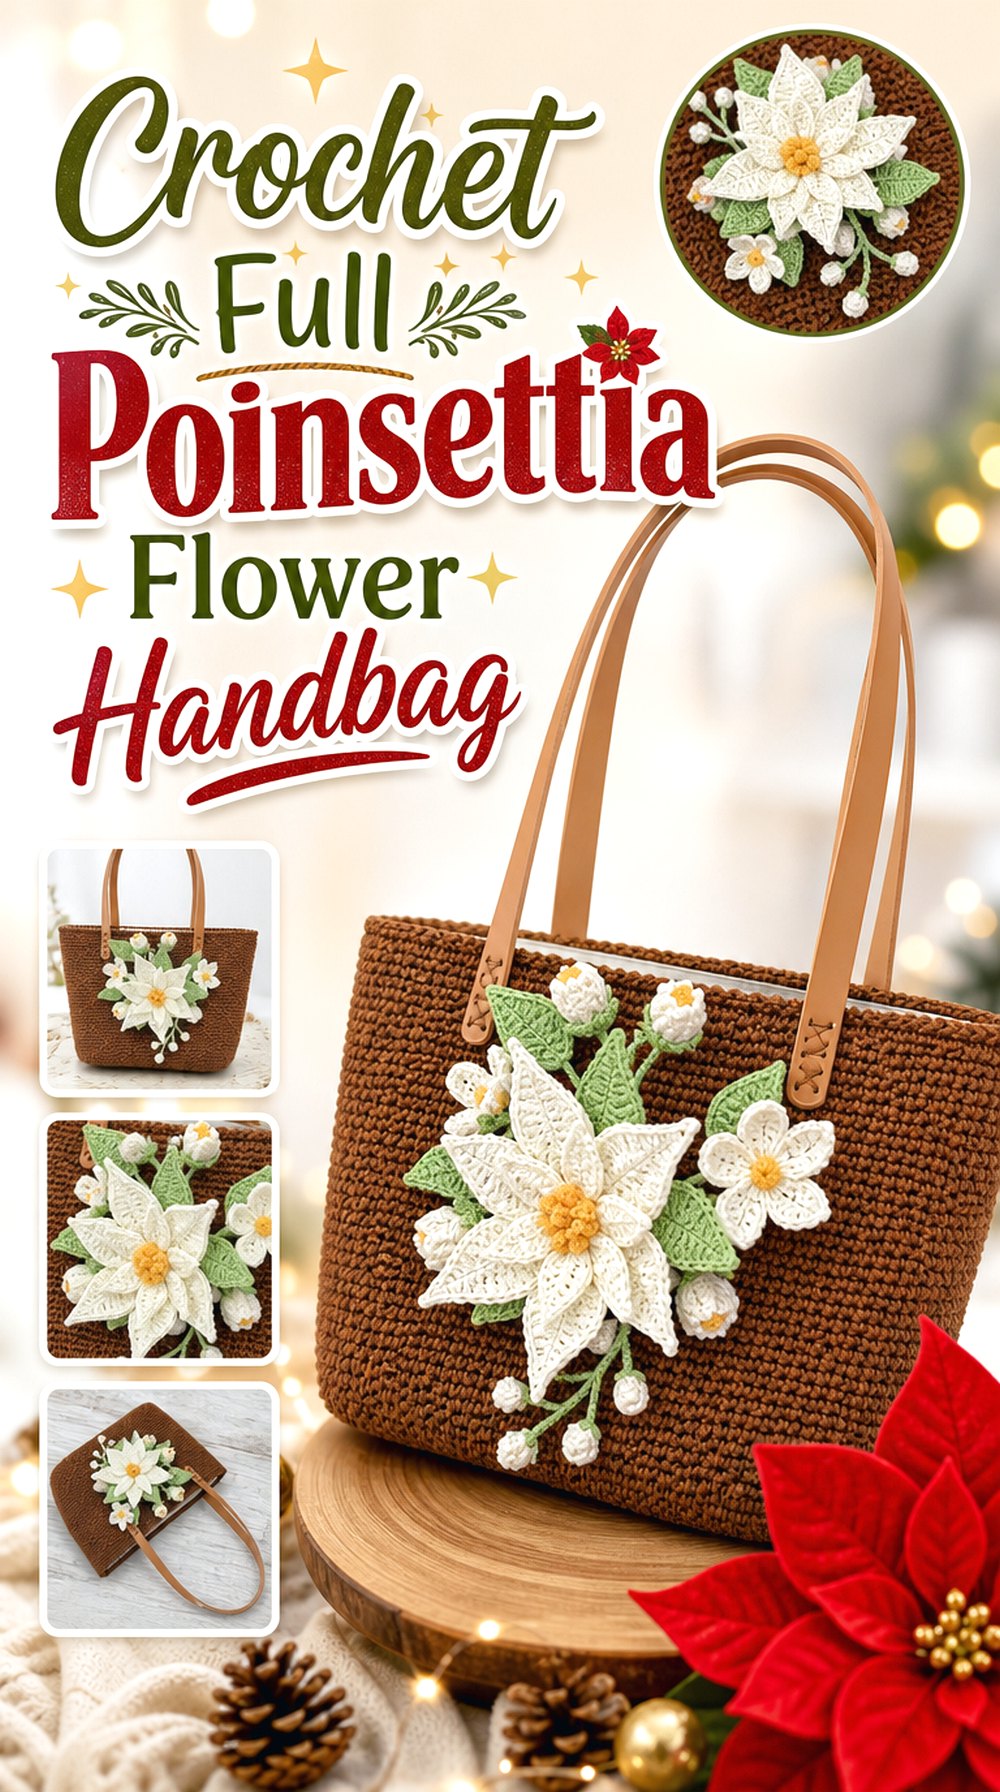
This crochet bag makes the poinsettia the main feature rather than a small added decoration. The finished piece appears as a soft floral handbag with a bold flower arrangement across the front, giving it a clear Christmas and winter gift-giving look. It suits readers who want the bag itself to feel seasonal, not just a plain bag with a removable motif.
Because the flower detail is integrated into the bag design, this choice is more decorative than a basic everyday tote. It stands apart from the smaller appliqué options because the poinsettia shape controls the whole visual style.
The Flower Front Sets the Mood
The large poinsettia detail makes this bag feel more like a holiday accessory than a neutral carryall. That matters for readers who want the finished piece to be noticed with winter outfits or gift presentation. Before choosing colors, look at how clearly the flower contrasts with the bag body so the petals and leaves do not disappear into the background.
Watch the Bag Shape Before Finishing
The bag has a soft handmade shape, so the finished structure should be reviewed carefully before deciding how it will be used. A soft bag may suit light personal items, but readers should not assume strength or capacity unless the creator clearly confirms it. Check the final view for opening size, handle placement, and whether the body appears deep enough for the intended use.
Crochet Suzette Stitch Poinsettia Tote
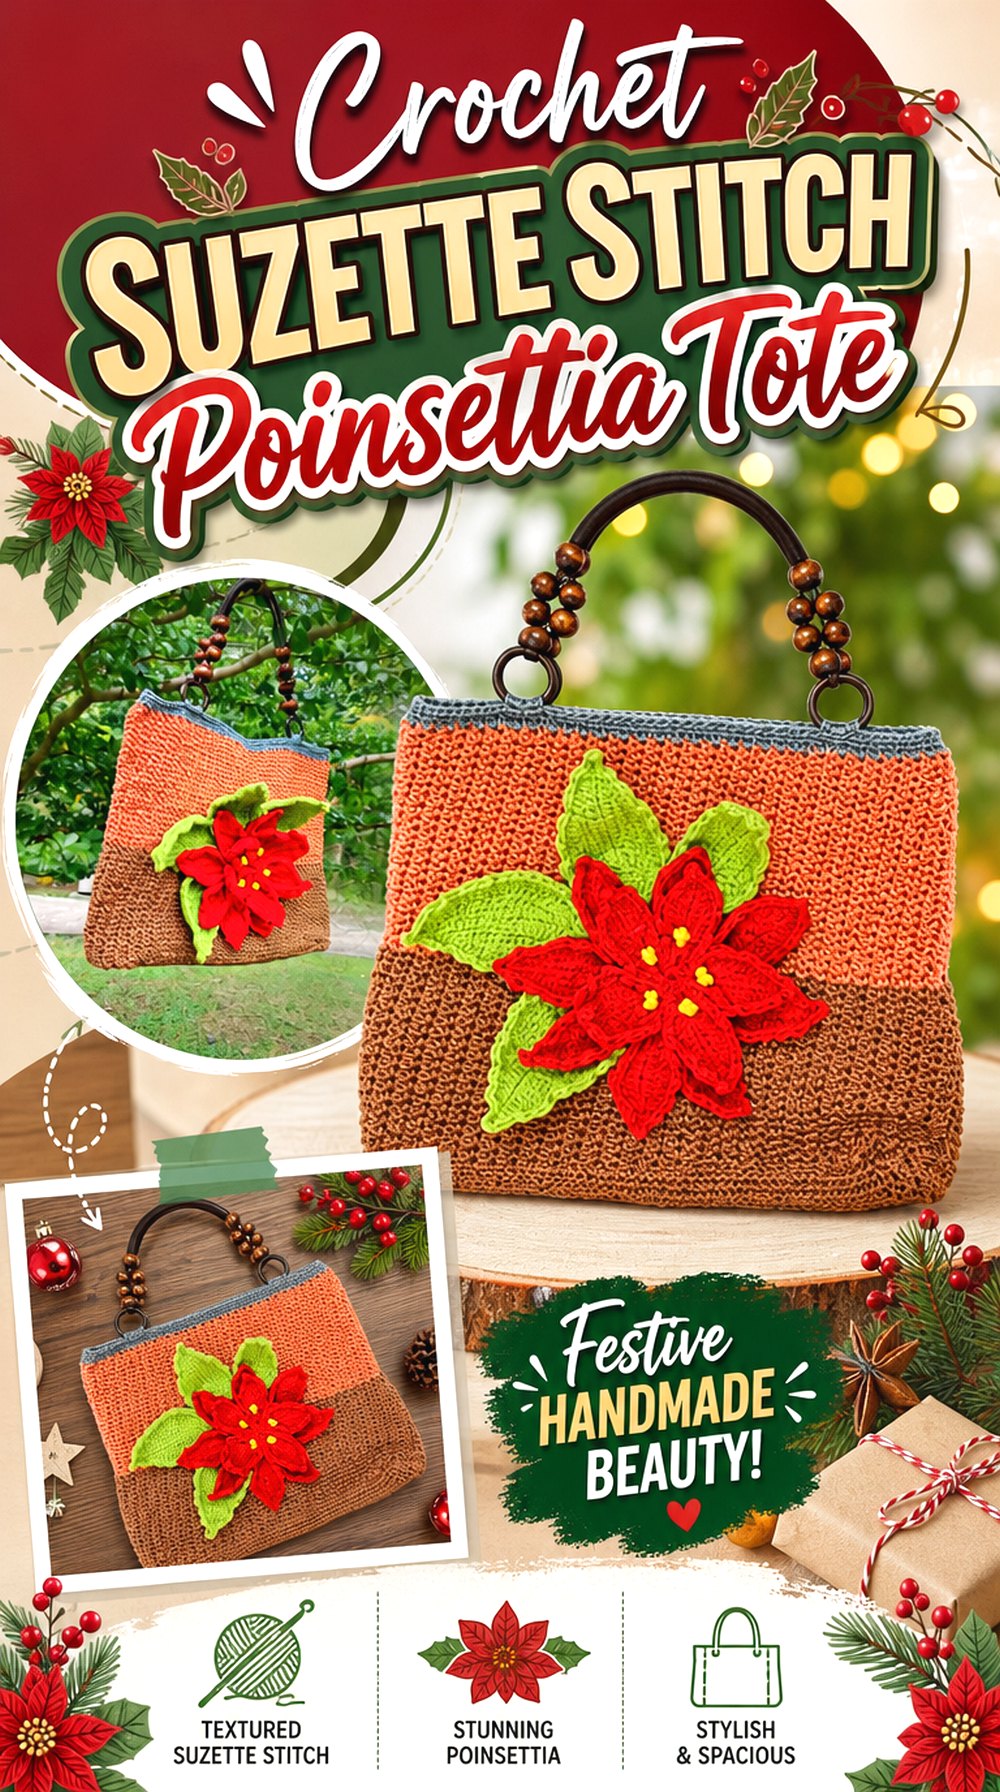
A tote shape gives this poinsettia idea a more practical direction than a small decorative pouch. The poinsettia motif becomes a seasonal feature on a bag that is easier to imagine as a project bag, light shopping tote, or holiday carry bag. The Suzette stitch mention in the source title also points readers toward a textured body rather than a flat plain panel.
This option differs from the full flower handbag because the tote shape remains the main structure. The poinsettia adds the seasonal focus without taking over every part of the silhouette.
A Roomier Shape Needs Size Checking
Totes are chosen for space, but finished capacity should still be confirmed from the tutorial. Readers planning to carry yarn, wrapped gifts, or personal items should look for views of the bag from the front, side, and opening. A tote that looks roomy in a flat view may still have limited depth if the side structure is narrow.
Strap Placement Matters More on a Tote
The handle area is important because a tote usually carries more than a small pouch. Look closely at where the straps sit on the upper edge and whether the attachment points are visible. The tutorial should be used for the exact construction details, but readers can decide first whether the strap style suits hand carry, shoulder carry, or display use.
Keep the Poinsettia Visible
Because this design combines a textured tote body with a floral accent, color contrast is worth planning. A poinsettia that sits against a busy or dark background may lose its petal shape. Readers who want the flower to stand out should compare the flower color, leaf color, and bag body before buying supplies.
Original Tutorial and Creator Credit
Creator: Auntie Nat’s Crochet
Crochet Poinsettia Gift Bag Accent
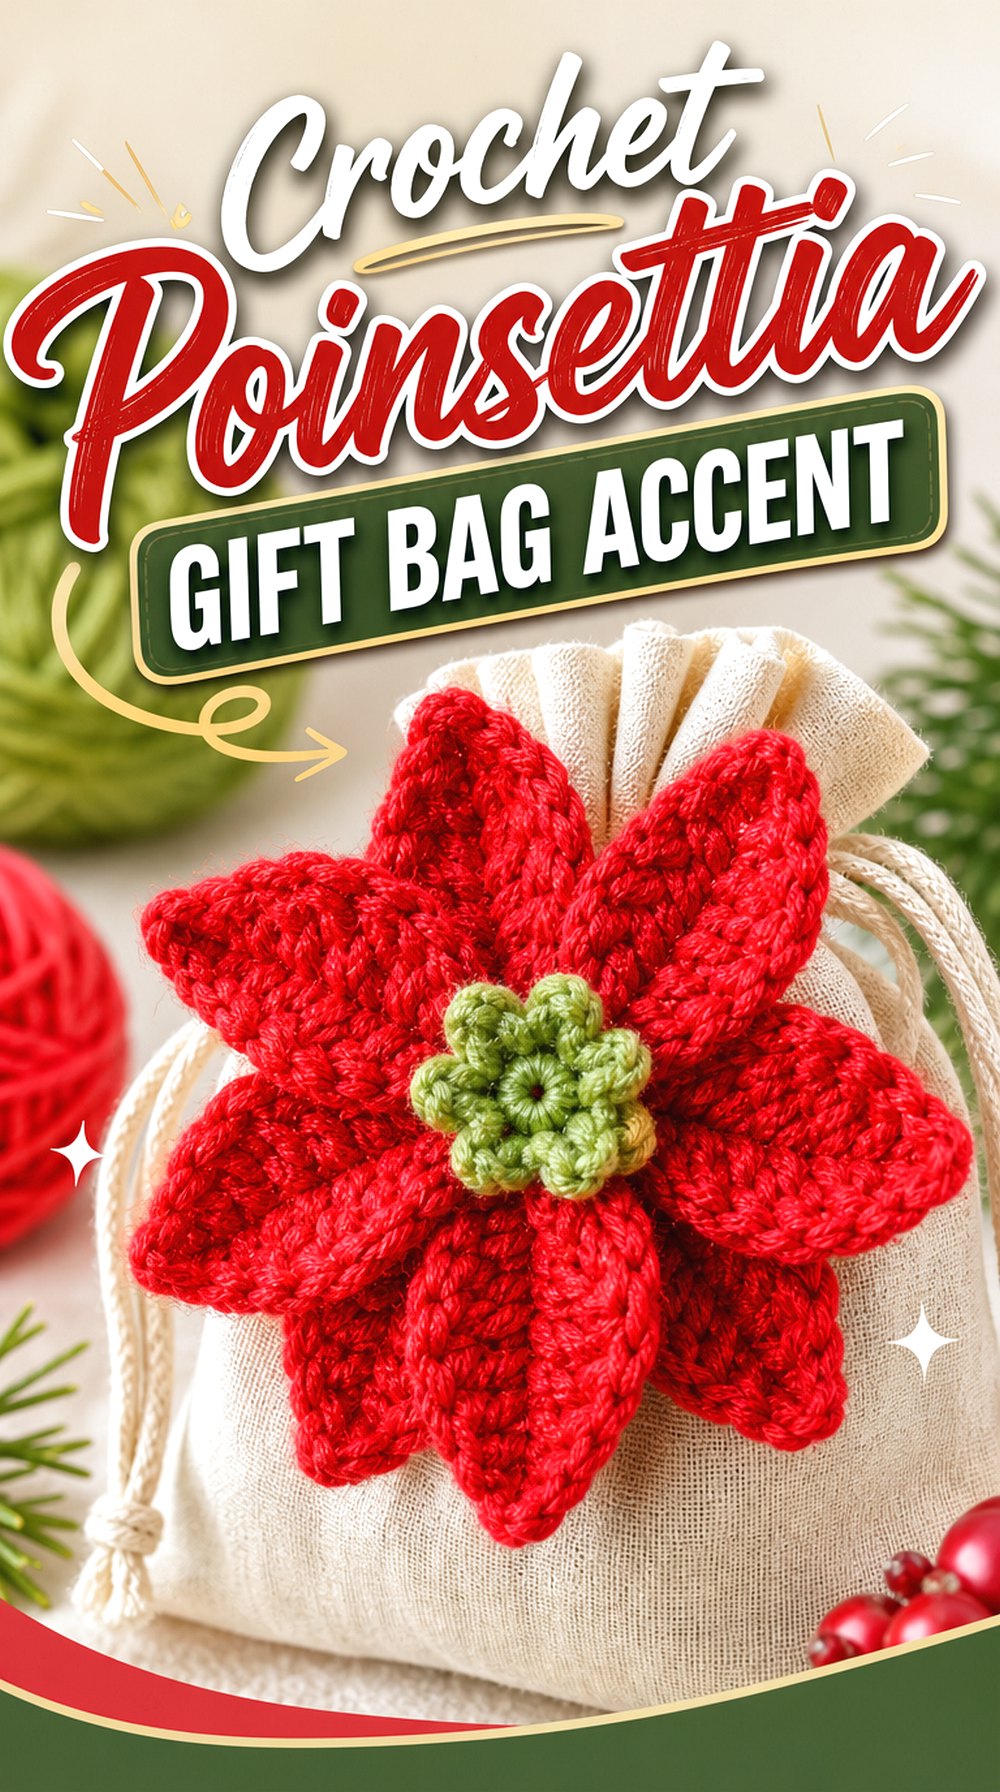
A small gift bag is one of the most natural places to use a crochet poinsettia. Instead of making a large handbag, this idea focuses on holiday packaging that can hold a small present, favor, or stocking item when the finished size allows. The poinsettia can sit near the top, on the front, or close to the closure so the bag still reads as festive when filled.
This project direction is different from a tote because the bag is mostly about presentation. The most useful details to check are the opening, closure, and how the flower affects access.
The Opening Should Stay Usable
A gift bag needs an opening that is easy to fill and close. When adding a poinsettia, make sure the flower does not block the drawstring, flap, or top edge. This matters most if the bag will hold small items that need to be removed easily. The decoration should frame the opening, not fight with it.
Match the Flower Scale to the Bag
A large poinsettia can overwhelm a tiny pouch, while a very small flower may disappear on a taller bag. Check the source’s finished flower size if it is provided, or compare the flower against the maker’s hand and the bag front. The goal is a balanced accent that looks intentional rather than crowded.
Original Tutorial and Creator Credit
Creator: HappyBerry Crochet
Crochet Poinsettia Square Tote Panel
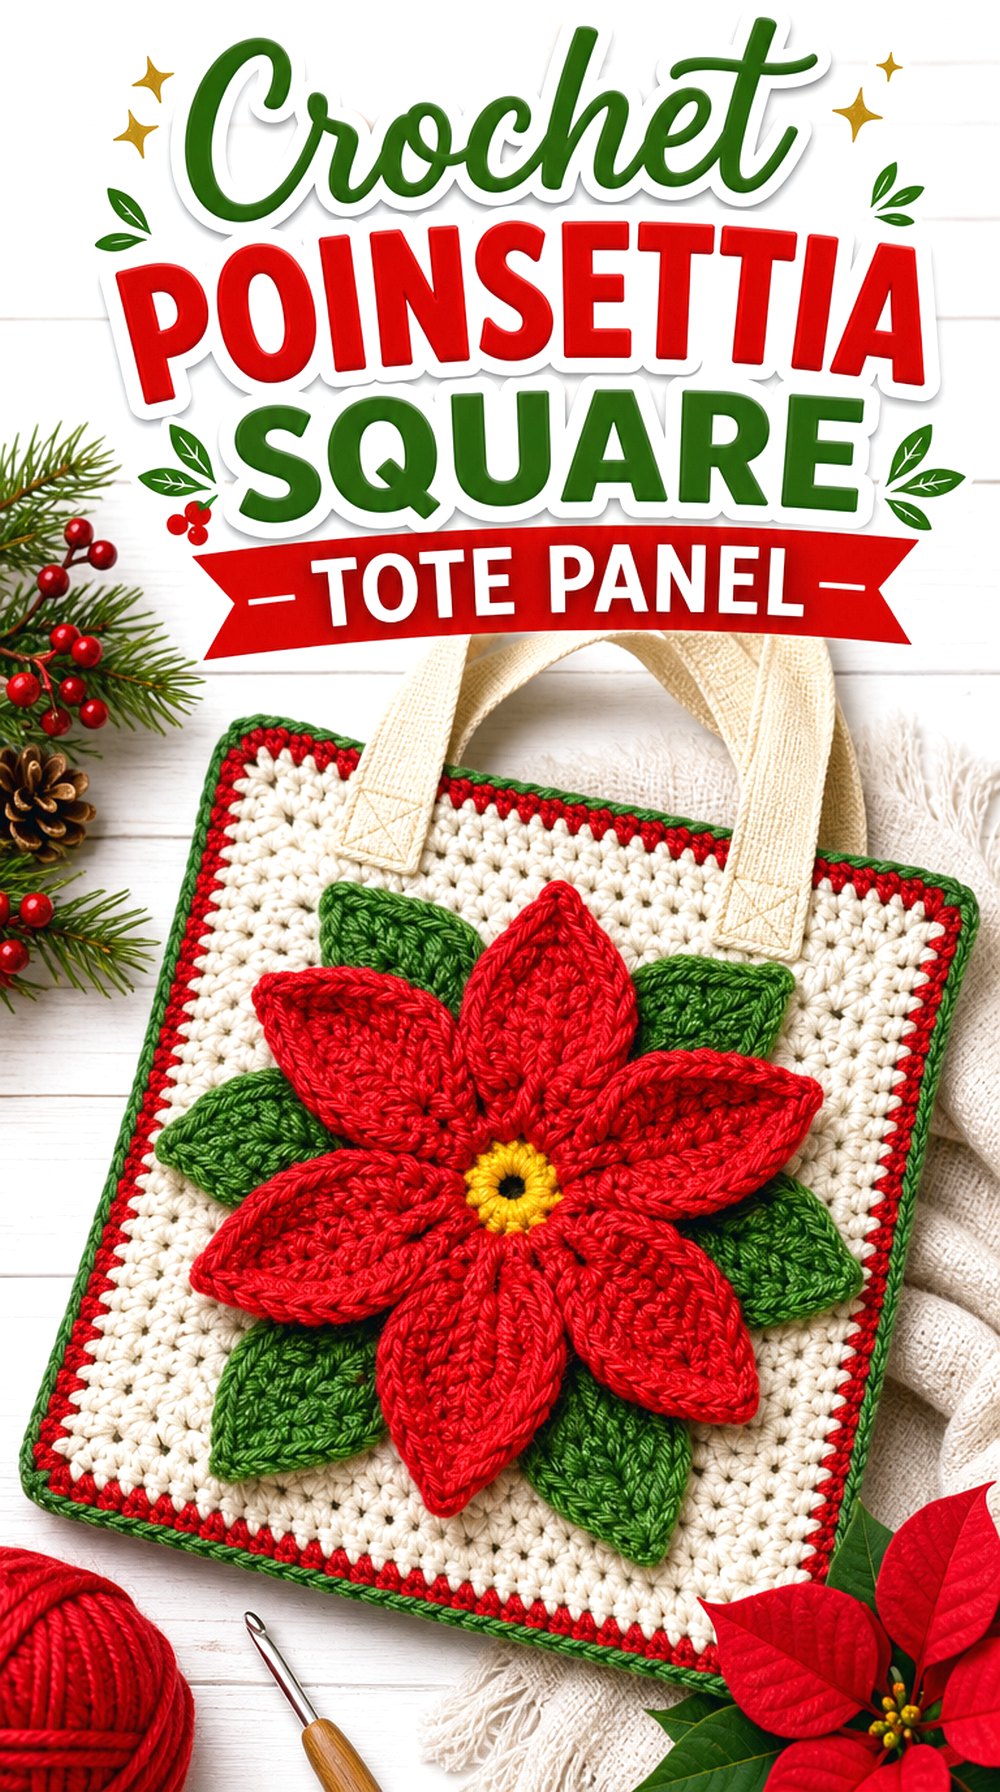
A poinsettia square works well for readers who like structured placement. Instead of attaching a loose flower to a finished bag, the motif can become a front panel idea for a tote, project bag, or flat pouch. The square format gives the flower a defined border, which may make the design easier to center on a bag front.
This option stands apart from free-form appliqués because the poinsettia sits inside a planned square. That makes it useful for readers who prefer symmetry and a cleaner panel layout.
A Square Panel Changes the Bag Layout
Using a square motif on a bag means the bag shape needs to work around that panel. A small square may suit a pocket-style accent, while a larger square could become the main front. Before committing, readers should decide whether they want one statement panel or multiple squares joined together for a larger surface.
Edges and Corners Need Attention
The border of a square motif affects how neatly it can sit on a bag. Corners should look even, and the edges should be suitable for joining or sewing onto a base. The original tutorial should be followed for the motif itself, but readers should plan the final bag placement separately so the poinsettia does not tilt or stretch.
Original Tutorial and Creator Credit
Creator: Cheryl D. Floyd Crochet
Crochet Mini Poinsettia Drawstring Pouch Accent
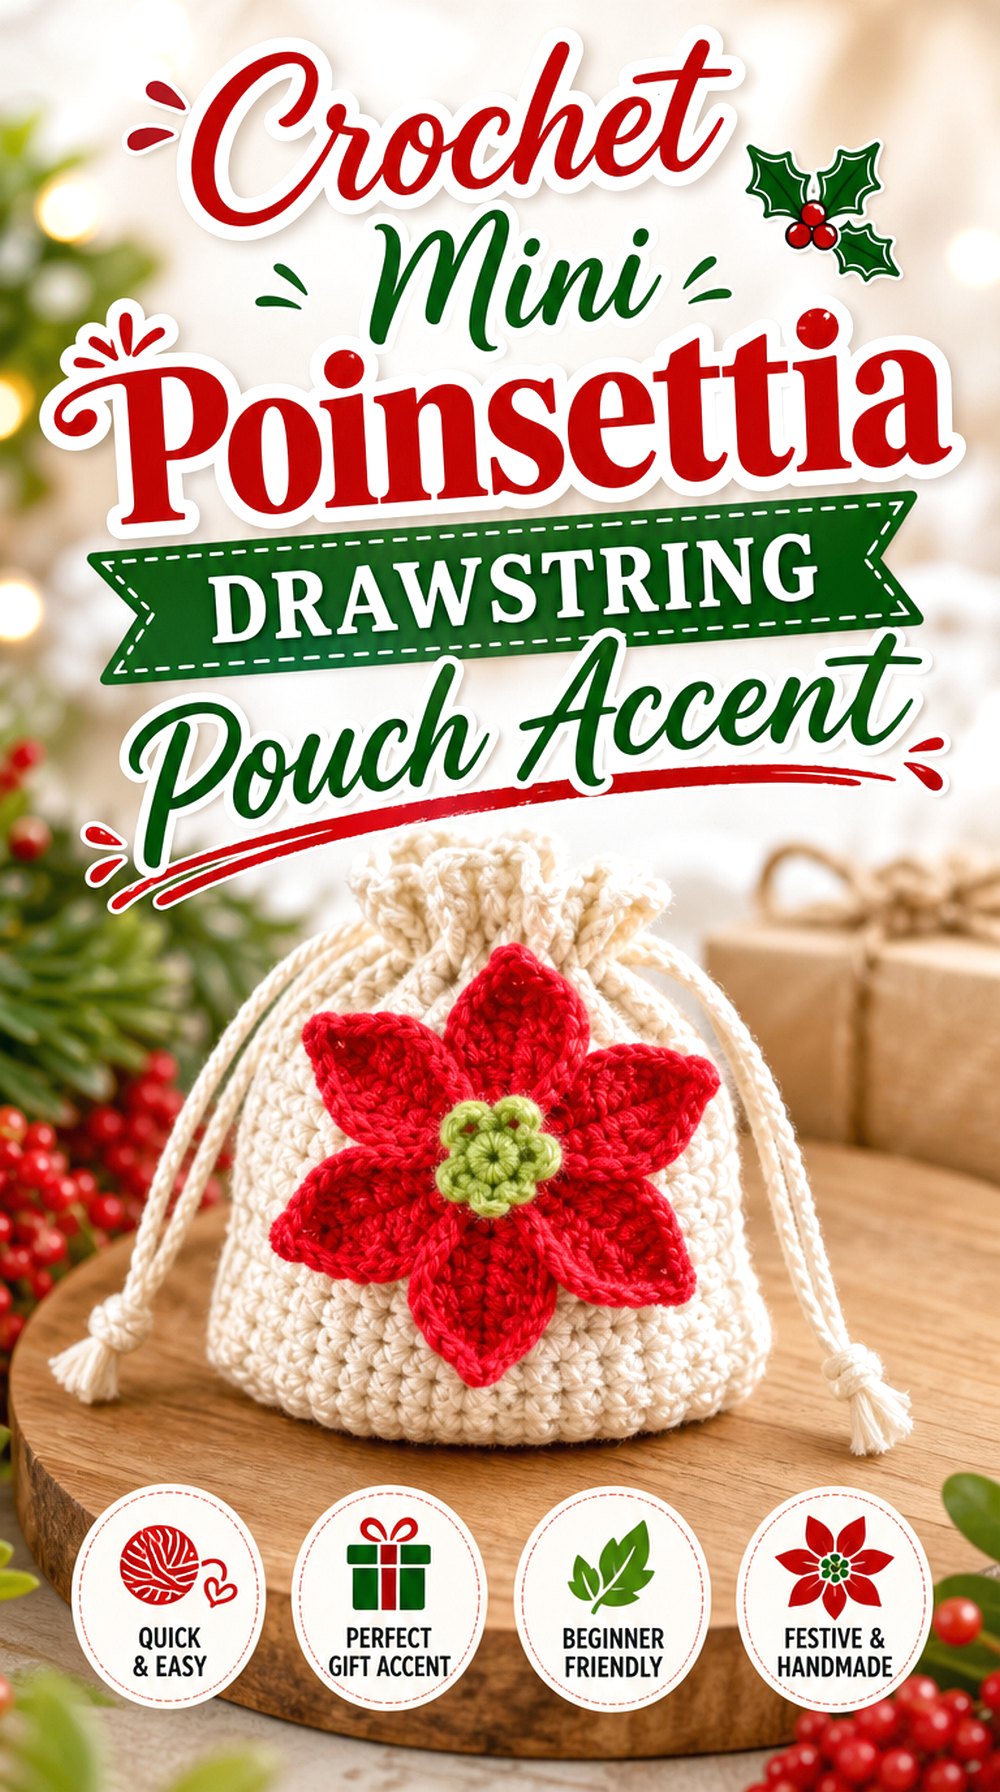
A mini poinsettia is useful when the bag is small and the decoration needs to stay light. This idea works especially well for a drawstring pouch, gift-card bag, or small keepsake pouch because the flower can sit near the tie without covering the whole front. The smaller scale also gives the bag a softer, less formal holiday look.
Unlike the large statement flower options, this one is about restraint. It lets the pouch shape, yarn color, and closure remain visible.
The Drawstring Area Needs Space
A mini flower near the top of a pouch should not interfere with the drawstring path. Readers should leave enough room for the tie to gather smoothly and for the bag mouth to open. If the poinsettia is placed too close to the closure, it may pull or fold when the pouch is cinched.
Small Details Show More Clearly Up Close
Mini motifs depend on neat finishing because every petal and center detail is visible at close range. This matters for gift pouches that someone may hold in their hand while opening. Check the final close-up in the tutorial and decide whether the flower size fits the pouch front before attaching it permanently.
Original Tutorial and Creator Credit
Creator: HappyBerry Crochet
Crochet Large Poinsettia Shoulder Bag Detail
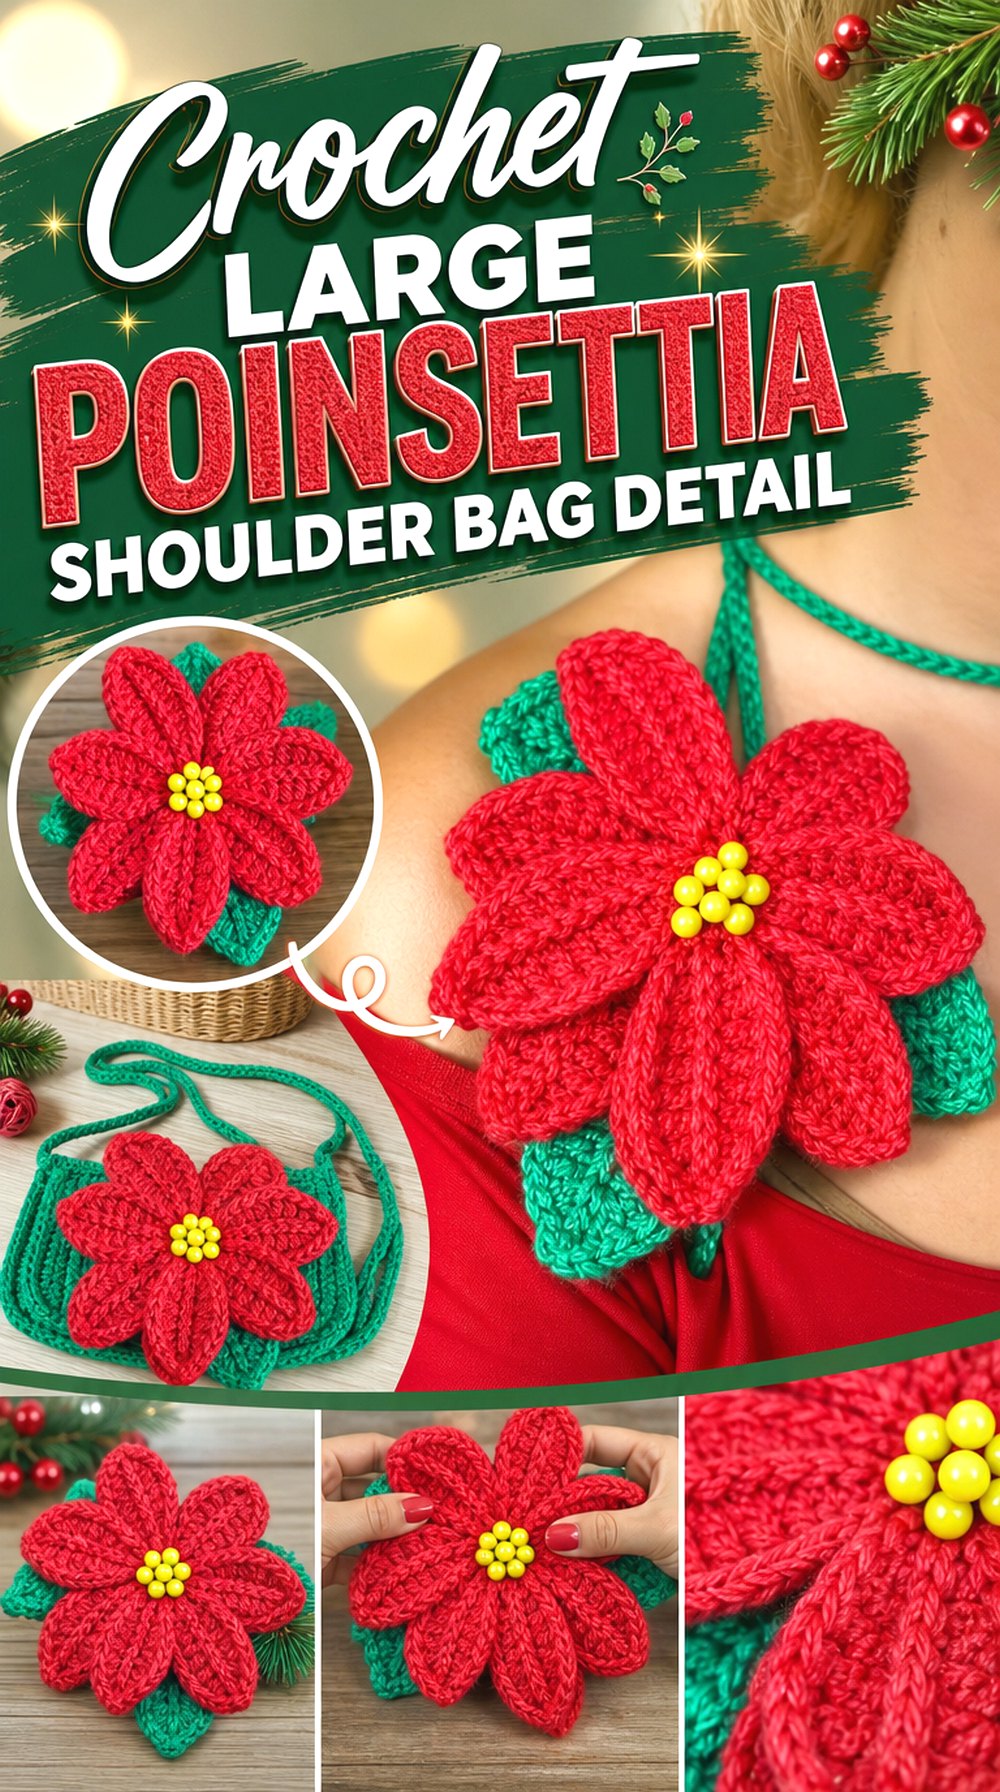
A larger poinsettia can turn a plain shoulder bag into a holiday statement piece. This idea works best when the bag has enough open front space for the flower to sit flat and remain visible. The flower can become the main decorative feature while the bag body stays simple.
This differs from a full floral handbag because the poinsettia can be treated as an accent. Readers may use it on a bag front, flap, or lower corner, depending on the bag’s shape and available surface.
Placement Controls the Finished Look
A large flower in the center feels bold and formal, while a flower placed off to one side feels softer. On a shoulder bag, placement also affects how the bag looks when worn. Readers should hold or pin the flower in place before attaching it, especially if the bag has a curved body or flap.
Do Not Assume the Accent Is Removable
Some poinsettia motifs can be sewn down, pinned, or attached in another way, but the source should be checked before deciding. A removable detail may be useful for seasonal wear, while a sewn flower gives a more finished look. The attachment method should match the bag fabric and the way the bag will be handled.
Original Tutorial and Creator Credit
Creator: Naztazia
Crochet Poinsettia Appliqué Clutch Decoration
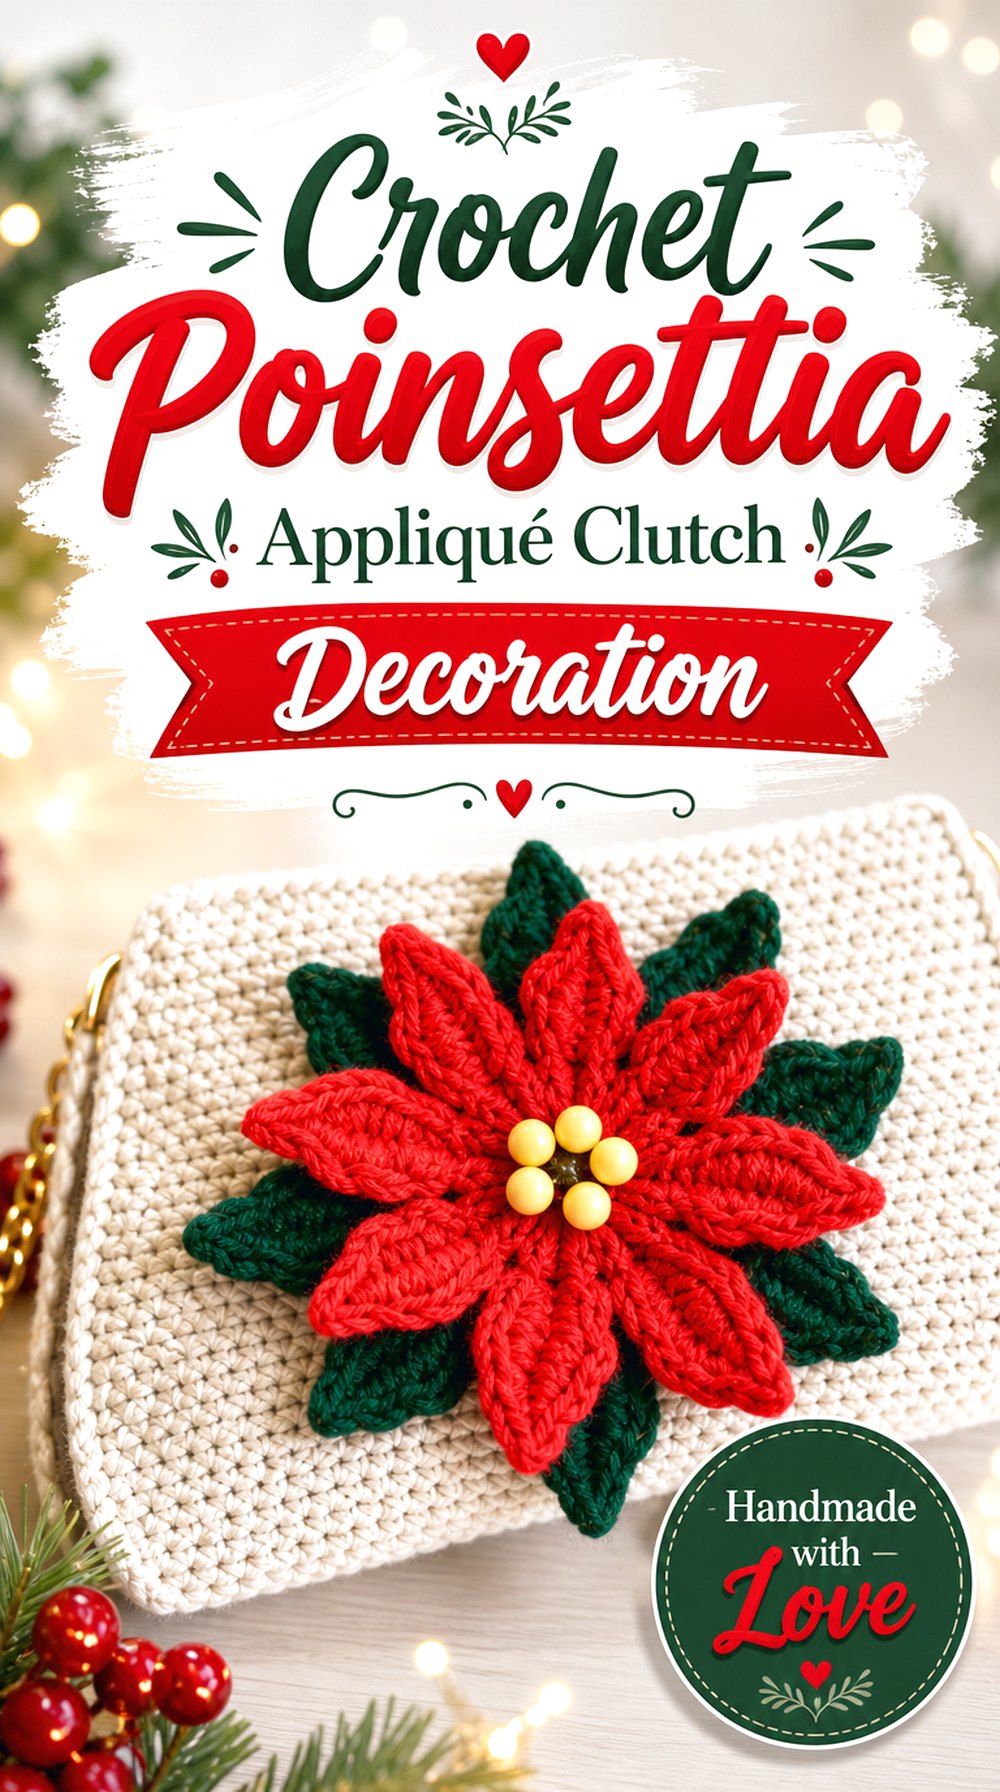
A flat clutch or envelope-style pouch is a good match for a poinsettia appliqué because the front surface gives the flower a clear display area. The appliqué format also lets the bag remain slim, which is useful when a bulky flower would make the closure awkward. This idea feels more polished than a dangling charm because the decoration sits directly on the bag.
It is a strong option for readers who want a holiday pouch without changing the whole bag structure.
A Flat Front Helps the Appliqué Sit Neatly
The smoother the clutch front, the easier it is to place a poinsettia without puckering. Textured or very stretchy bag fabric may make the flower look uneven after attachment. Before sewing it down, readers should check how the appliqué sits when the bag is empty and when something is inside.
Closure Clearance Is Important
A clutch usually depends on a flap, button, zipper, snap, or folded opening. The poinsettia should not cover the area that needs to open and close. If the flower is near a flap edge, check that the petals do not catch or bend each time the bag is used.
Original Tutorial and Creator Credit
Creator: Jayda InStitches
Crochet Layered Poinsettia Bag Charm
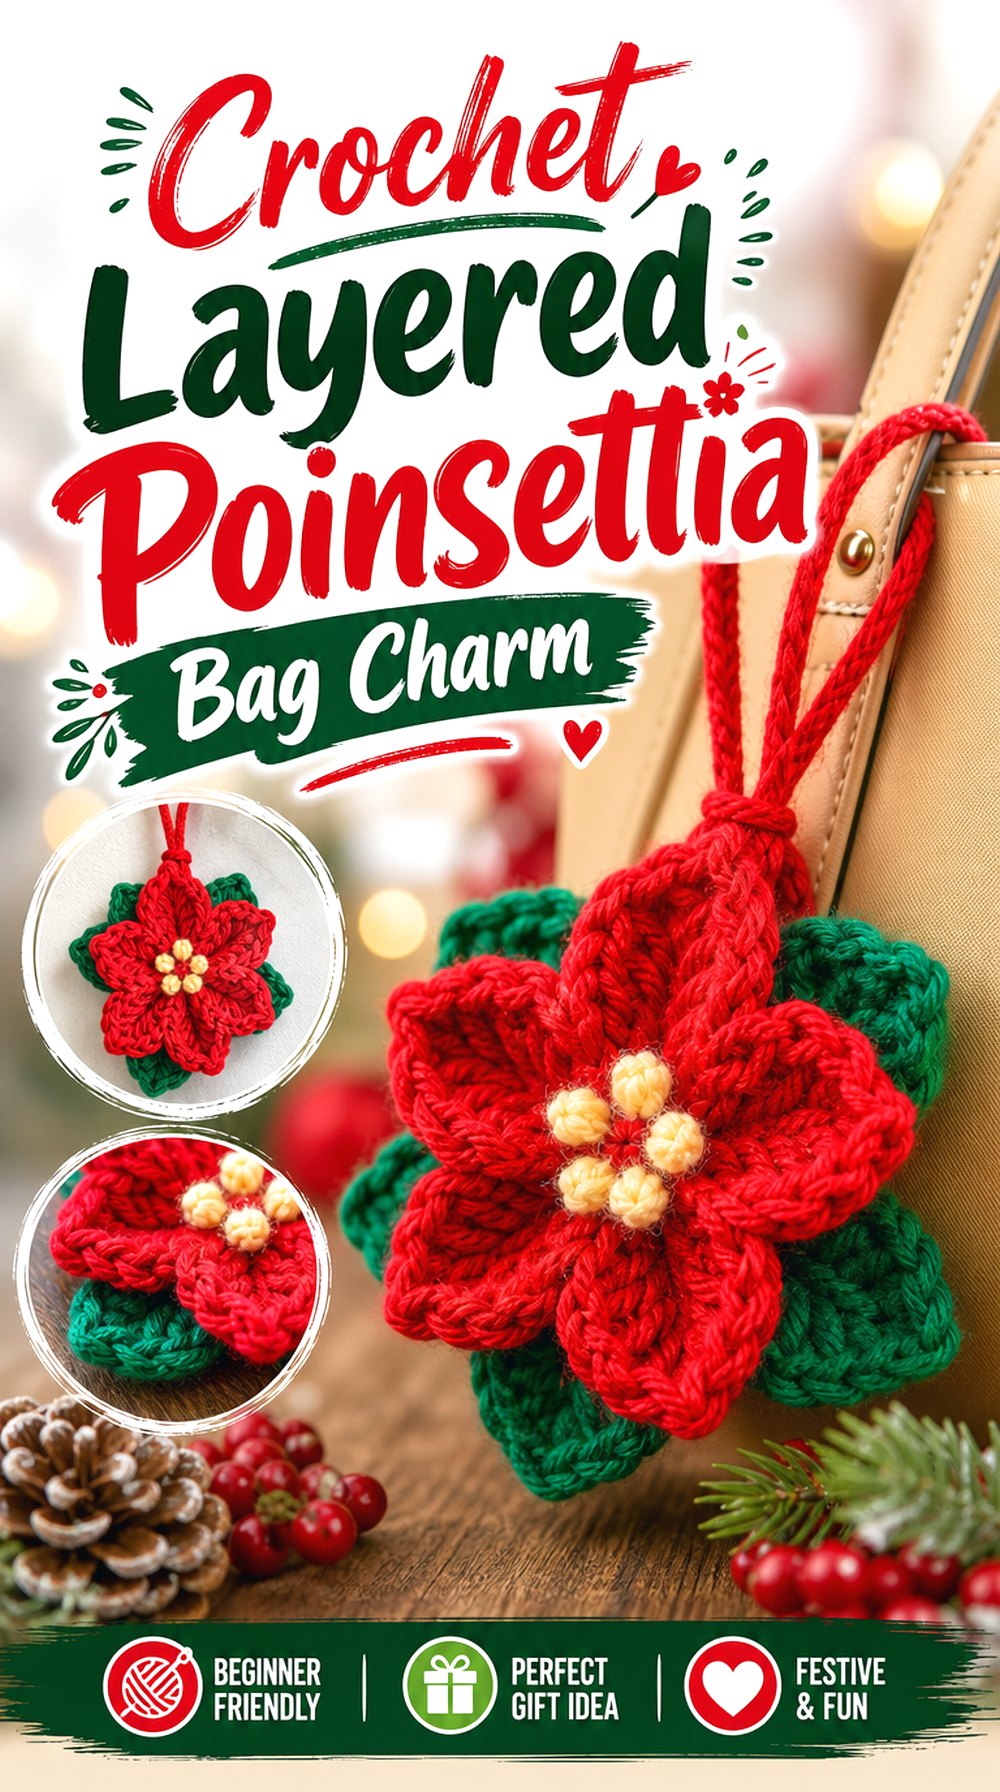
A layered poinsettia ornament can work as a bag charm when the bag itself does not need permanent decoration. This is useful for readers who want a seasonal touch on a tote, project bag, or gift bag but do not want to sew directly into the bag fabric. The layered look gives the flower more depth than a very flat appliqué.
This option is different because it can sit near a handle or drawstring rather than covering the bag front.
The Hanging Point Should Be Secure
A bag charm needs a clear attachment point, such as a handle join, drawstring, or ring. The tutorial may teach the poinsettia ornament itself, but readers should decide separately how it will attach to the bag. Avoid placing the charm where it can pull on a weak edge or block the opening.
Layered Flowers Need Room
A dimensional poinsettia can look crowded on a tiny pouch. It works better when there is enough empty space around it, especially if the petals lift away from the surface. Readers should compare the flower’s finished size with the bag before choosing this idea for a very small gift bag.
Original Tutorial and Creator Credit
Creator: Desert Blossom Crafts
Crochet Holly and Poinsettia Holiday Tote Accent
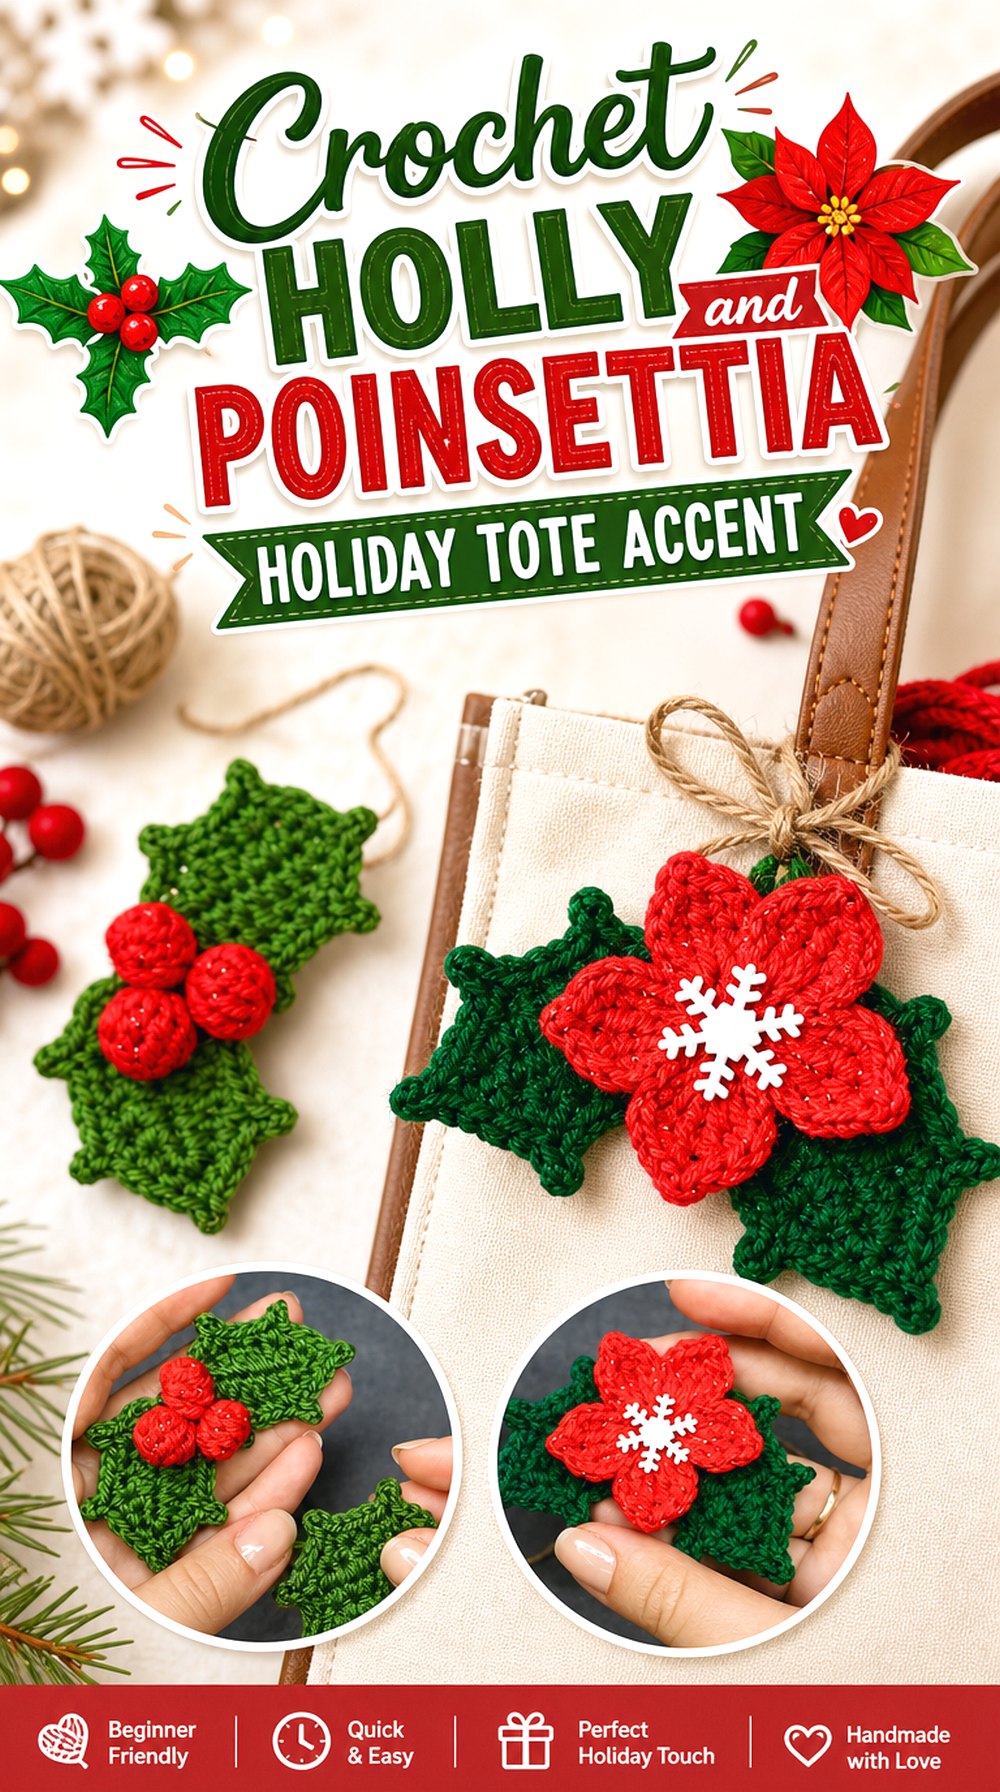
Combining holly leaves, berries, and a poinsettia can give a tote or gift bag a fuller Christmas arrangement. This idea works well when the bag front has enough space for a small cluster rather than one single flower. The extra greenery can frame the poinsettia and make the design feel more finished.
It is a good choice for readers who want a decorated holiday tote but do not want the flower to carry the whole design alone.
A Cluster Needs Breathing Room
Multiple motifs can look busy if they are placed too close together. On a tote, readers should leave space between the poinsettia, leaves, and any other decoration so the shapes remain readable. A simple bag body often works better for this idea than a heavily textured or multicolor background.
Keep the Motifs Away From Wear Points
Handles, bottom corners, and side seams get more movement than the center of the bag. If holly and poinsettia pieces are attached in those areas, they may bend or rub during use. A front-center or upper-front placement may keep the decorative cluster easier to see and less likely to interfere with carrying.
Original Tutorial and Creator Credit
Creator: Butterfly Craft DIY
Crochet Simple Poinsettia Bag Front Flower
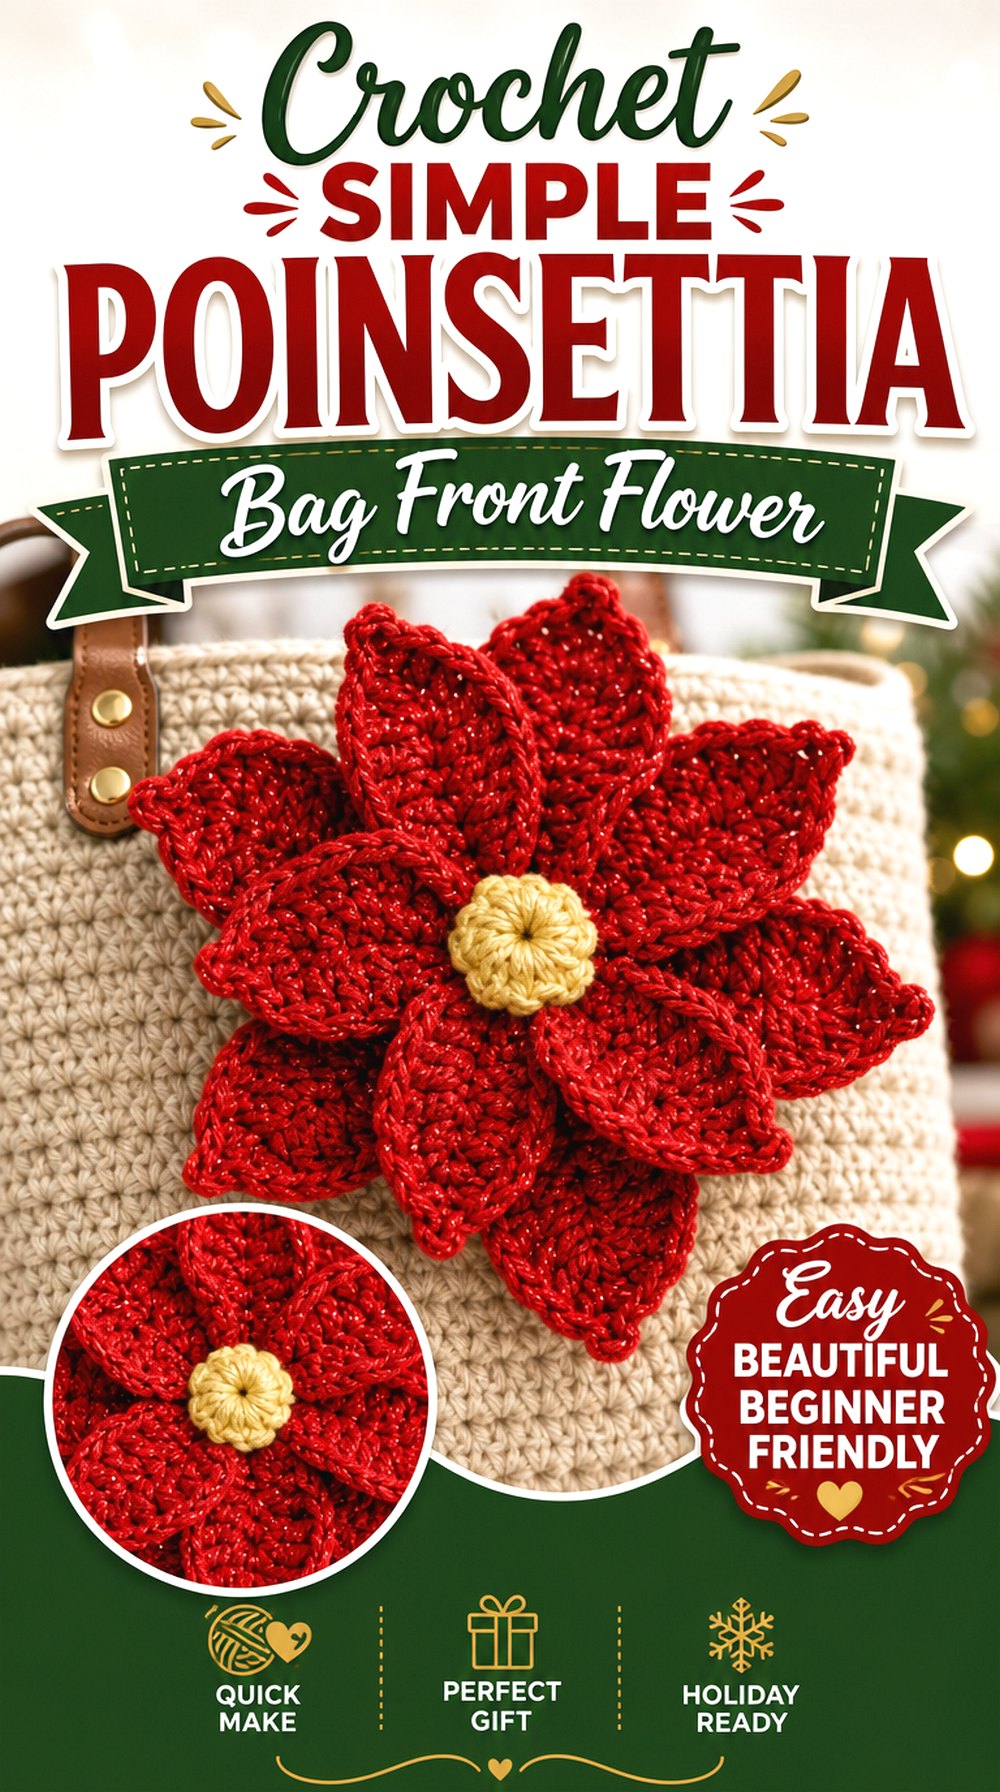
A simple poinsettia flower is the most flexible option in this list. It can be placed on a tote, pouch, market bag, project bag, or small Christmas gift bag, depending on the scale. Because the flower is separate from the bag base, readers can use it to refresh an existing handmade bag without starting a full new bag project.
This idea is less structured than the square panel and less dramatic than the full handbag, but it gives the most freedom in placement.
One Flower Can Change a Plain Bag
A single poinsettia placed well can make a plain red, cream, green, or neutral bag feel seasonal. The best placement depends on the bag shape: center front for a simple tote, lower corner for a casual pouch, or near the handle for a smaller accent. Pinning it first helps avoid a crowded finish.
Use the Original Counts for the Flower
The flower tutorial should be followed for exact stitch counts and shaping. Readers should avoid guessing petal placement from photos alone because small changes can affect the finished poinsettia shape. Once the flower is complete, the bag attachment can be planned around the finished size and weight of the motif.
Original Tutorial and Creator Credit
Creator: Bag-O-Day Crochet
Comparing These Crochet Poinsettia Bag Ideas
For the strongest bag-specific project, the full poinsettia handbag and Suzette stitch tote are the closest matches because the bag structure is part of the source. For smaller seasonal packaging, a gift bag or drawstring pouch accent makes more sense because the poinsettia can sit near the closure without needing a large bag body.
Readers who already have a favorite tote pattern may prefer the appliqué, ornament, square, or holly-and-poinsettia cluster ideas. Those options keep the original bag flexible while adding a holiday detail. The main checks are scale, attachment method, and whether the flower will interfere with straps, closures, or the opening.
Conclusion
Crochet poinsettia bag ideas work best when the flower size matches the bag’s purpose. A full floral handbag gives the boldest seasonal look, while a tote with one poinsettia feels more practical. Small drawstring pouches and gift bags benefit from mini flowers, and flat clutches look cleaner with appliqués that do not block the closure.
For readers who want a complete bag project, start with the full handbag or tote tutorials. For readers who already have a bag base, choose one of the poinsettia motif tutorials and use the original creator’s video for exact construction details.
FAQs
Can I use a poinsettia motif on any crochet bag?
A poinsettia motif can be added to many crochet bags, but the bag surface matters. A flat or lightly textured front usually gives the cleanest result. Very stretchy, lacy, or heavily textured bags may make the flower sit unevenly. Check the flower size first, then decide whether it belongs in the center, corner, flap, or handle area.
Which poinsettia bag idea is best for gift packaging?
A small drawstring pouch or gift bag is the most practical direction for holiday packaging. The opening should stay easy to fill, and the poinsettia should not block the closure. A mini flower near the top edge can look festive without making the bag hard to open or close.
Should the poinsettia be sewn on permanently?
That depends on how seasonal you want the bag to be. A sewn flower can look more finished, while a removable charm or pin-style accent lets the same bag work after the holidays. Check the creator’s tutorial for the poinsettia structure, then choose an attachment method that suits the bag fabric and use.
What should I check before adding a large poinsettia to a tote?
Check the tote’s front space, strap placement, and opening. A large flower can look beautiful, but it may crowd the bag if the front panel is small. Hold or pin the flower in place before attaching it so you can see whether it affects the opening, handle area, or overall balance.
Can I sell bags made from these YouTube tutorials?
Do not assume selling is allowed. Each creator may have different terms for finished items, pattern use, and credit. Check the video description, linked pattern page, or creator policies before selling anything made from a tutorial. Local labeling, safety, and business rules may also apply depending on where you sell.