Crochet wheat stems bring a softer handmade look to harvest decor, small vases, place settings, and neutral floral arrangements. This collection focuses on wheat-style stems and wheat ear projects that can be displayed alone or mixed into a simple bouquet. Some options are tall and structured, while others are compact enough for favors, flat accents, or small tabletop bundles.
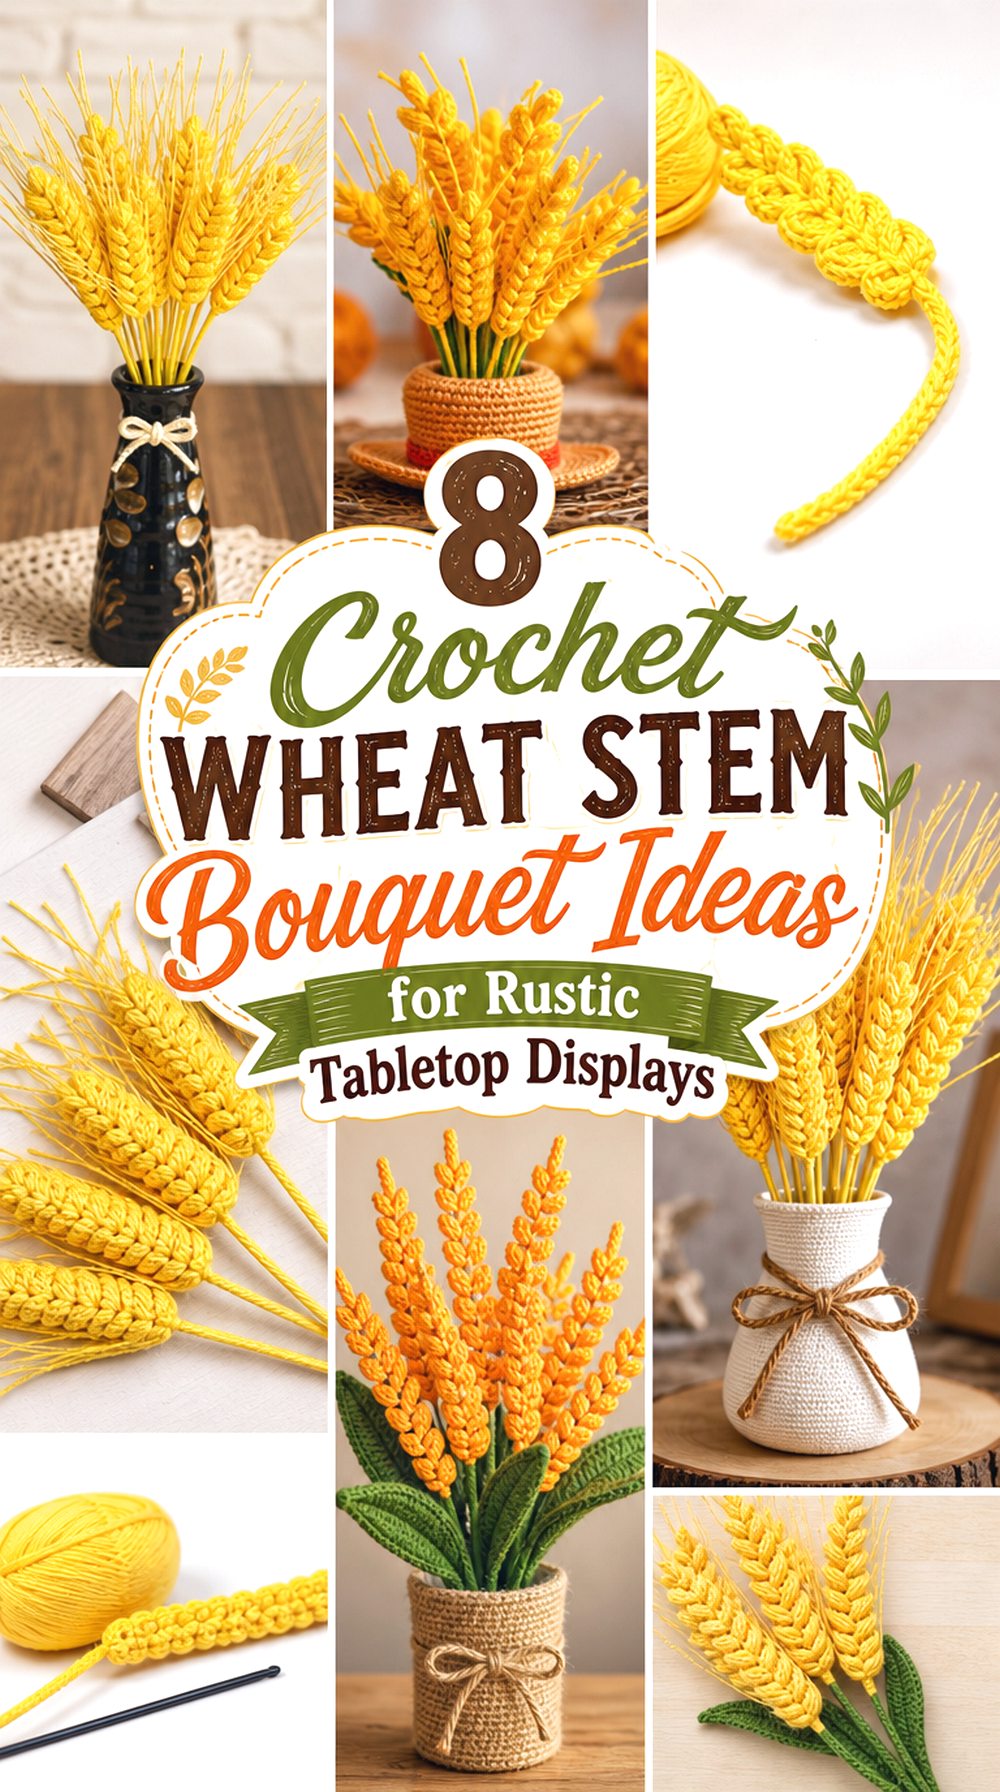
The main differences come from the finished shape, stem support, display style, and how much fullness each wheat head appears to have. Use the Quick List to compare the projects first, then choose the tutorial that best matches the kind of bouquet, vase, or rustic arrangement you want to make.
Quick List
- Crochet Tabletop Wheat Vase Bouquet
- Crochet Tall Wheat Plant Bouquet
- Crochet Wired Wheat Sheaf Stem
- Crochet Slim Wheat Accent Stem
- Crochet Simple Wheat Ear Spray
- Crochet Favor-Style Wheat Stem
- Crochet Mini Wheat Ears Bundle
- Crochet Flat Wheat Ear Floral Accent
Why These Crochet Wheat Stem Bouquets Are Worth Making
Crochet wheat stems work well when you want seasonal decor that feels calm rather than crowded. Their narrow shape makes them useful for small vases, table runners, shelf displays, gift wrapping, and autumn place settings. A few stems can stand alone, while a fuller bundle can look more like a harvest sheaf.
They are also useful as bouquet fillers because the long vertical line can balance rounder crochet flowers. Before choosing a tutorial, think about where the bouquet will sit, whether the stems need wire or another support, and whether you want a soft natural wheat color or a more decorative handmade version.
Crochet Tabletop Wheat Vase Bouquet
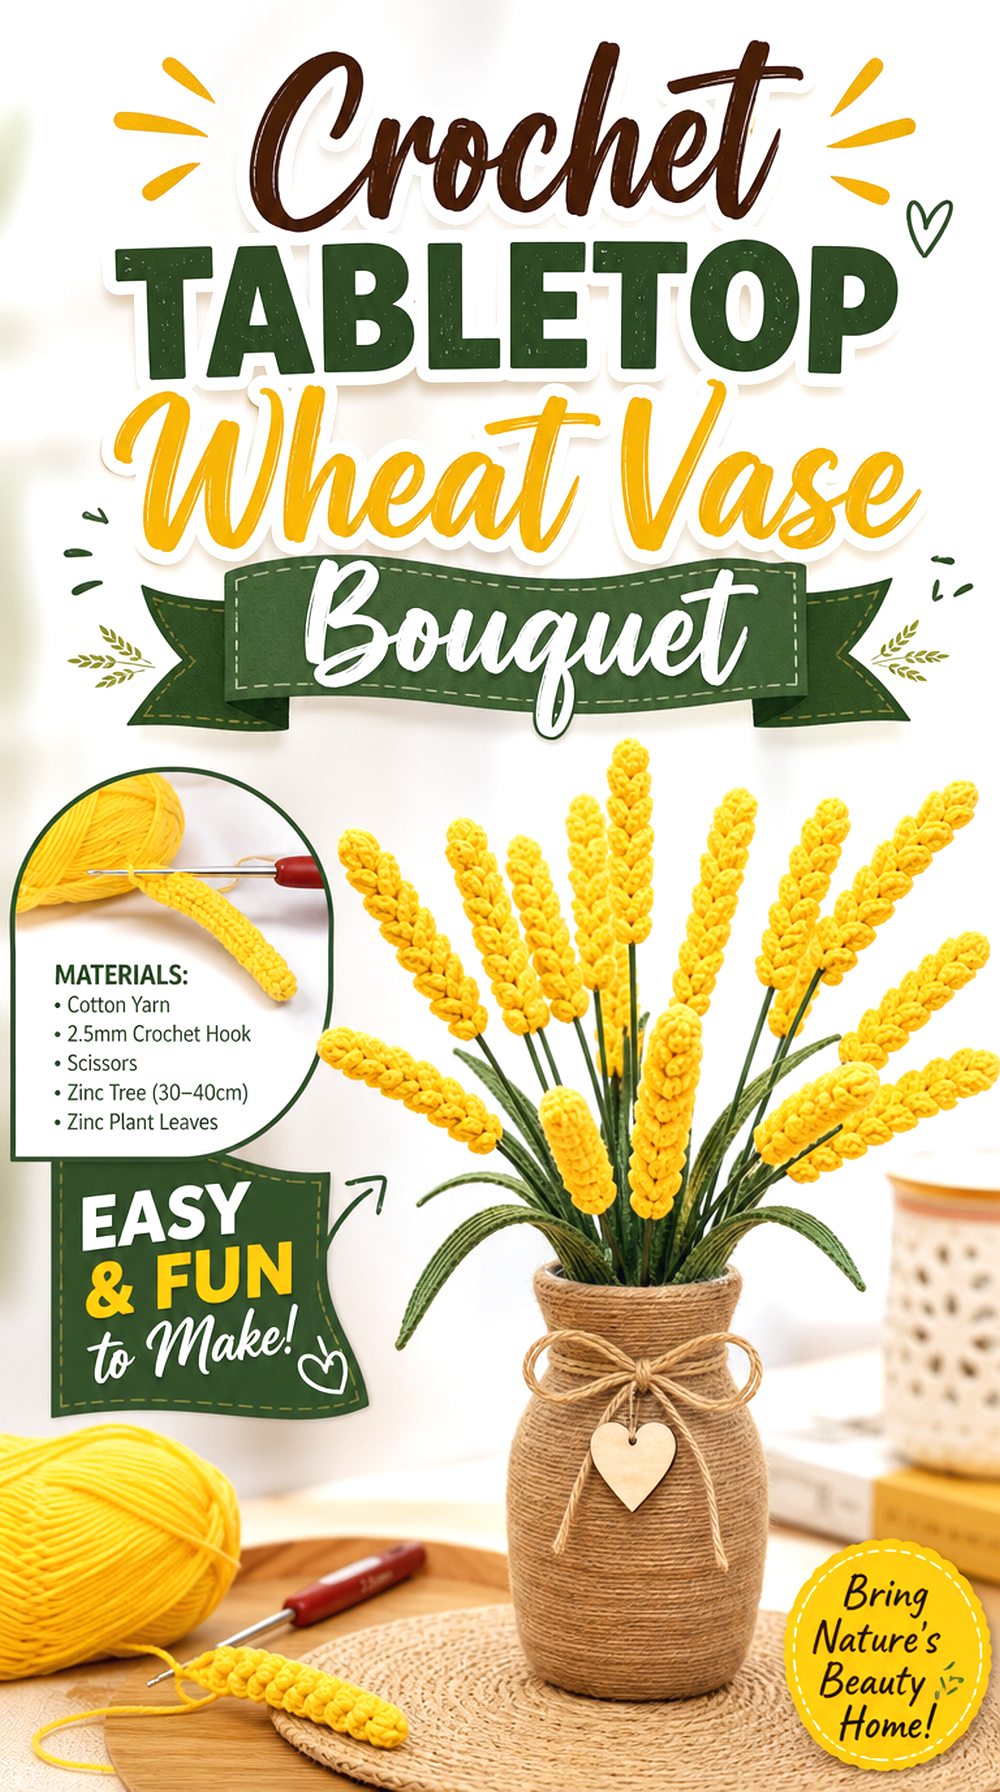
A small vase arrangement is a good direction when the finished wheat stems need to stand upright as a display piece. This project is centered on a tabletop wheat vase, so it fits the idea of a finished bouquet rather than only a loose motif. The wheat heads look narrow and vertical, which may suit a shelf, desk, side table, or simple autumn centerpiece.
This option is different from the single-stem projects because the display format is already part of the idea. Readers planning a compact arrangement should check the finished height against the vase they want to use.
Choose the Display Vase First
A tabletop wheat bouquet depends heavily on the container. A narrow vase may keep the stems gathered, while a wider opening can make them spread out and look less controlled. Before beginning, compare the tutorial’s finished look with the vase or jar you plan to use. The goal is not just to crochet wheat pieces, but to create a display that stands neatly without crowding the top.
Check the Stem Support
Wheat-style bouquets usually need enough structure to hold the heads upright. The source title points to a tabletop vase project, so stem support is an important detail to review while watching. Look for whether the stems are made around wire, attached to sticks, or stabilized another way. That choice affects how the bouquet sits in a vase and how easy it is to adjust the final spread.
Keep the Arrangement Uncluttered
Because wheat stems are narrow, a small bouquet can lose its shape if too many extra pieces are added around it. This design works best when the wheat ears remain the main focus. After finishing the first few stems, pause and compare the height, spacing, and direction before adding more. A clean bundle often looks more realistic than an overfilled arrangement.
Original Tutorial and Creator Credit
Creator: BunnyPink
Crochet Tall Wheat Plant Bouquet
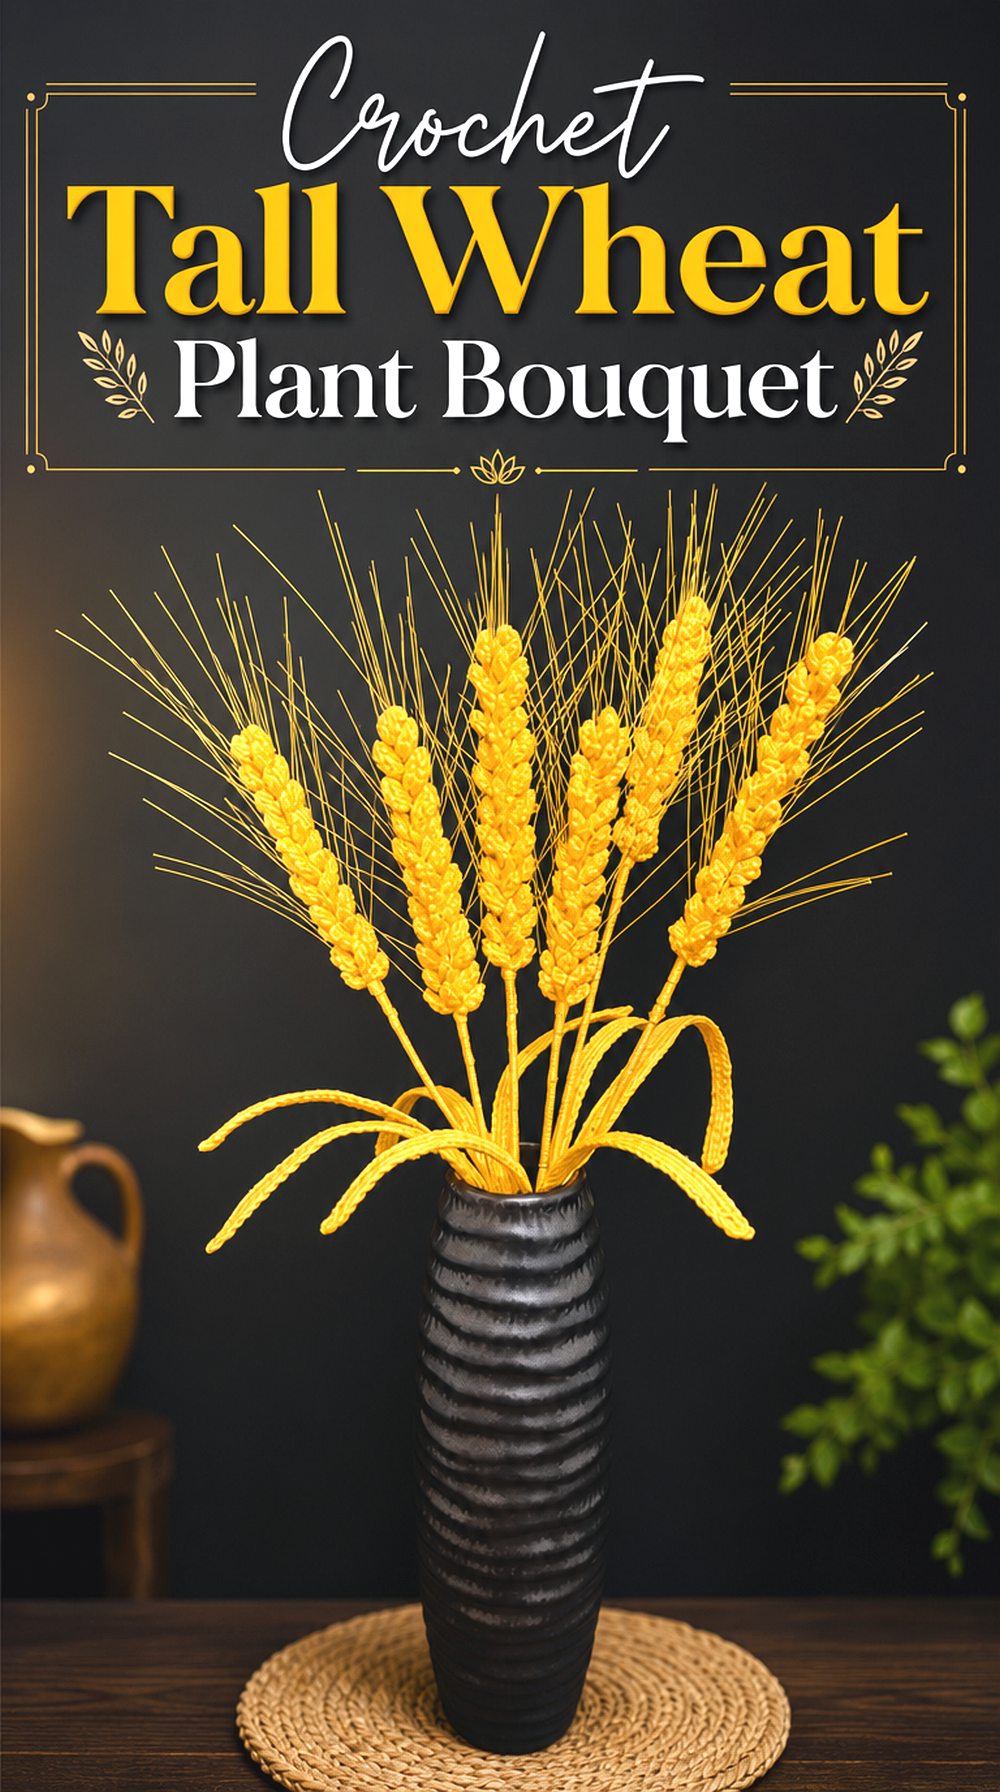
This wheat plant tutorial is useful for a taller, more botanical-looking bouquet. The project description lists a wheat plant made with crochet skills, so it suits readers who want stems that feel more like a standing plant arrangement than a flat applique. The finished effect can work in a slim vase, a small pot, or a harvest display with extra space above the container.
Unlike the tabletop vase idea, this one is more about vertical height and plant-like presence. That makes finished proportion especially important before choosing a display spot.
Plan Around Height
A tall wheat plant can look graceful, but only if the container and placement support the height. Check the finished view before deciding whether this belongs on a shelf, table, or floor-level arrangement. If the display area is low or shallow, the stems may feel too long. A taller vase or deeper pot can help the bouquet look intentional rather than top-heavy.
Review the Material List
The source description includes several supplies for the wheat plant, so it is worth reviewing the full material list before buying anything. Avoid assuming that regular yarn and a hook are the only items needed. Plant-style crochet decor may require shaping, attachment, or finishing supplies. Confirm what is listed, then decide whether you already have suitable tools for the final assembly.
Look Closely at the Plant Shape
For a wheat plant bouquet, the final silhouette matters as much as the individual stitches. Watch for how the wheat heads angle away from the main stems and how much space sits between them. A plant-like result usually needs variation rather than a perfectly stiff line. Compare the shape as you work so the stems do not all lean in the same direction.
Crochet Wired Wheat Sheaf Stem
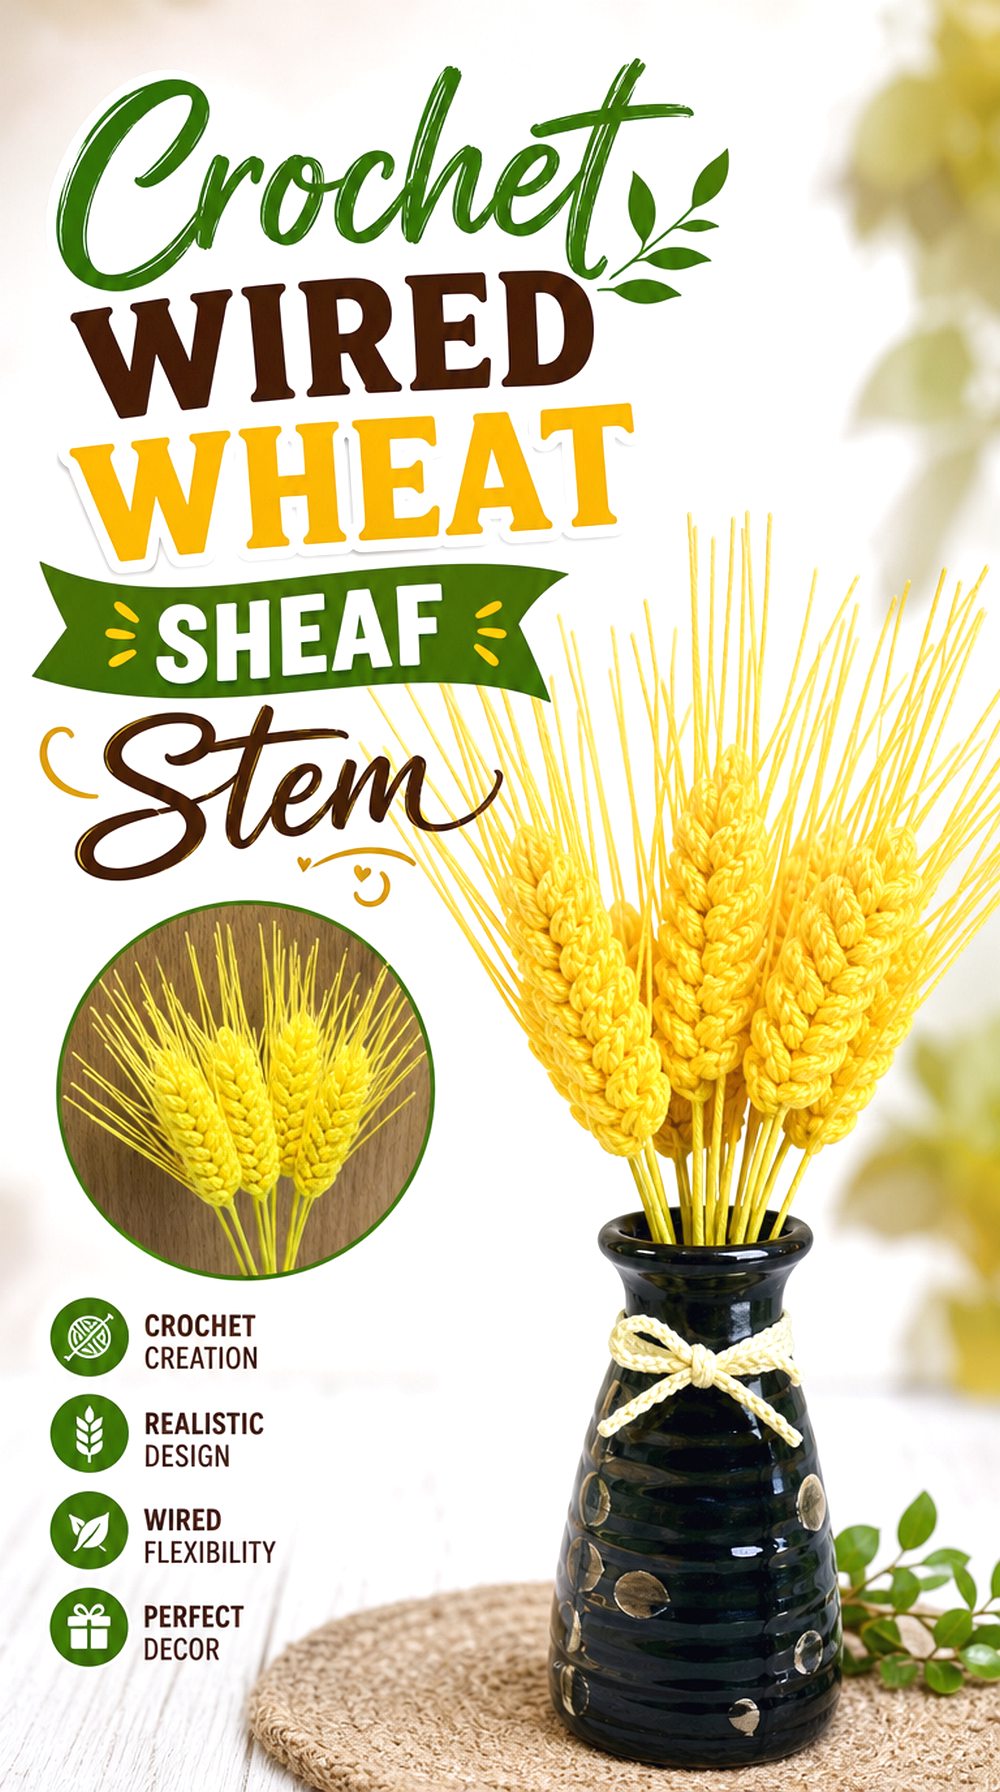
A wired wheat sheaf is helpful when the bouquet needs firm stems that can be gathered, bent, or arranged into a fuller bundle. This tutorial source is part of an easy crochet wheat project and includes an assembling stage, making it especially relevant for readers who care about how the wheat pieces become stems. The finished look can suit a tied sheaf, a small rustic bouquet, or a vase filler.
This idea stands apart from the plant-style version because the focus is on assembly and gathered wheat stems rather than a complete potted plant effect.
Check the Assembly Stage
The assembly section is the most important part of this project. Wheat heads may look neat on their own, but the bouquet depends on how they are attached and aligned. Watch the joining and wrapping areas carefully before fixing anything permanently. A small change in spacing can make the finished sheaf look either natural and open or crowded and stiff.
Think About Stem Flexibility
A wired stem can make the bouquet easier to position, but it also means the finished item may hold bends and angles. Decide whether you want a straight sheaf, a slightly fanned display, or stems that curve gently in a vase. Do not rely on the bouquet for heavy use unless the creator clearly confirms how the finished structure is meant to hold up.
Confirm the Full Tutorial Path
This wheat project has separate crochet and assembly information, so viewers should make sure they are following the correct part for the stage they need. The assembly video is useful for turning pieces into stems, while the earlier crochet section supports the wheat pieces themselves. Check the creator’s linked continuation before starting so the project does not stop halfway through the bouquet process.
Original Tutorial and Creator Credit
Creator: Gonkui Crochet
Crochet Slim Wheat Accent Stem
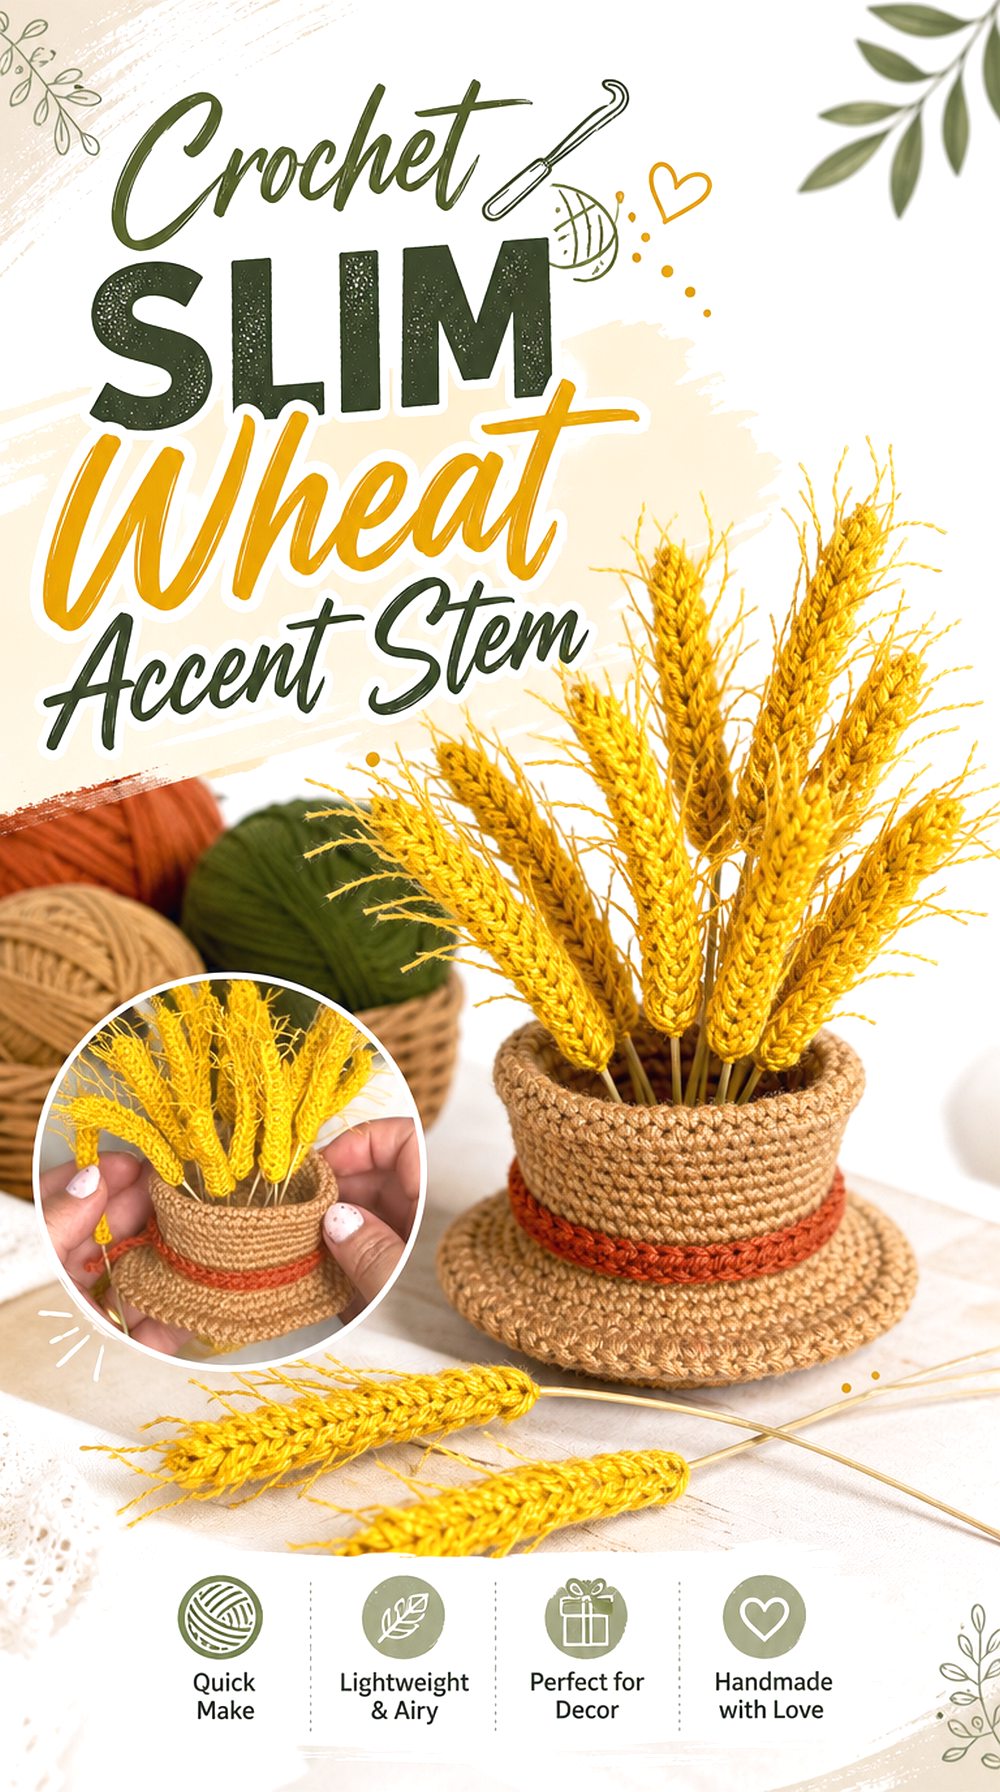
A slim wheat accent stem works well when the bouquet needs a light filler rather than a heavy centerpiece. This Pampino Crochet tutorial focuses directly on crocheting wheat, and the finished idea can be used as a narrow grain element for autumn displays, harvest gnomes, or small decorative bundles. The shape is less like a full plant and more like a single accent piece.
That makes it a useful option for readers who want to make several stems and arrange them with other crochet flowers without making the bouquet too dense.
Use It as a Filler Stem
Slim wheat stems are useful because they can sit between larger crochet flowers without covering them. In a mixed bouquet, place them where you need height or a dry-grass look. Their narrow form can soften the edges of a round arrangement. Before making many of them, decide whether the bouquet needs a few tall accents or a fuller group of repeated wheat pieces.
Confirm the Finished Length
Length matters more on a narrow wheat stem than it might on a small applique. If the stem is too short, it may disappear inside a vase. If it is too long, the head can lean away from the rest of the bouquet. Check the finished view and compare it with the container you plan to use before committing to a full set.
Keep a Simple Progress Note
When making several slim stems, small differences can show quickly. Keep a simple note of the yarn, hook, and any creator-specific guidance you follow so later stems match the first one. This is especially helpful if you pause between sessions. Matching stems do not have to be identical, but a consistent base helps the final bouquet look planned.
Original Tutorial and Creator Credit
Creator: Pampino Crochet
Crochet Simple Wheat Ear Spray
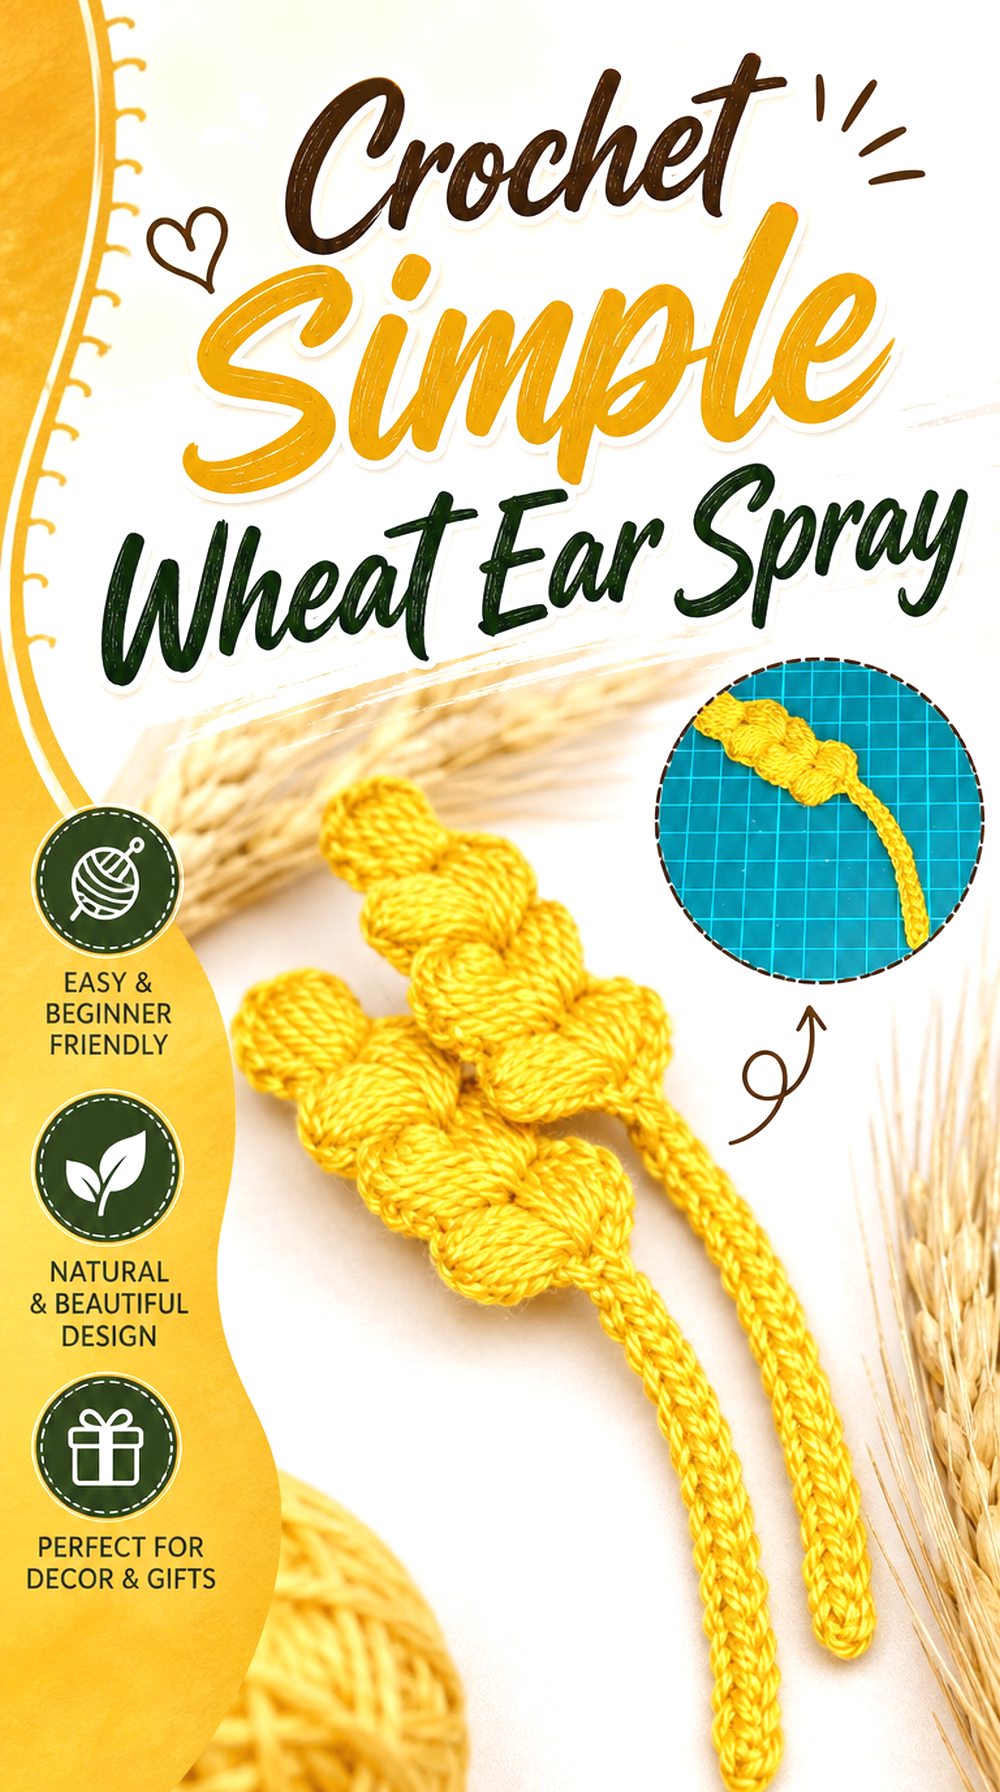
A simple wheat ear spray is a practical option when the focus is the grain head more than a complicated bouquet structure. This tutorial is specifically titled as a crochet wheat project, making it useful for readers who want a clear wheat ear shape to repeat in a bundle. The finished piece can be tied into a small sheaf, placed with dried-looking crochet flowers, or used as a rustic accent on gift wrap.
Compared with the vase and plant versions, this idea feels more flexible because the same wheat ear can be repeated for different displays.
Decide How Many Ears You Need
A single wheat ear can be decorative, but a bouquet usually needs repetition. Before starting a full bundle, decide whether you want a small tied spray, a medium vase filler, or a thicker sheaf. That decision affects how many pieces you will need and how much time the project may take. Make one sample first so the size and texture fit the arrangement.
Check the Wheat Head Definition
The value of this project is the wheat ear shape, so the top section should be easy to recognize. Look for clear grain texture, a narrow profile, and a stem that does not overpower the head. If your first piece looks too flat or too loose, review the close-up sections of the tutorial before making the rest of the bouquet.
Review Source Terms Before Selling
A wheat spray can look giftable, but selling finished pieces should not be assumed. Check the creator’s description, pinned comments, or linked pattern terms before using the project for market items. Also avoid reusing the creator’s photos, screenshots, or video frames for listings. The safest approach is to follow the tutorial for your own making and create original photos only of your finished work.
Original Tutorial and Creator Credit
Creator: Crochet By MM
Crochet Favor Style Wheat Stem
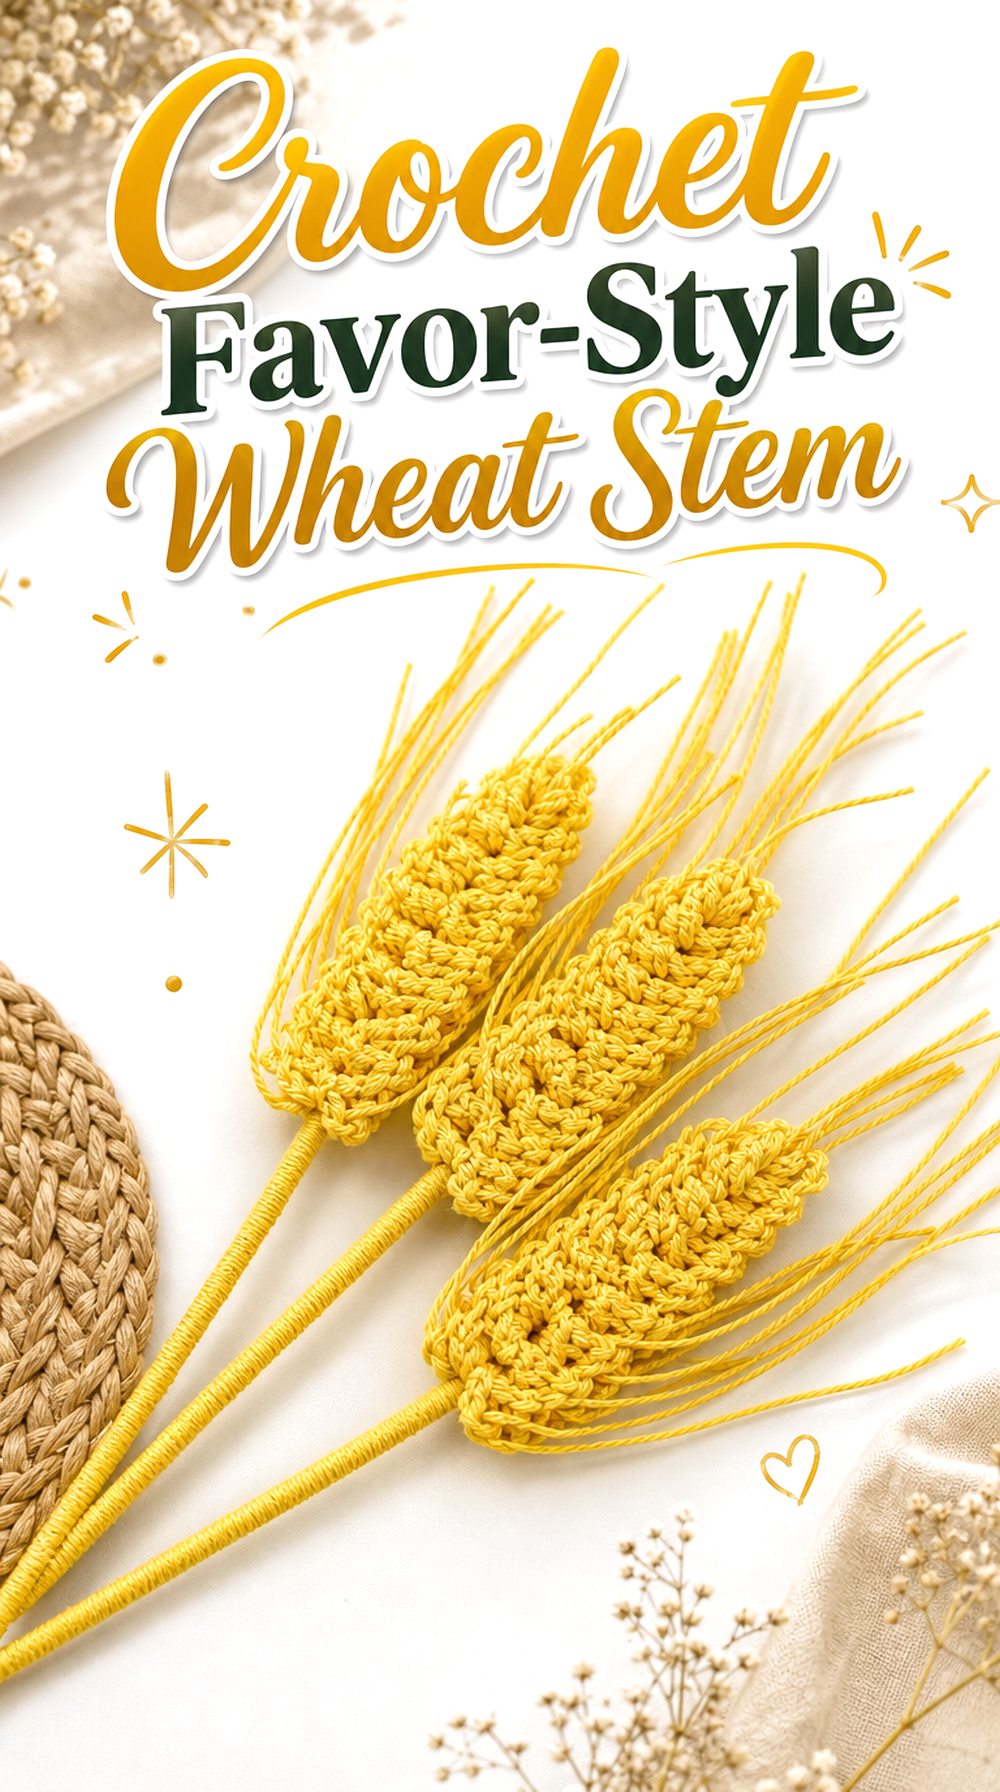
This Italian wheat ear tutorial is especially useful for a favor-style display because the description mentions uses such as small keepsakes and place settings. The project uses a wheat ear form that can be attached to a simple support, making it suitable for a single-stem accent, rustic favor, or small tied bundle. It has a different feel from a vase bouquet because the finished item can stand alone as a decorative token.
Readers planning event decor should focus on neat finishing, consistent sizing, and how the stem will be presented on a table.
Match It to the Occasion
A favor-style wheat stem can work for harvest tables, rustic celebrations, or simple place settings when the scale is controlled. The key is to match the finished piece to the setting rather than making it too large. If it will sit beside a plate, card, or small gift, check that the wheat head stays visible without taking over the table space.
Check the Attachment Method
This project includes a supported wheat ear format, so the attachment point deserves close attention. A loose top can twist or lean, especially if the stem is handled as a favor. Watch how the wheat piece meets its support and confirm what adhesive or finishing supply the creator uses. Do not substitute support materials without thinking through size, weight, and final appearance.
Make a Sample Before Repeating
Favor-style projects are often made in multiples, so one sample can prevent a lot of uneven results. Use the first piece to check size, firmness, and how the stem looks from the front. If it will be tied with ribbon or placed with a tag, test that presentation too. Once the sample looks right, the rest of the set can stay more consistent.
Original Tutorial and Creator Credit
Creator: Passione Uncinetto
Crochet Mini Wheat Ears Bundle
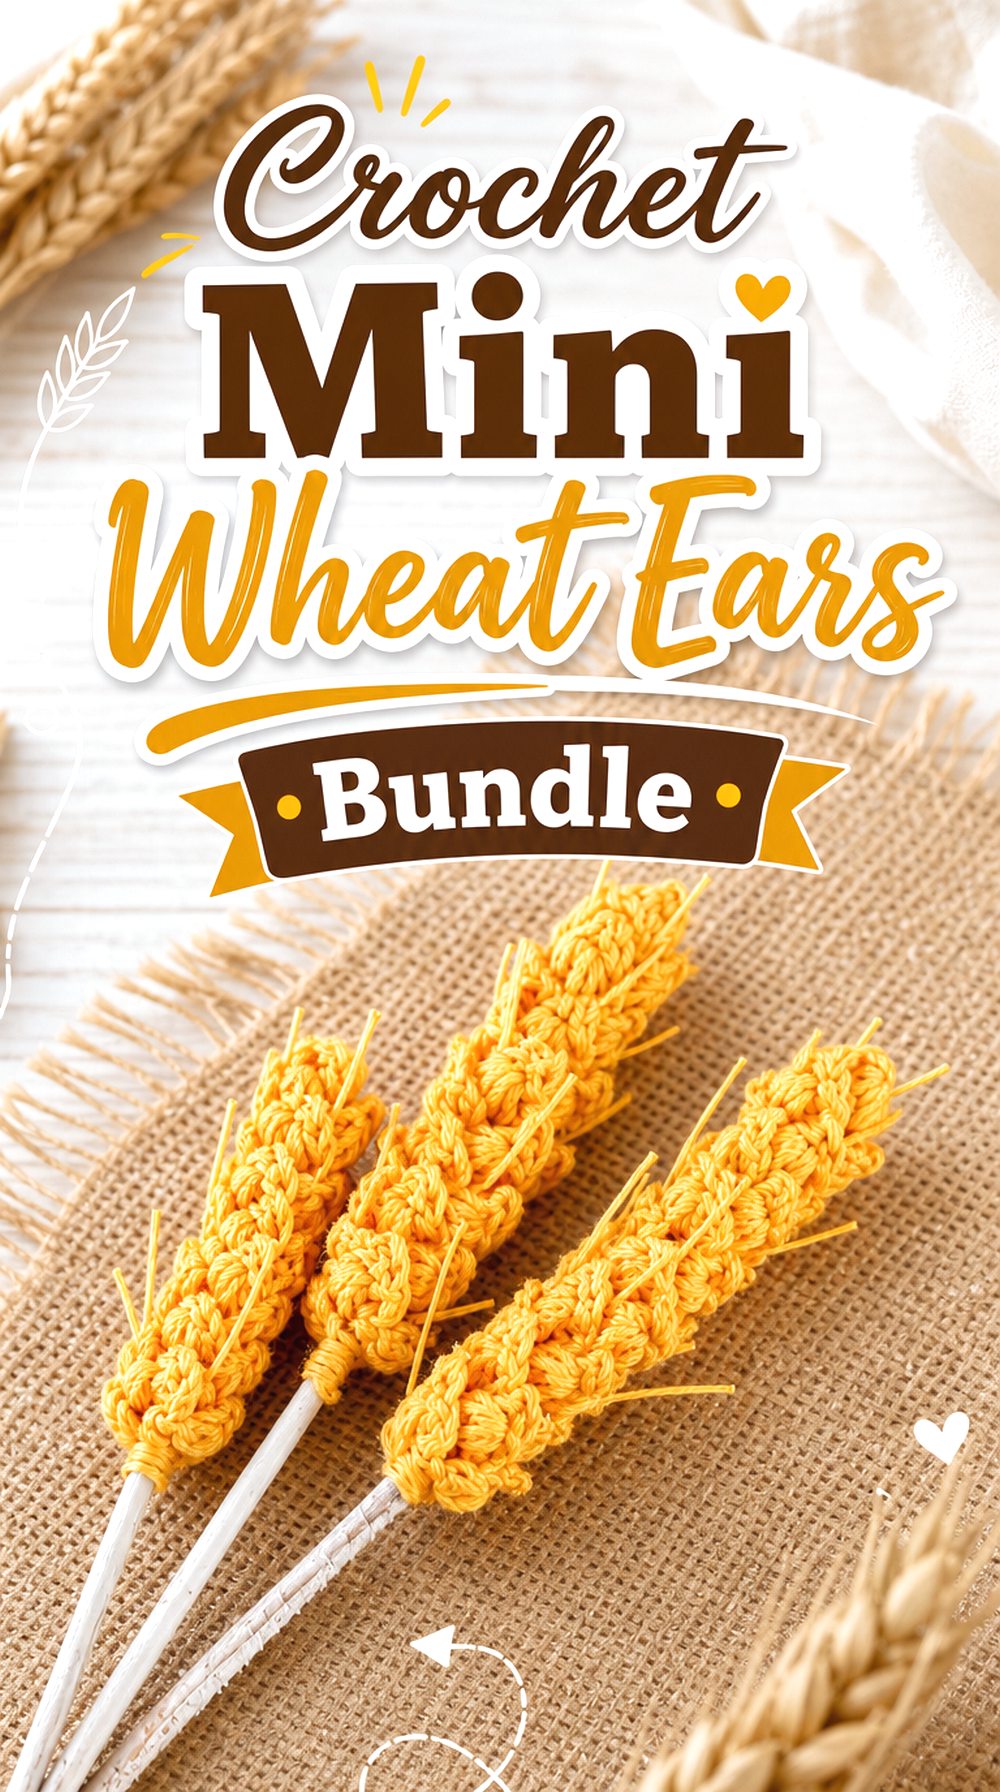
Mini wheat ears are useful when a full-size bouquet would feel too tall or formal. This tutorial is titled as a super easy wheat ears project, and the finished idea suits compact bundles, small jars, handmade cards, gift toppers, or grouped table accents. The smaller scale makes the wheat shape feel lighter and easier to place around other decor.
This project differs from the tall plant and wired sheaf because the main value is compact repetition. A few mini ears can make a small harvest bundle without needing a large vase or deep container.
Think About Small-Scale Display
Mini wheat ears need a display plan that suits their size. A tall vase may swallow them, while a low jar, tied bundle, or flat place setting may show them better. Before making several, decide whether they will stand upright, lie across a napkin, or attach to a gift. The display choice should guide how many pieces you make.
Keep the Shape Readable
Small crochet pieces can lose detail if the yarn is too fuzzy or the tension changes too much. Watch the finished wheat ear closely and aim for a clear outline rather than only a textured strip. If the grain head is meant to be the main feature, it should still read as wheat when viewed from a normal table distance.
Store Them Without Crushing
Compact wheat ears may be easy to store, but the heads can flatten if they are pressed under heavier decor. Keep finished stems in a shallow box or loose bundle, especially if they will be reused for seasonal decorating. If wire or sticks are included, store them straight enough that the next display does not require major reshaping.
Original Tutorial and Creator Credit
Creator: Inspiraciona Crochet
Crochet Flat Wheat Ear Floral Accent
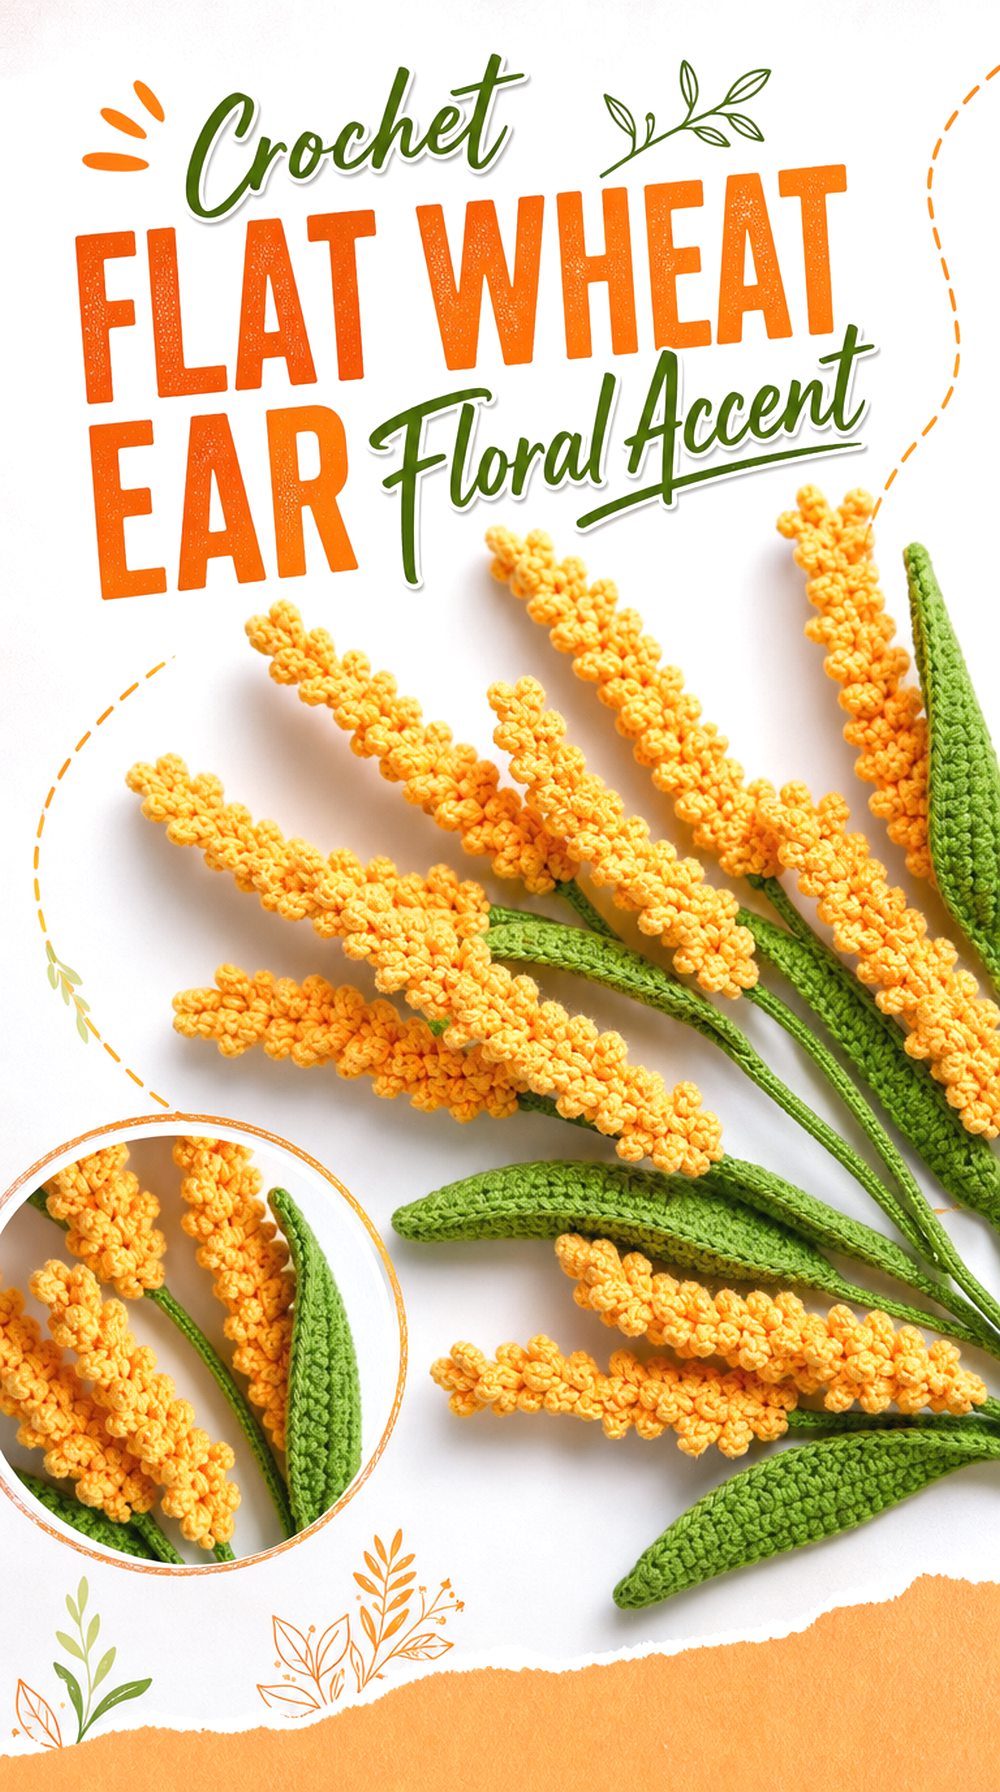
A flat wheat ear floral accent is useful when the project needs to decorate another item instead of standing in a vase. This tutorial is labeled as a flower crochet wheat ear project, and the flatter look can work for applique-style bouquet cards, framed harvest decor, bag accents, or a layered floral arrangement. It is not the same as a tall stem bouquet, but it adds a wheat motif where a dimensional stem may be too bulky.
This option rounds out the list by giving readers a decorative surface idea rather than another upright vase piece.
Use It Where Height Is Limited
Flat wheat accents are helpful when a full stem would get in the way. They can sit on a card, fabric panel, wall hanging, or gift wrap without needing a vase. For bouquet-themed decor, place the flat wheat beside crochet flowers or leaves so it reads as part of a harvest arrangement. Keep the background simple enough that the wheat shape remains visible.
Check the Front View
Because this project is more surface-focused, the front view matters most. Look at the finished motif before deciding where to attach it. The wheat ear should be recognizable from the direction people will see it. If it will go on a bag or wall piece, check the angle carefully so the grain head does not look upside down or crowded.
Avoid Replacing the Tutorial
A flat motif can look simple, but the article should not recreate the creator’s pattern. Use the original tutorial for exact stitch placement, counts, and shaping. For your own project planning, focus on where the finished wheat accent will be used, how it will be displayed, and whether it needs backing or attachment support for the surface you choose.
Conclusion
These crochet wheat stem bouquet ideas range from small tabletop displays to taller plant-style stems, slim fillers, favor pieces, mini bundles, and flat wheat accents. Choose the vase bouquet if you want a ready display, the wired sheaf if shaping matters, or the mini ears if you need small harvest details for gifts or place settings. The flat wheat accent is better for surface decor than upright arrangements. For exact construction details, follow the original tutorials linked with each creator credit.
FAQs
How do I choose the right crochet wheat stem project?
Start with the display location. A tall vase needs longer, more structured stems, while a place setting or gift topper works better with mini wheat ears or a flat accent. If the bouquet will stand upright, check whether the tutorial includes stem support, assembly guidance, or a clear final display view.
Can crochet wheat stems be mixed with crochet flowers?
Yes, crochet wheat stems can work as bouquet fillers beside rounder flowers, leaves, or dried-flower-style crochet pieces. Keep the wheat visible by placing it slightly higher or near the outer edge of the arrangement. Avoid overcrowding the center, because the narrow grain shape can disappear behind larger petals.
What should I confirm before buying supplies?
Check the creator’s material list, hook information, stem support, and any finishing supplies before buying yarn. Wheat bouquet projects may need more than yarn and a hook, especially if they stand in a vase. If the finished size is not clear, make one sample stem before purchasing supplies for a full bundle.
How should crochet wheat stem bouquets be stored?
Store finished wheat stems loosely so the heads do not flatten or bend out of shape. A shallow box, tissue layer, or upright container can help protect the stems between seasons. Keep them away from damp areas unless the creator gives care guidance for the exact yarn and finishing materials used.
Can finished crochet wheat bouquets be sold?
Do not assume selling is allowed just because a tutorial is public. Check the creator’s description, linked pattern terms, pinned comments, or website terms first. Also use your own photos of finished pieces and avoid copying thumbnails, screenshots, charts, captions, or written instructions from the tutorial.