A crochet cornucopia centerpiece can be built around a full horn-shaped piece, a smaller cone, or a collection of harvest fillers arranged together on the table. This list includes several true cornucopia tutorials, plus pumpkins, Indian corn, fruit, acorns, and leaves that can help fill or frame the display.
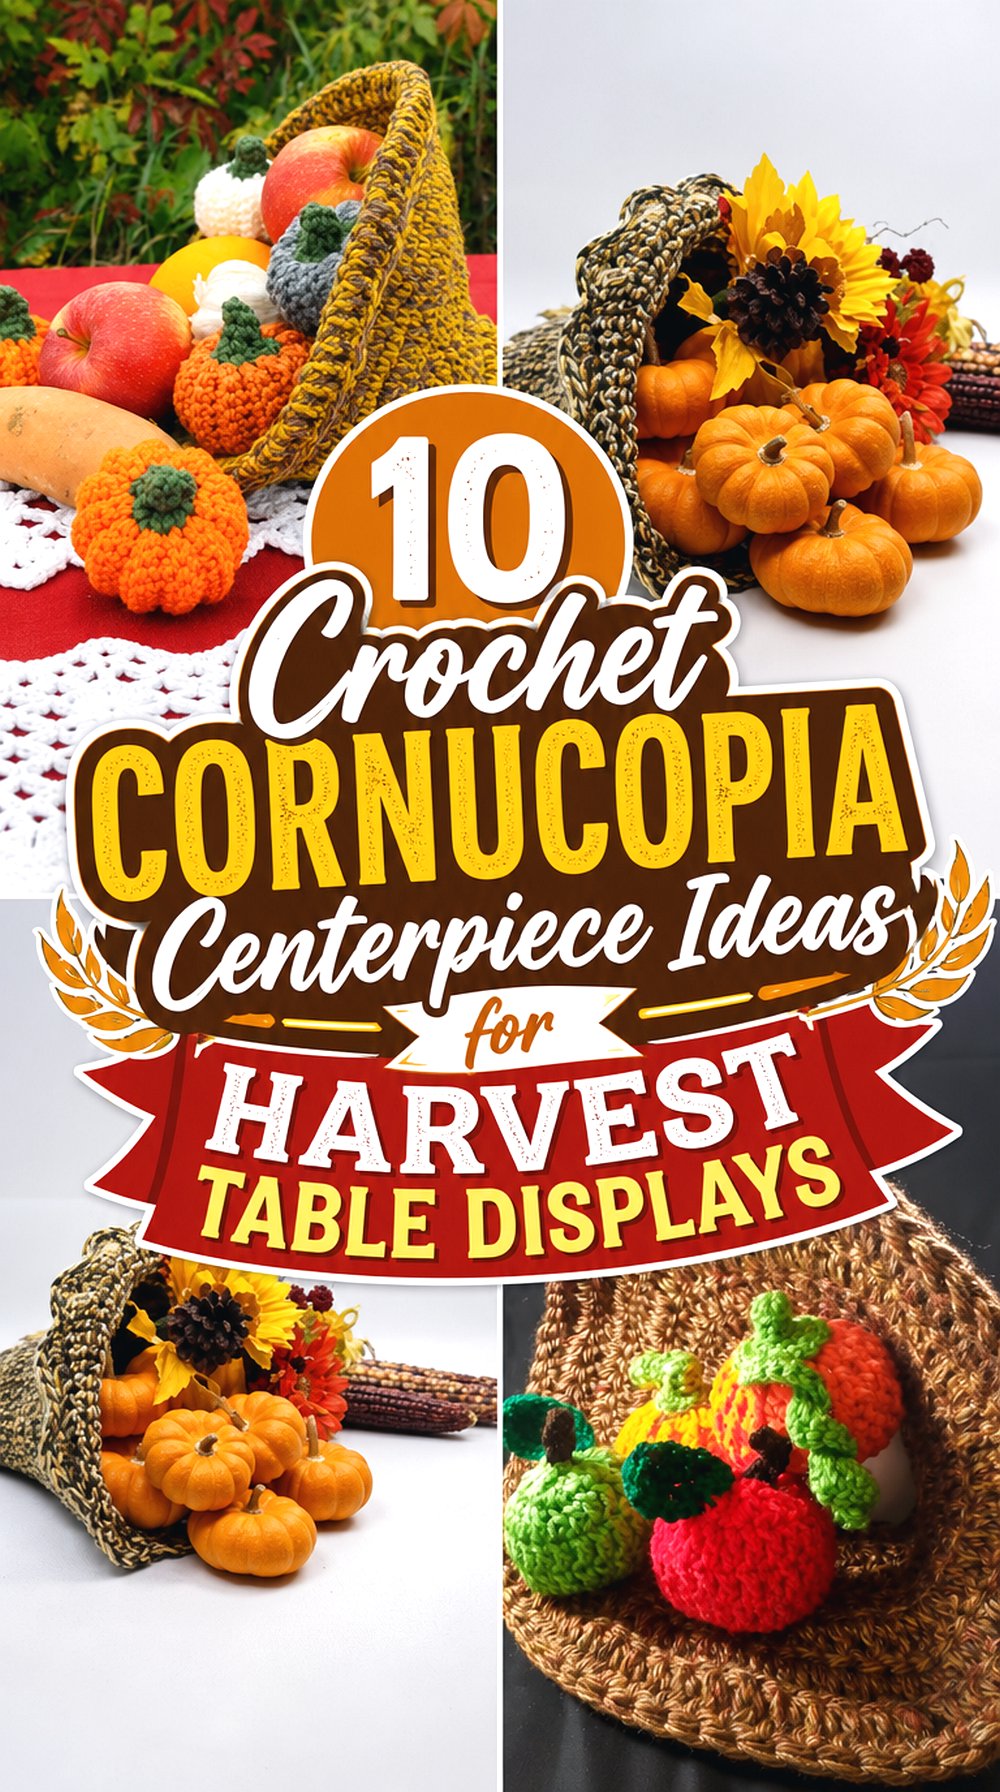
The projects differ in scale, structure, and use. Some are better as the main table feature, while others work as small accents around the horn opening, along a runner, or inside a shallow tray. Use the original tutorials for exact construction details, then choose the mix that fits your table space and fall color plan.
Quick List
- Crochet Wide Horn of Plenty Centerpiece
- Crochet Two-Tone Tabletop Cornucopia Basket
- Crochet Picture-Guide Thanksgiving Cornucopia Display
- Crochet Simple Mini Cornucopia Shell
- Crochet Compact Brown Cornucopia Cone
- Crochet Pumpkin-Filled Cornucopia Accent
- Crochet Indian Corn Filler for a Cornucopia Centerpiece
- Crochet Apple and Pear Cornucopia Fillers
- Crochet Acorn Scatter for a Cornucopia Base
- Crochet Maple Leaf Scatter for a Cornucopia Base
Why These Crochet Cornucopia Projects Are Worth Making
Cornucopia centerpieces work well when the display has a clear main shape and enough smaller pieces to make the opening look full. A crocheted horn can sit at the center of the table, while pumpkins, corn, fruit, acorns, and leaves soften the edges and make the arrangement feel more layered.
These projects also let makers control the harvest colors more carefully than store-bought decor. Rust, cream, brown, mustard, olive, and muted orange can be mixed in different amounts, depending on the table setting. Smaller pieces can also be reused after Thanksgiving as shelf decor, bowl fillers, garland accents, or place-setting details.
Crochet Wide Horn of Plenty Centerpiece
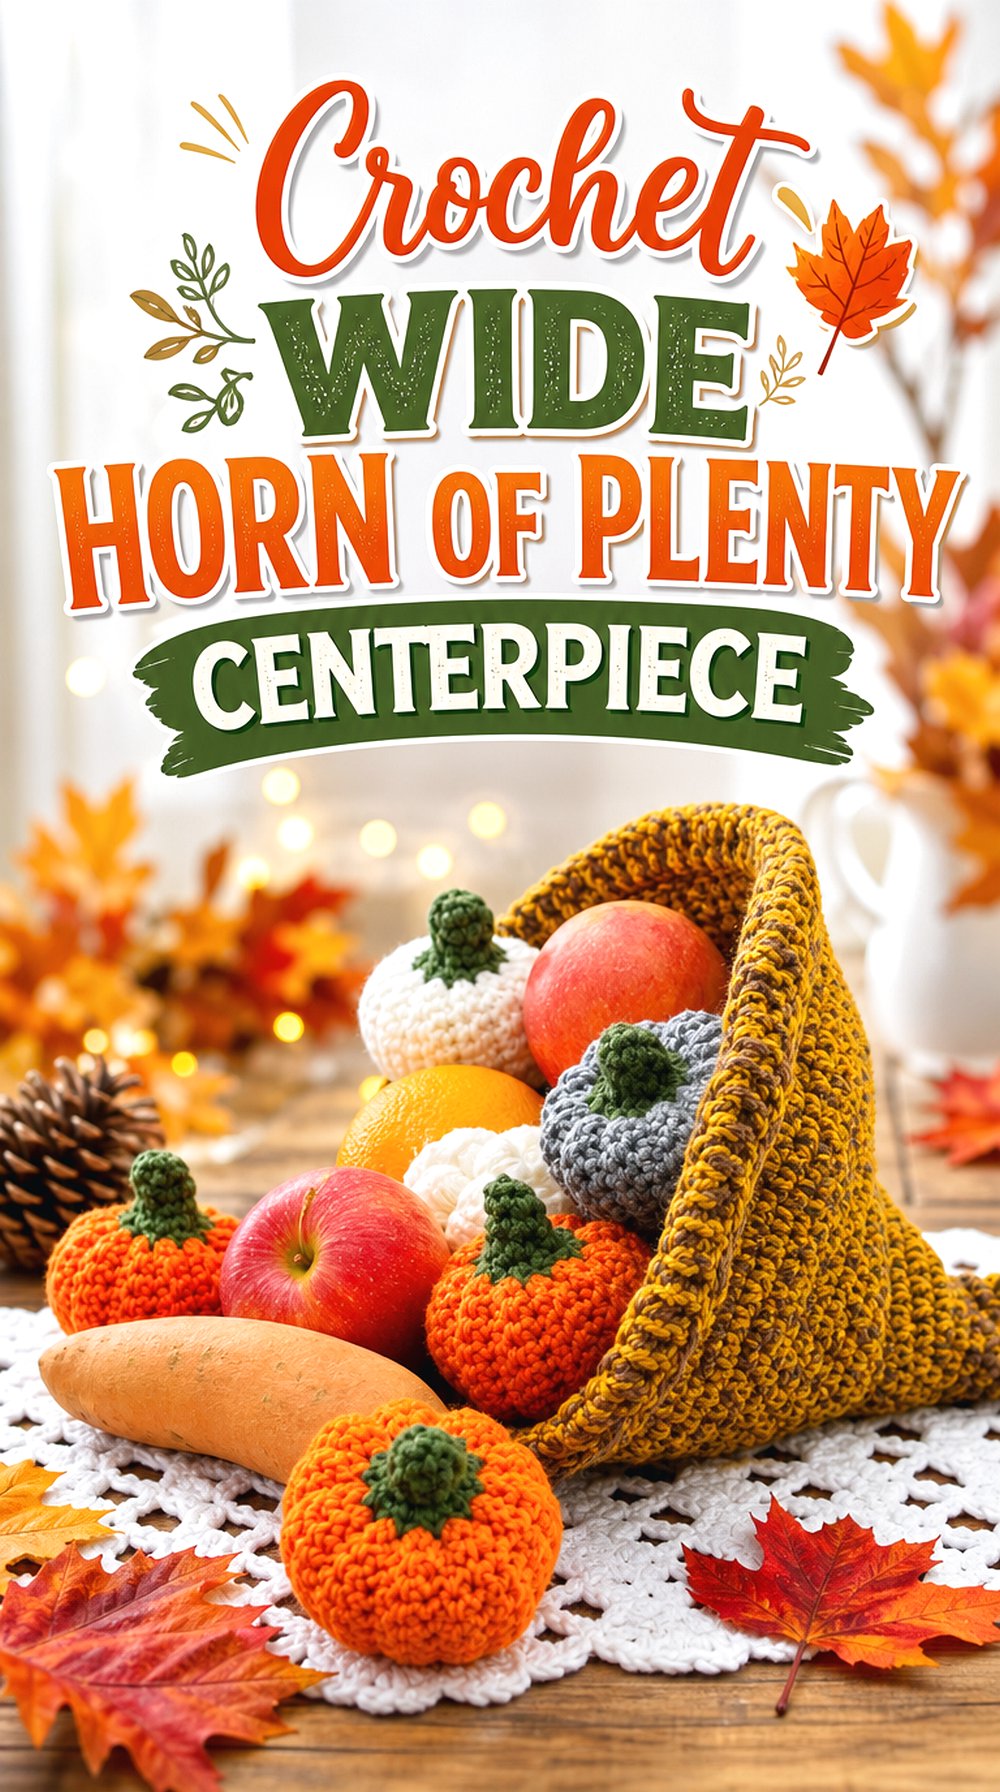
A wide horn of plenty gives the table a clear harvest focal point. The curved basket shape makes it different from flat runners, loose pumpkins, or simple leaf scatter because it creates a place for other crochet pieces to gather visually. This option may suit a Thanksgiving table, buffet, mantel, or entry console where the cornucopia needs enough presence to anchor the rest of the display.
Choose the Display Location
A wider horn-shaped centerpiece needs room around the opening so the fillers can look intentional instead of crowded. Before choosing this as the main project, think about where it will sit and how much space plates, candles, serving dishes, or place cards will need. A buffet or sideboard may give the horn more breathing room than a narrow dining table.
Check the Finished Footprint
Finished measurements are important for a centerpiece because the curve and opening can take up more visual space than a flat piece. Check the creator’s size information before gathering supplies, especially if the cornucopia will sit in a tray or on a runner. The shape should look full but still leave enough table space for daily use or holiday serving.
Plan the Filler Mix
This kind of cornucopia works best when the filler pieces vary in size. Pumpkins, fruit, corn, acorns, and leaves can create a fuller harvest effect without hiding the horn itself. Keep the largest pieces near the mouth and let smaller accents trail outward. Use the original tutorial for the horn construction, then confirm any separate filler tutorials you want to add.
Crochet Two Tone Tabletop Cornucopia Basket
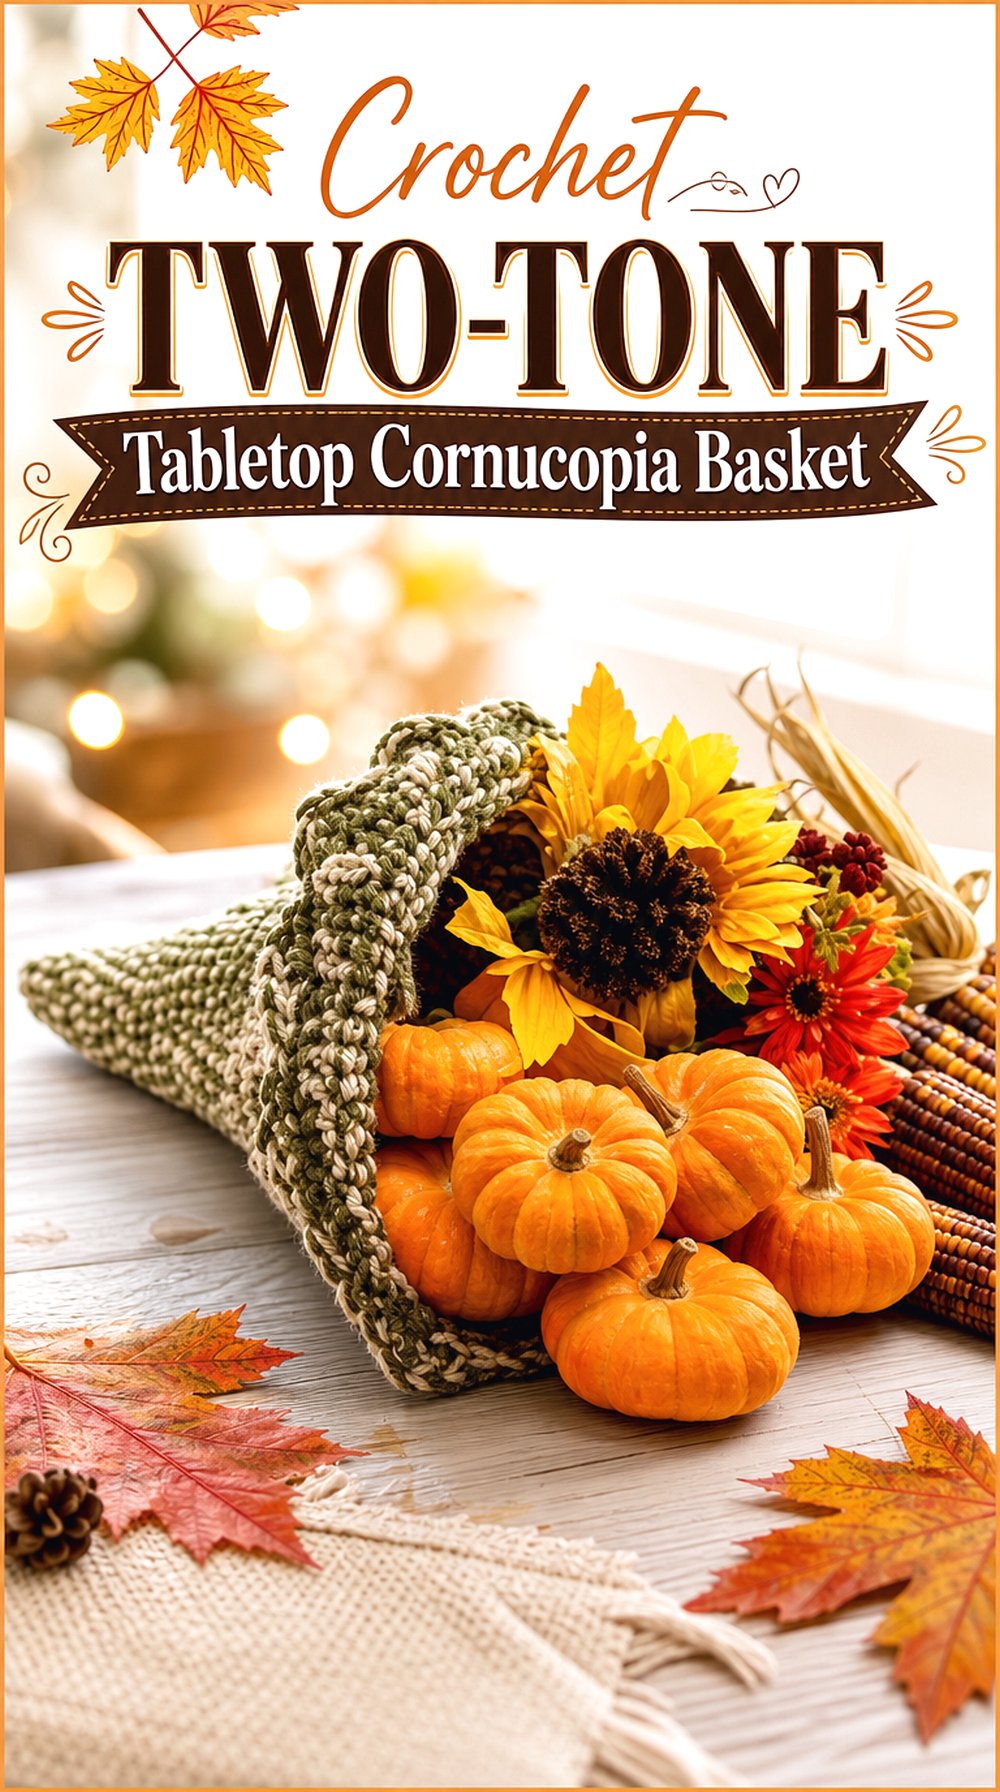
A two-tone tabletop cornucopia basket brings more contrast to the horn shape. The color change can help the rim, body, and curved form stand out, especially when the centerpiece is placed on a neutral table covering. Compared with a single-color horn, this style may be easier to notice from across the room and can coordinate well with darker fall fillers such as deep orange pumpkins or brown acorns.
Think About Shape Retention
A tabletop cornucopia needs enough structure to hold its curve once it is filled or placed beside other decor. Look closely at the finished form and check whether the tutorial discusses shaping, stuffing, or finishing. If the centerpiece will be moved often, it is worth confirming how the horn sits when empty and how it behaves when light fillers are added.
Confirm the Material List
The creator’s description lists the project as a decorative fall crochet cornucopia and includes yarn, hook, and stitch marker information. Record the material list before buying supplies because color, yarn weight, and hook size can affect the finished shape. Do not substitute blindly if the horn needs a firm body or a defined opening.
Balance the Two Colors
Two colors can make the cornucopia more decorative, but the contrast should not compete with the fillers. A warmer main color with a slightly darker edge can frame the opening, while a bold contrast may make the horn itself the main feature. Check the finished look before deciding whether the filler pieces should be quiet neutrals or brighter harvest tones.
Original Tutorial and Creator Credit
Creator: Bag-O-Day Crochet
Crochet Picture Guide Thanksgiving Cornucopia Display
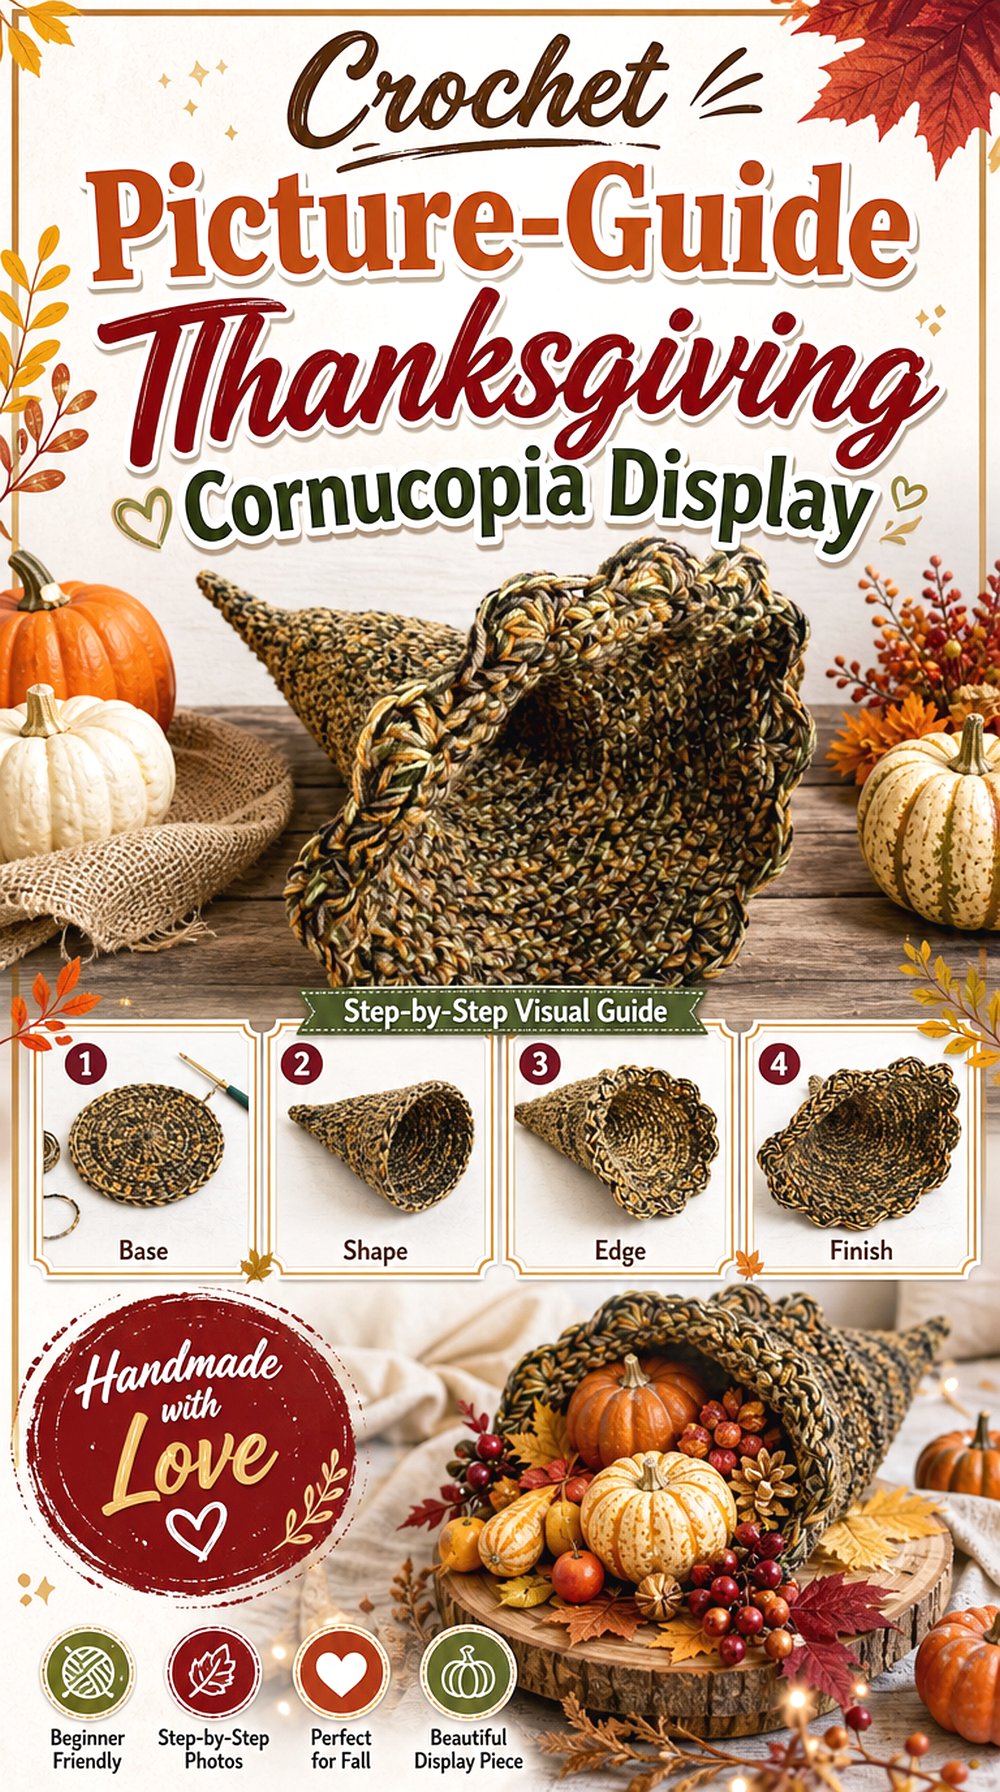
This cornucopia option uses a picture-based lesson format, which gives it a different feel from a spoken step-by-step video. The finished piece is still centered on a Thanksgiving table decoration, but readers who prefer written pattern views or still-image guidance may find this format easier to pause and review. It works well as a display idea for makers who like to study each stage carefully before moving forward.
Review the Guide Format First
Because this source is presented as a tutorial in pictures, it is worth previewing the full guide before starting. Some makers like still-image instruction because it is easy to pause, while others prefer continuous hand movement. Check whether the format matches the way you follow crochet information so the project does not feel unclear halfway through.
Check the Centerpiece Scale
The project is described for Thanksgiving table decoration, but the exact finished scale should still be reviewed before planning a table arrangement. A cornucopia that looks medium in close-up may feel larger or smaller once placed near dishes and candles. Confirm the size details available in the source and decide whether it will be the main centerpiece or one part of a wider display.
Keep the Opening Visible
The horn opening is the most important visual feature of a cornucopia. When adding pumpkins, leaves, corn, or fruit, avoid packing the front so tightly that the basket shape disappears. Leave part of the rim and curve visible from the main viewing angle. This keeps the display recognizable as a horn of plenty instead of a loose pile of fall decorations.
Original Tutorial and Creator Credit
Creator: Crochet Motif Tutorial
Crochet Simple Mini Cornucopia Shell
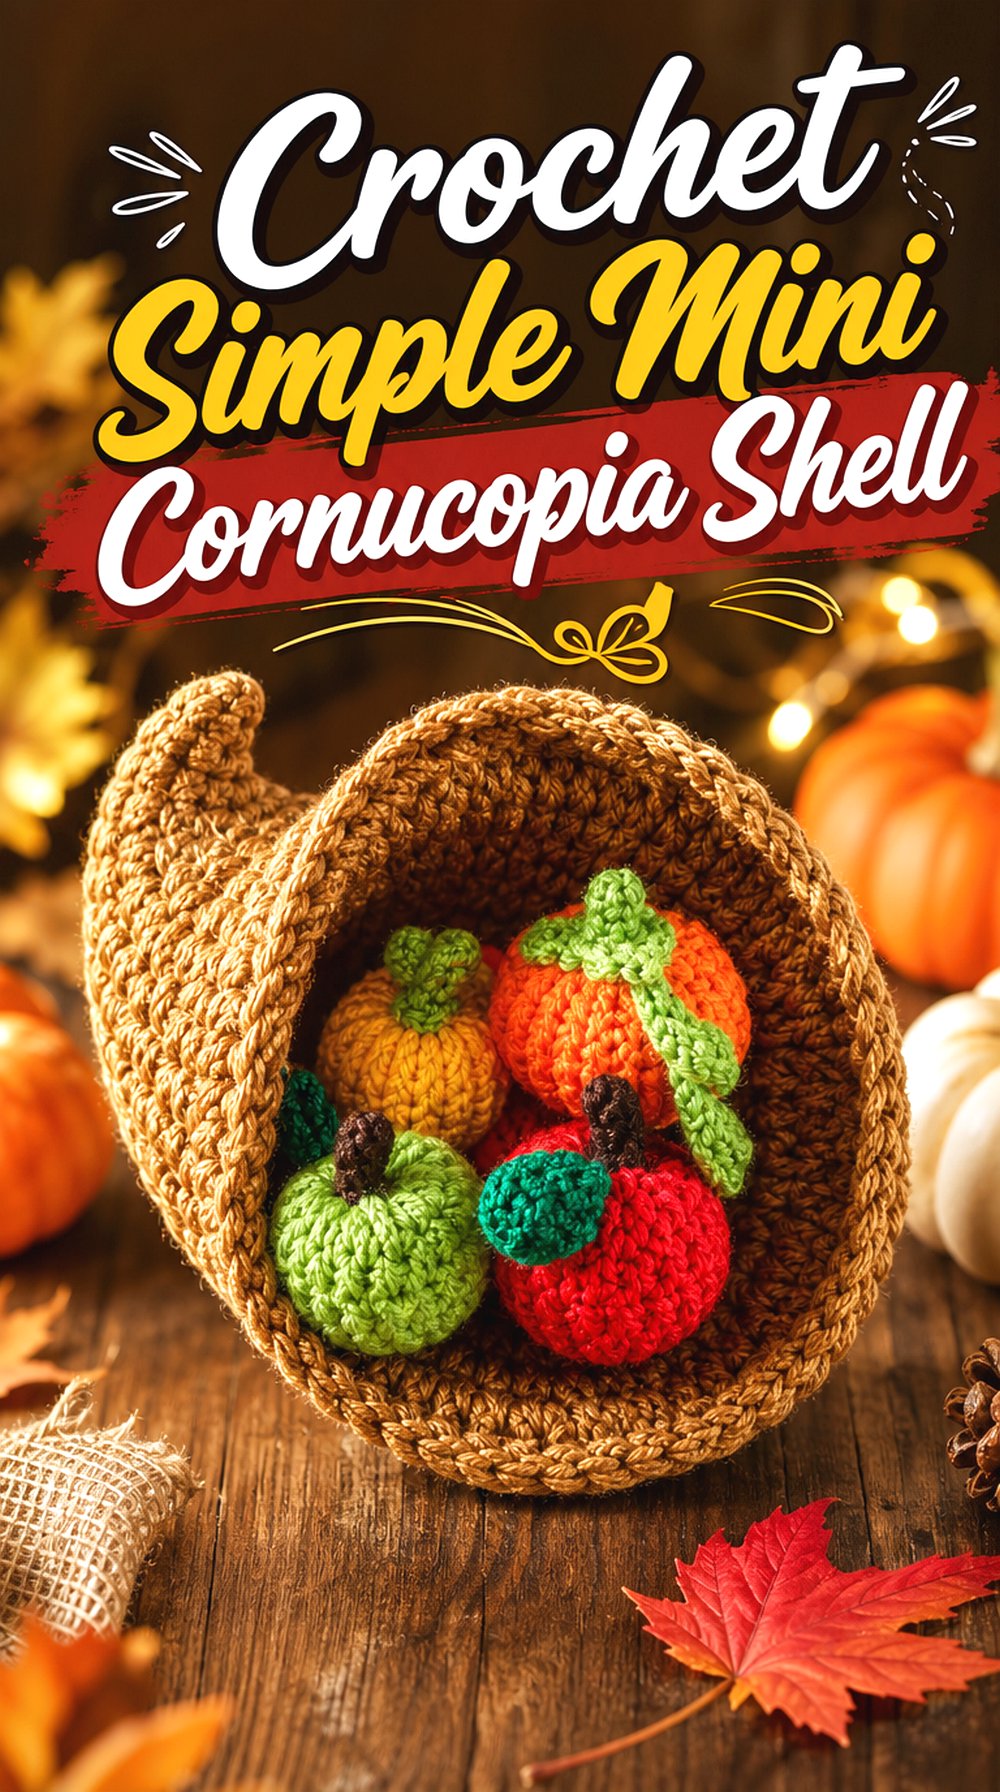
A mini cornucopia shell can work as a smaller centerpiece, a place-setting accent, or a repeated table decoration down the middle of a runner. Its value is scale: it gives the horn-of-plenty shape without requiring a large dining-table footprint. This idea differs from the wider baskets because it can be styled in multiples or tucked beside larger harvest pieces without taking over the entire arrangement.
Consider Small-Space Placement
A smaller shell is useful when the table is narrow or already full of serving pieces. It can sit on a salad plate, inside a shallow bowl, or beside a napkin setting if the finished size allows. Check the project scale carefully before making several, especially if the goal is a repeated centerpiece line rather than one large statement piece.
Confirm the Curve and Opening
Mini cornucopias still need a clear curve and a readable opening. If the finished form looks too straight, it may read more like a cone than a harvest horn. Watch the shaping portions closely and compare the finished piece from the side and front. The opening should be large enough to hold or frame the small accents you plan to use.
Decide on Fillers Early
Small shells can look crowded quickly. Choose tiny pumpkins, leaves, acorns, wrapped candies, or small crochet fruit only after checking the opening. A simple filler plan often works better than mixing too many shapes. For table use, keep any food and fiber decor separate unless the source gives clear, safe handling information.
Original Tutorial and Creator Credit
Creator: Sparkly One
Crochet Compact Brown Cornucopia Cone
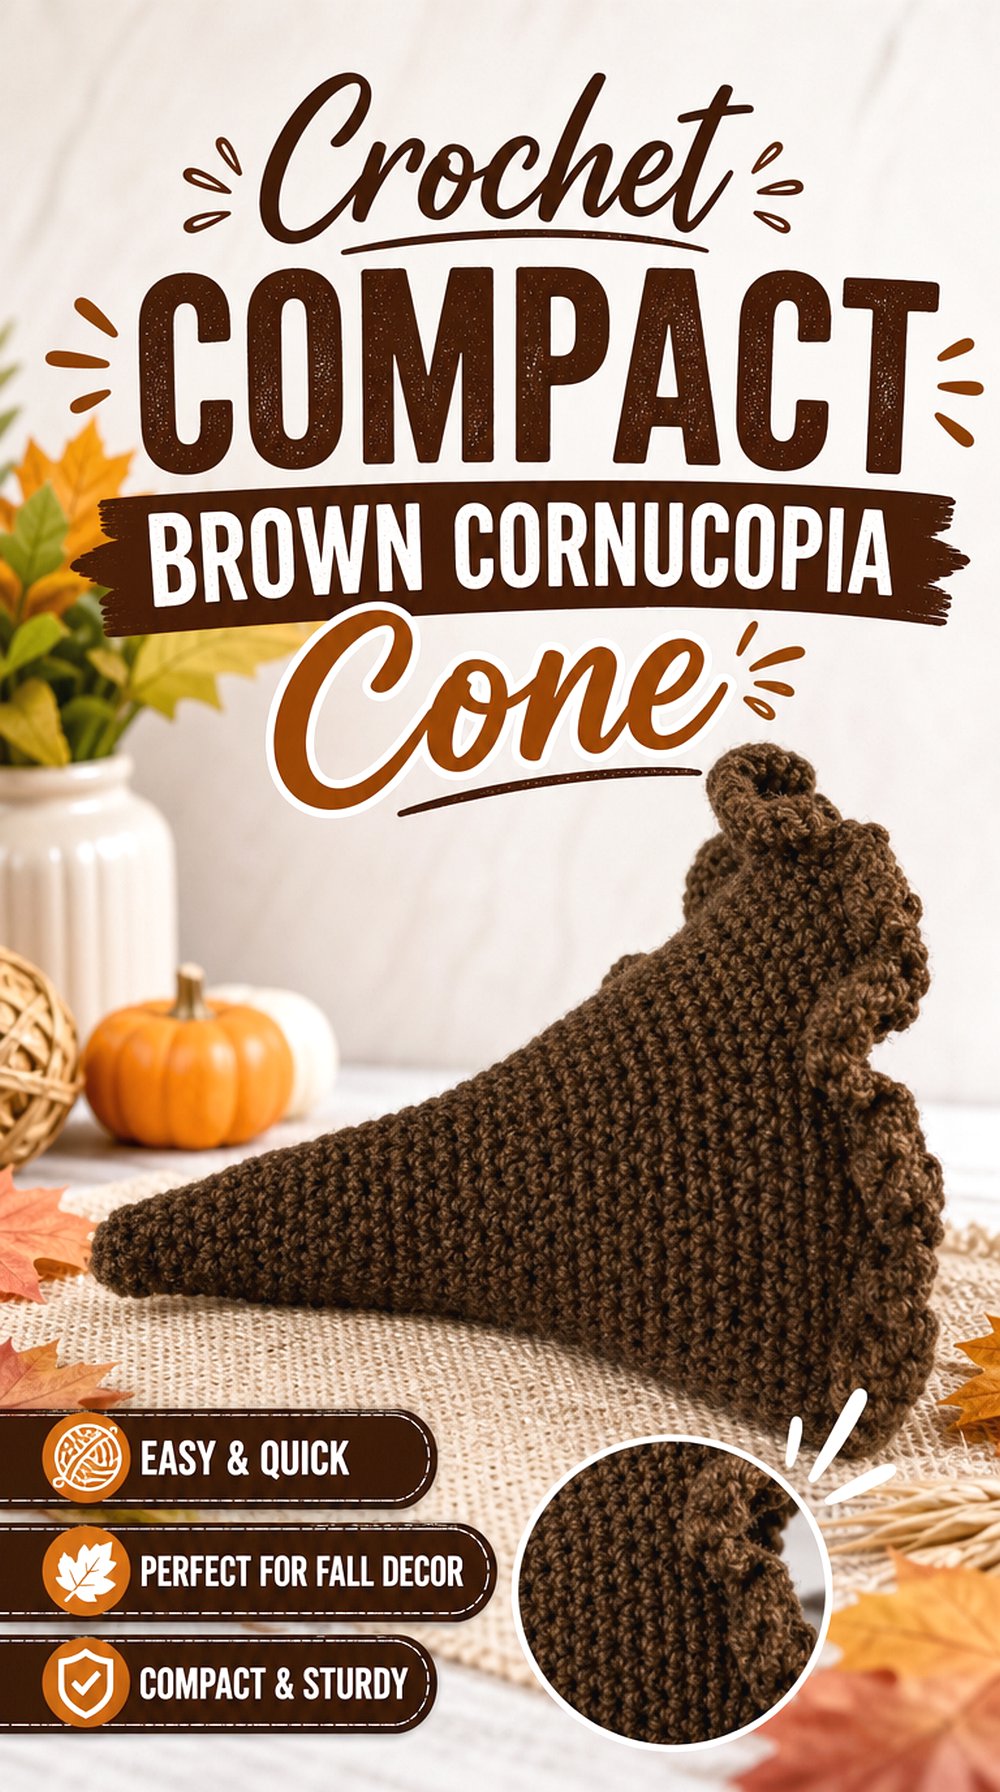
A compact brown cornucopia cone gives the arrangement a more natural basket-like look. The warm neutral color can blend with pumpkins, acorns, and fall leaves without pulling attention away from the fillers. This idea differs from the picture-guide and two-tone versions because the emphasis is on a simple, earthy shell that can act as a quiet base for stronger seasonal colors.
Match the Shell to the Fillers
A brown cone works especially well when the fillers include orange, cream, yellow, or muted green. The shell can act like a basket rather than a bright decorative object. Before choosing colors, lay out the planned filler palette and decide whether the cone should blend into the background or provide contrast against a pale table runner.
Check the Creator’s Supply Notes
The available search snippet shows a brown acrylic yarn and hook information, but readers should still check the full YouTube description and video before buying supplies. A compact cone can change size noticeably if yarn weight or hook size changes. Confirm what is actually used in the source and keep a note of any shaping or finishing materials mentioned.
Think About Stability
Cone-style cornucopias may need thoughtful placement so they do not roll or tip in the display. A shallow tray, folded napkin, or surrounding leaves can help visually ground the shape without becoming part of the crochet instructions. Look at how the finished cone rests and decide whether it should lie on its side or be supported by surrounding decor.
Original Tutorial and Creator Credit
Creator: Unique craft
Crochet Pumpkin Filled Cornucopia Accent
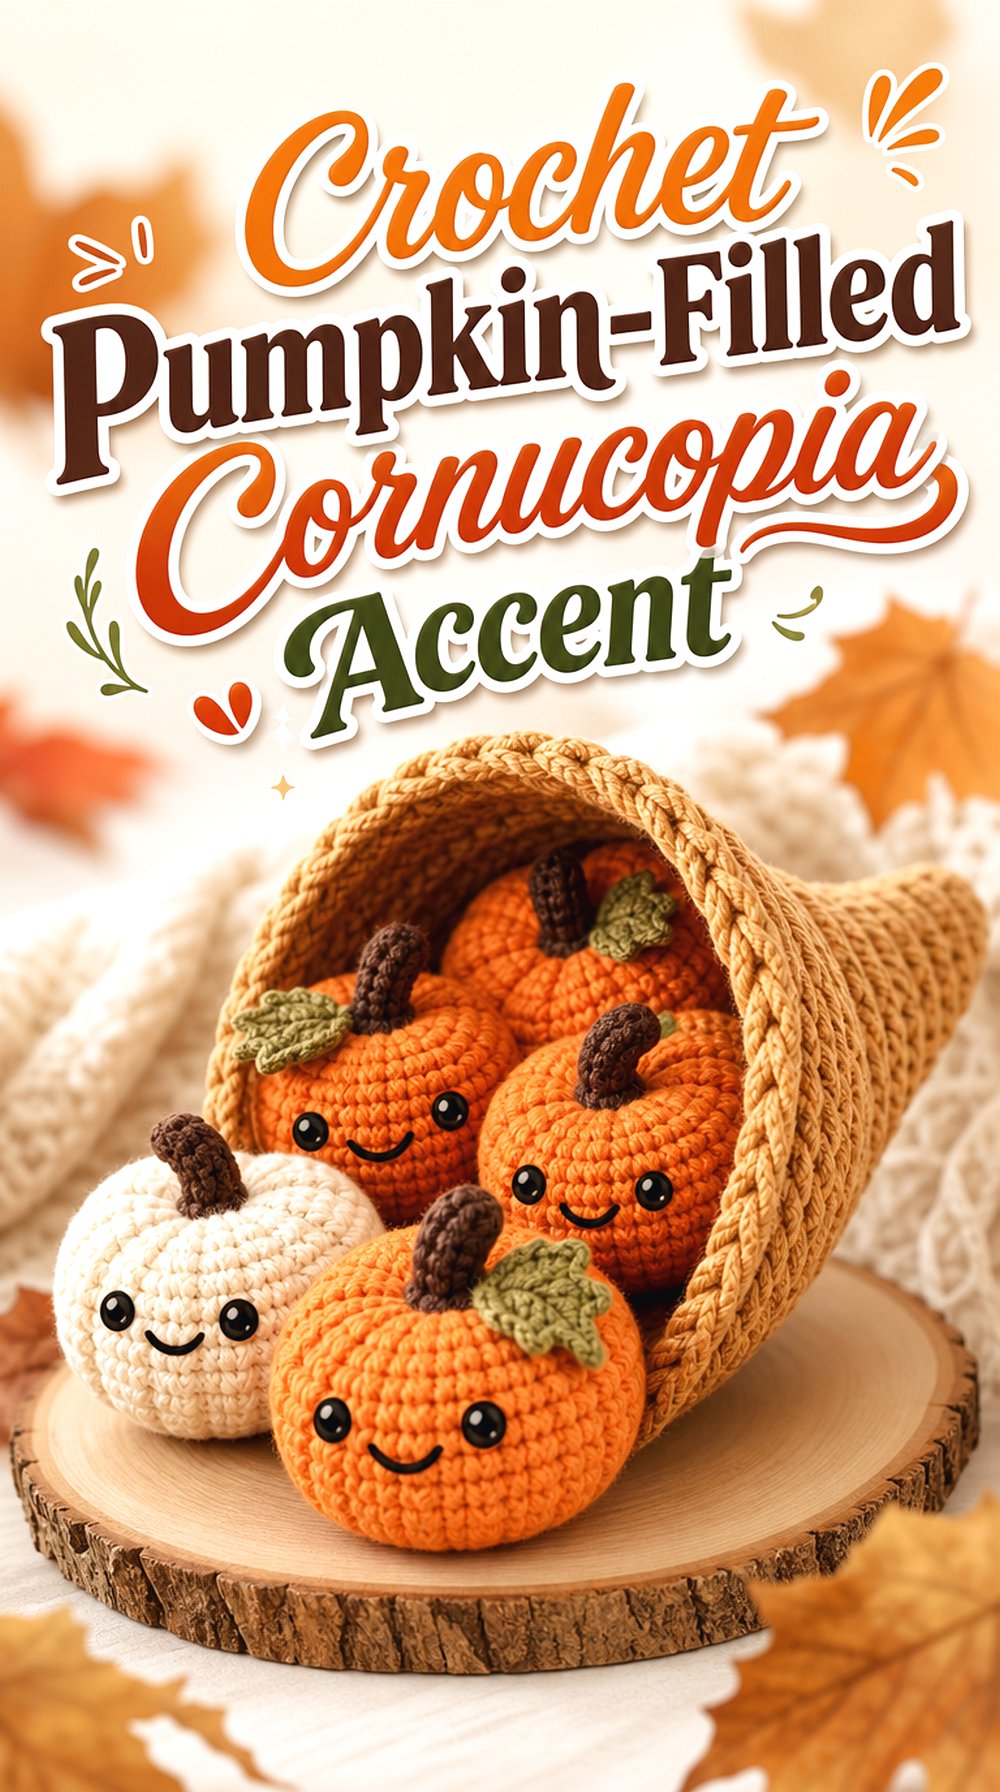
Pumpkins are one of the most useful fillers for a crochet cornucopia because they add rounded volume near the opening. This amigurumi pumpkin style can be made as a single focal filler or repeated in several colors for a fuller harvest effect. Compared with leaves or acorns, pumpkins bring more height and softness, which helps the centerpiece look abundant without needing many different objects.
Use Pumpkins for Volume
A cornucopia can look flat if it is filled only with leaves or small pieces. Rounded pumpkins help build height near the mouth of the horn, especially when placed in front of or slightly inside the opening. Use one larger pumpkin as the visual anchor, then add smaller pieces around it so the display does not look too evenly spaced.
Check Face and Detail Choices
Some pumpkin tutorials include optional face details, while others are plain seasonal decor. For a Thanksgiving centerpiece, decide whether a face matches the table mood or whether a simple pumpkin will blend better with fruit and corn. If the original source includes added features, review which parts are optional before planning a harvest-style arrangement.
Confirm the Shaping Method
The finished pumpkin shape depends on how the round form is finished and shaped. Use the original tutorial for the exact method rather than trying to recreate the effect from a photo. This is especially important if several pumpkins will sit together, because inconsistent shaping may make the display feel uneven rather than intentionally varied.
Original Tutorial and Creator Credit
Creator: Hooked by Robin
Crochet Indian Corn Filler for a Cornucopia Centerpiece
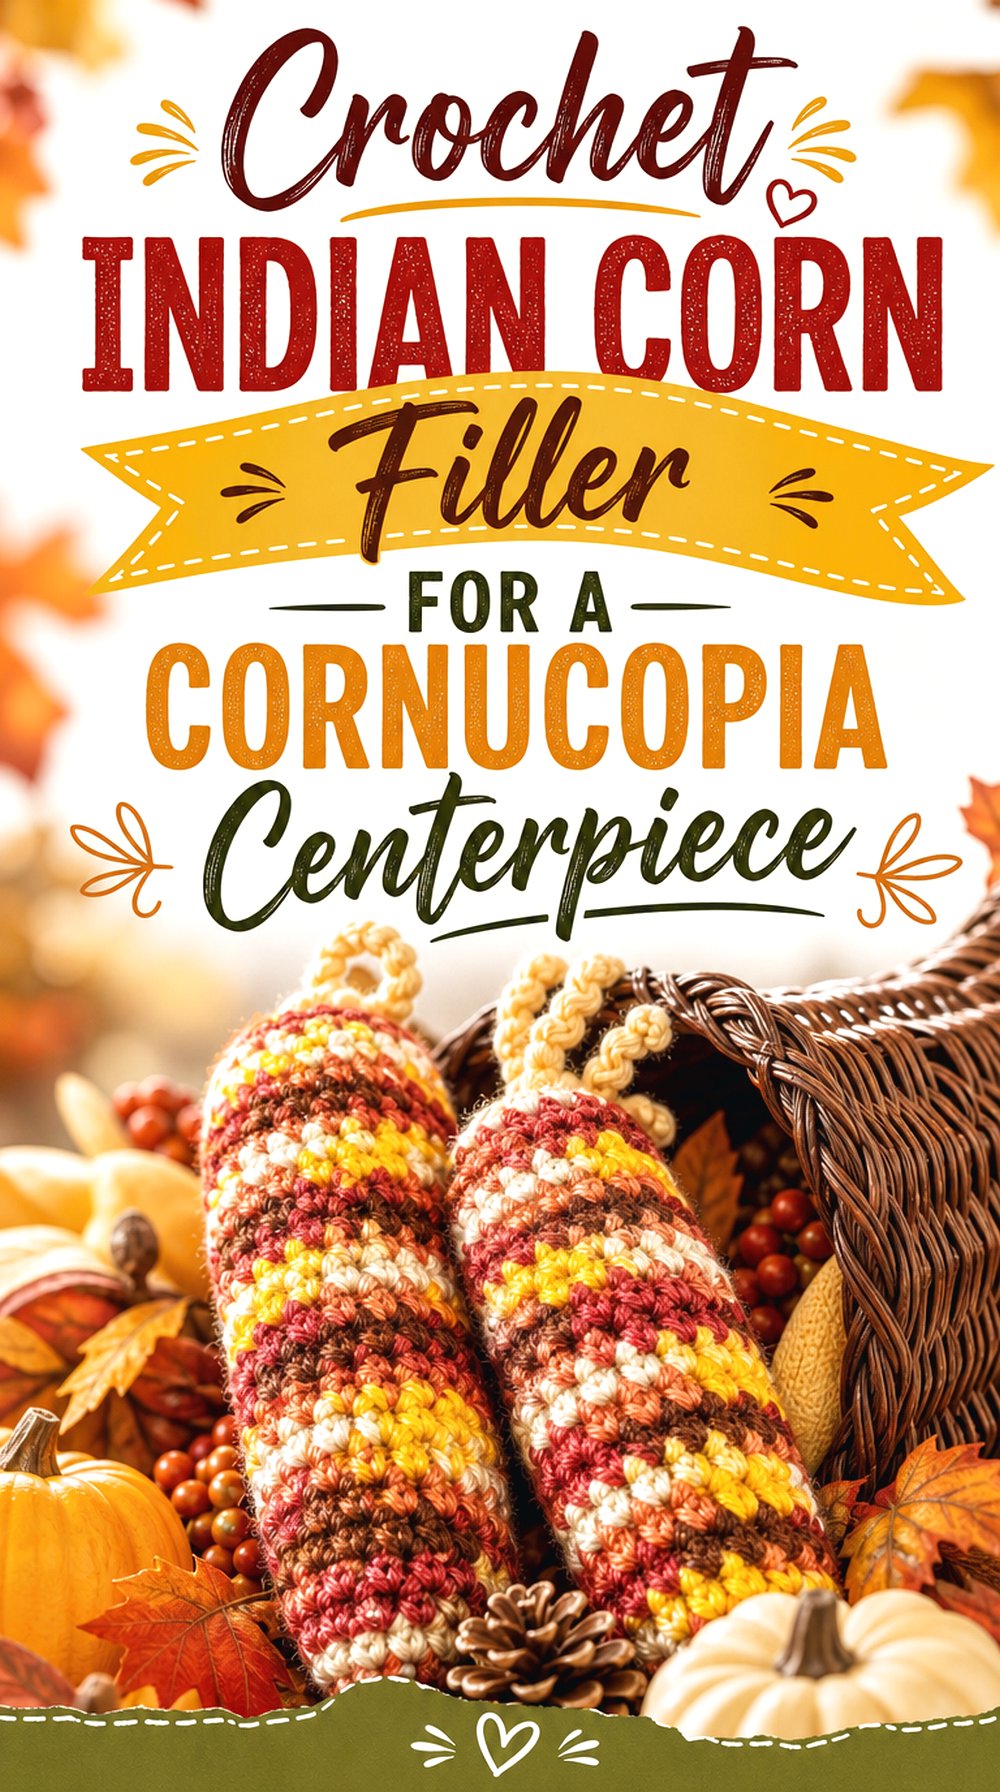
Crochet Indian corn is a strong filler choice because its long shape points outward from the cornucopia opening. It contrasts with round pumpkins and fruit, helping the display feel more like a harvest arrangement than a bowl of small pieces. The multicolor look can also connect brown, cream, orange, yellow, and rust tones across the table.
Place Long Fillers First
Long pieces such as Indian corn should usually be placed before smaller pumpkins, acorns, or leaves. Their direction affects the whole display. Let one or two pieces angle outward from the horn opening, then fill the gaps with rounder shapes. This creates movement across the centerpiece and avoids a stiff, packed look.
Watch the Color Balance
Indian corn can introduce several colors in one small piece. That can be useful, but too many strong tones may make the centerpiece busy. Compare the corn colors with the horn, pumpkins, fruit, and table linens before adding more accents. A few muted fillers nearby can help the corn stand out without overwhelming the arrangement.
Review the Cornucopia Connection
The search result describes this as the corn portion of a cornucopia, which makes it especially relevant as a filler. Still, use the creator’s original video for exact construction details. Avoid guessing length, stitch count, or assembly from the finished appearance. The final piece should support the horn display without needing to be enlarged or changed blindly.
Original Tutorial and Creator Credit
Creator: Amethyst Bits and Bobs
Crochet Apple and Pear Cornucopia Fillers
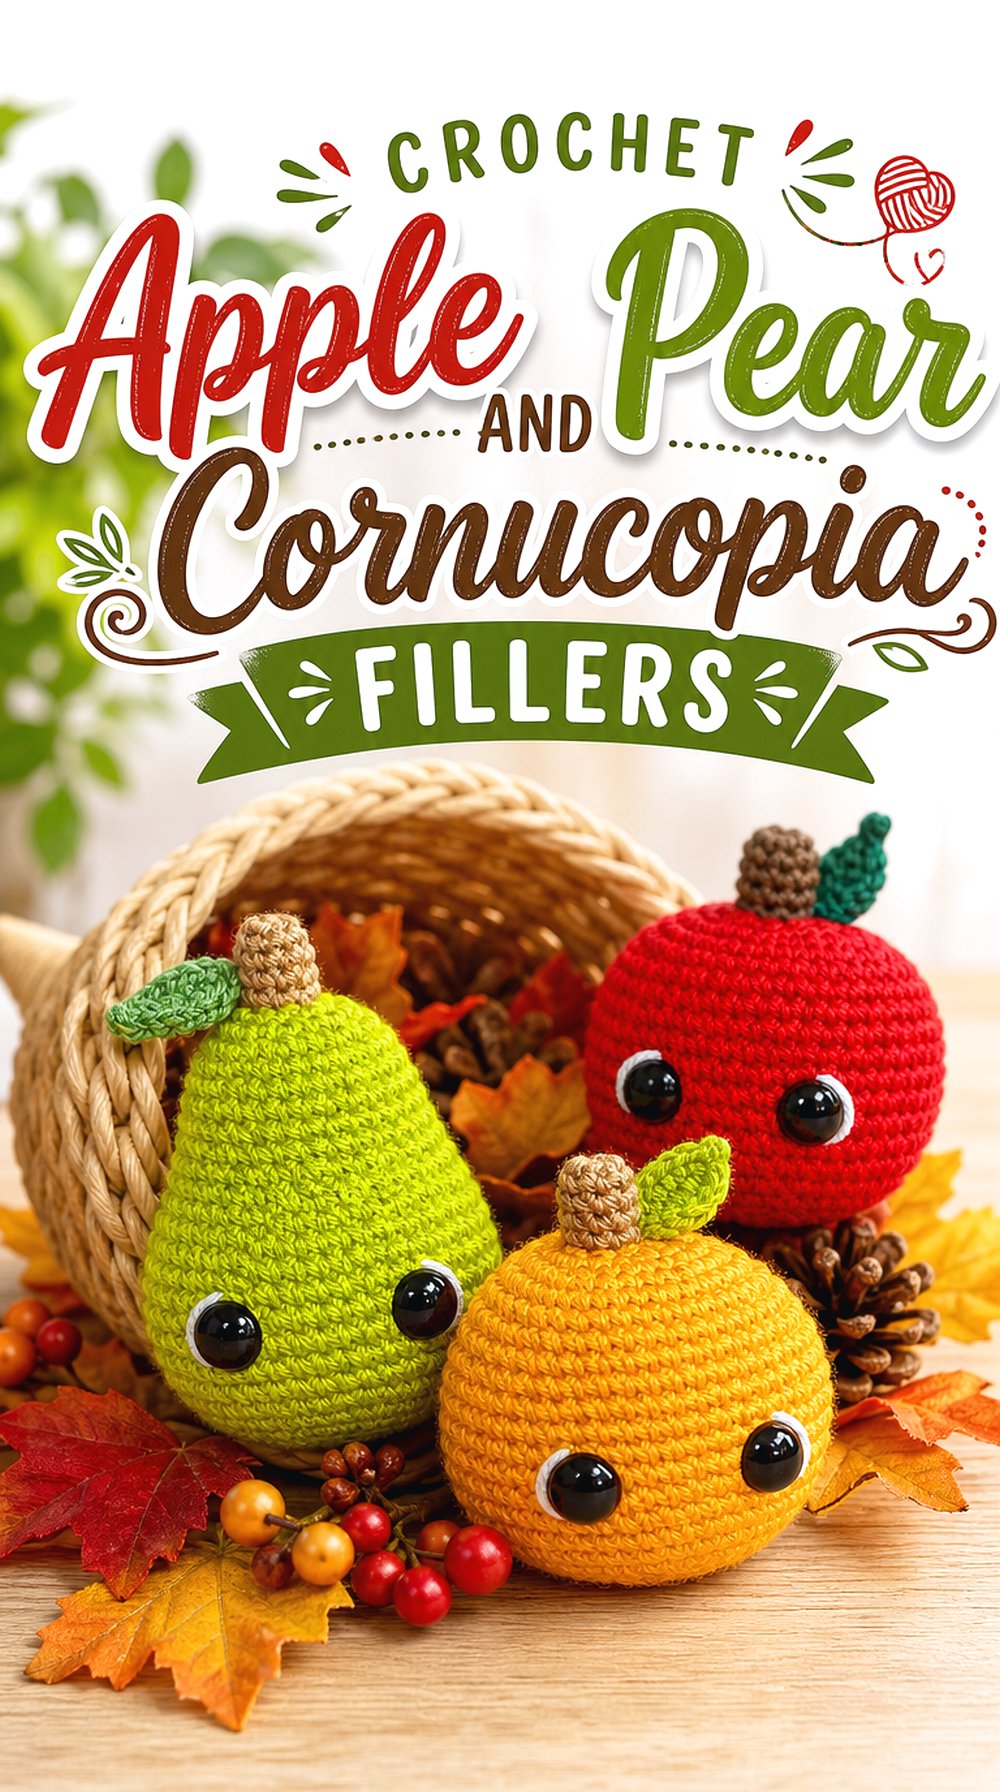
Apples and pears make the cornucopia feel more like a traditional harvest display. Their different silhouettes add variety: apples look round and compact, while pears add height and a tapered profile. This filler idea works well when the main horn is neutral and the arrangement needs softer fruit shapes alongside pumpkins, corn, and leaves.
Vary the Fruit Shapes
A mix of apples and pears keeps the centerpiece from looking too repetitive. Place the rounder fruit near the front edge and let the taller pear shape sit slightly farther back or off to one side. This gives the opening more depth. Check the finished sizes from the tutorial so one fruit type does not overpower the other.
Choose Colors With the Horn in Mind
Fruit colors can change the mood of the display. Red apples feel richer, green pears feel fresher, and cream or muted yellow fruit can soften a darker horn. Keep the cornucopia color in mind before choosing yarn. A strong red may look better as a small accent, while softer fruit tones can be repeated more easily.
Keep Them Separate From Food
Crochet fruit is decorative unless the creator gives specific care and use information, and it should not be treated as a food-safe serving item. For a table centerpiece, place the apples and pears on a runner, tray, or inside the horn as decor. If the display sits near real food, keep fibers away from spills, sauces, and crumbs.
Original Tutorial and Creator Credit
Creator: Storybook Crochet
Crochet Acorn Scatter for a Cornucopia Base
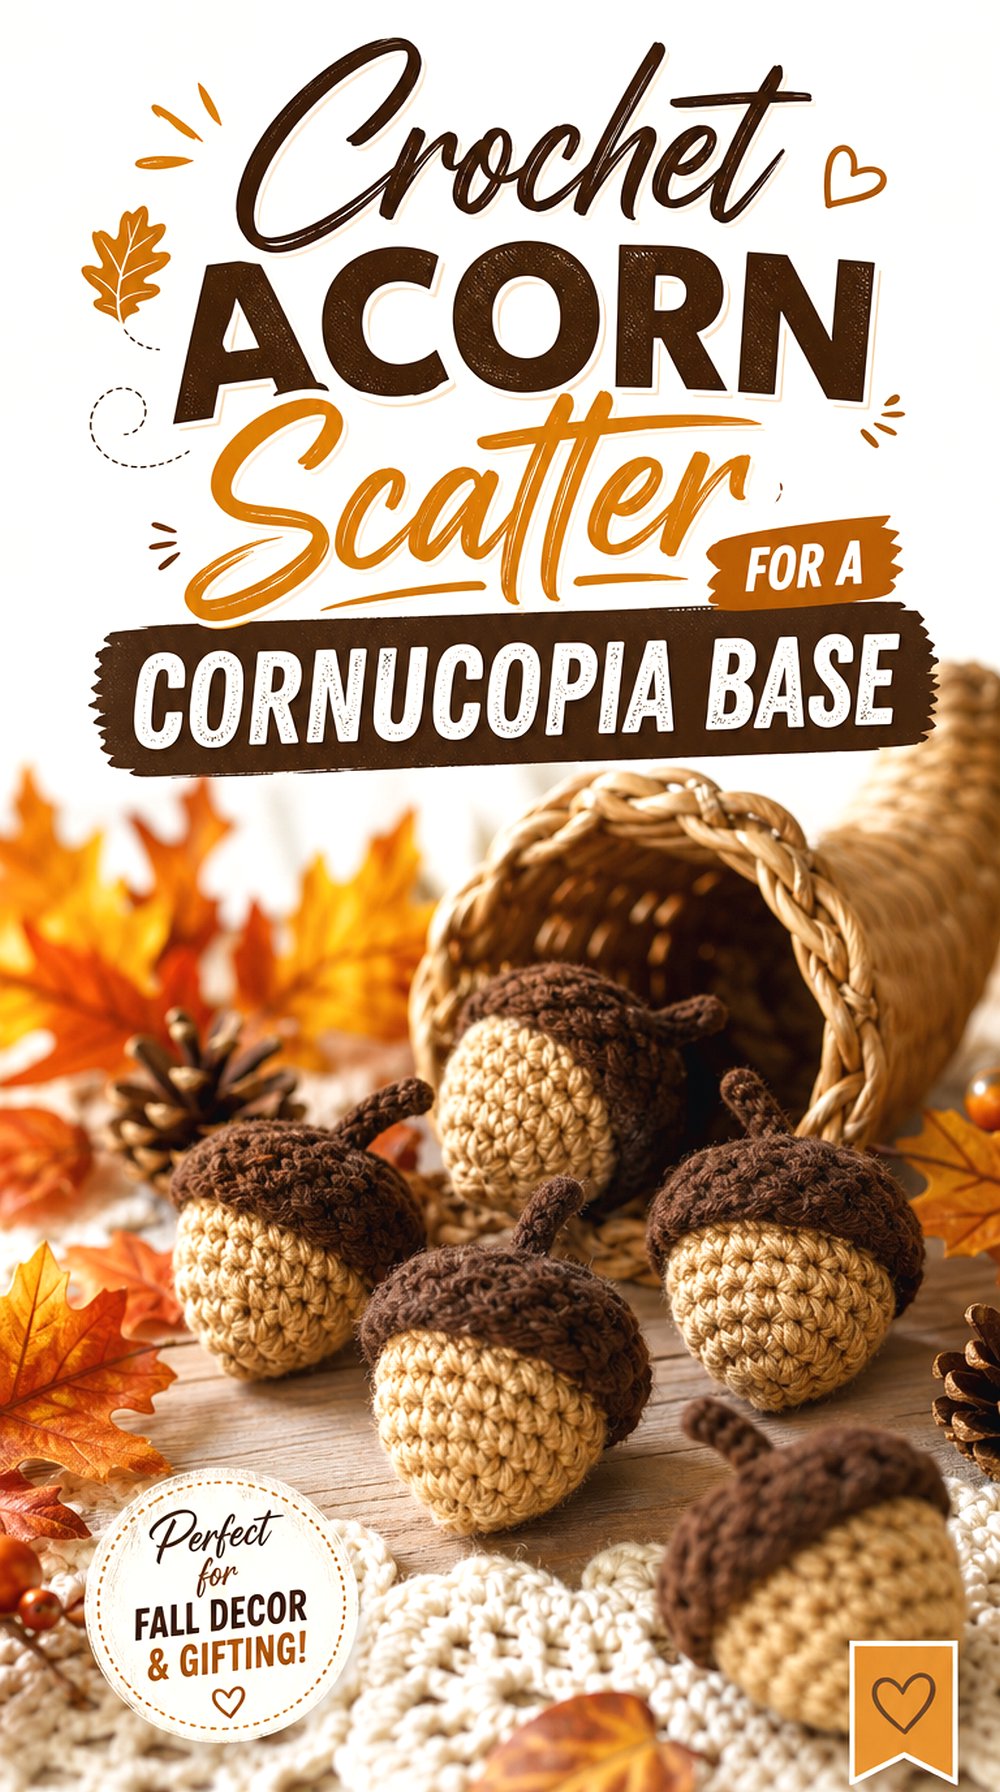
Small crochet acorns are useful around the base of a cornucopia because they fill gaps without hiding the horn. They bring a woodland harvest feeling and can be scattered lightly across a runner or grouped near leaves. Compared with pumpkins and fruit, acorns are smaller visual details, so they work best as finishing accents rather than the main centerpiece feature.
Use Acorns as Gap Fillers
Acorns can help connect the horn to the table surface. Place them where the larger pieces leave empty spots, especially near the curve, rim, or trailing edge of the arrangement. Avoid spreading them too evenly; small clusters usually look more natural than a strict pattern. Keep the main horn and larger fillers visible.
Check the Finished Size
A tiny acorn may disappear beside a large horn, while an oversized acorn can look playful rather than realistic. Review the creator’s finished result and compare it with the other fillers you plan to use. If the centerpiece includes mini pumpkins and leaves, acorns should feel like a supporting detail, not a competing shape.
Plan Storage After Use
Small pieces are easy to misplace after the season ends. A labeled bag or small box can keep acorns together with the matching leaves or fruit. If the acorns include separate caps or attached details, store them where they will not be crushed under heavier decor. This helps preserve the shape for future fall arrangements.
Original Tutorial and Creator Credit
Creator: Fuad Azmat / YARNutopia by Nadia
Crochet Maple Leaf Scatter for a Cornucopia Base
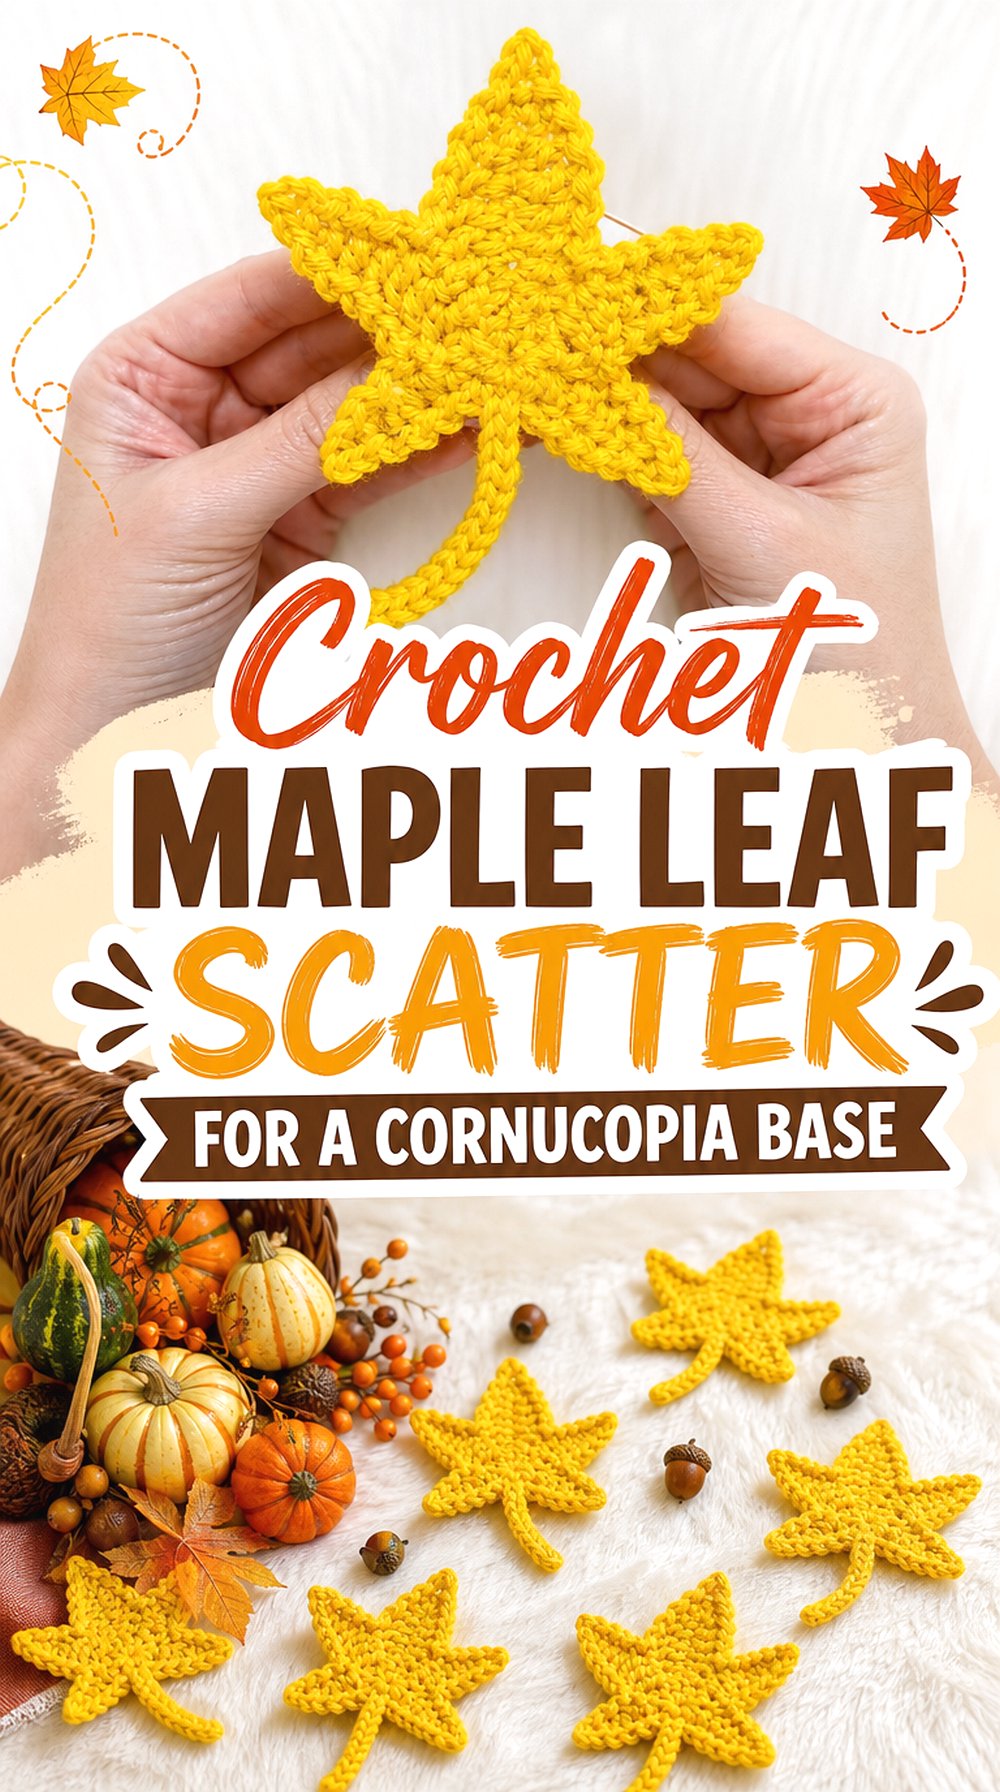
Maple leaves are a practical finishing layer for a crochet cornucopia centerpiece. They can sit under the horn, trail from the opening, or frame pumpkins and fruit without adding bulky height. This idea differs from the amigurumi fillers because it creates a flat seasonal base, making the whole arrangement look more connected to the table.
Build a Soft Base Layer
Flat leaves can visually ground a cornucopia that might otherwise look like it is simply placed on the table. Arrange a few leaves under the curve and a few near the mouth so the display spreads naturally. Leave space between them so the stitch shape remains visible and the centerpiece does not look like one solid mat.
Mix Leaf Colors Carefully
Maple leaves can be made in several autumn shades, but a controlled palette often looks cleaner. Try two or three colors that repeat elsewhere in the centerpiece, such as rust, mustard, brown, or olive. Too many unrelated colors may distract from the horn. Check the finished leaf shape before deciding how many are needed.
Keep the Edges Visible
The points and edges are what make a maple leaf recognizable. Do not bury every leaf under pumpkins or fruit. Let some tips show around the outside of the arrangement, especially near the front edge of the table display. Use the original tutorial for the exact shaping, then place the finished leaves where their outline can be seen.
Conclusion
A full horn-shaped cornucopia is the strongest choice when the centerpiece needs one clear focal point. Smaller shells work better for narrow tables, repeated place settings, or sideboard displays. Pumpkins and fruit add rounded fullness, Indian corn brings length and direction, while acorns and maple leaves help finish the base. Choose the horn first, then add only the fillers that suit its size and opening. For exact counts, shaping, and assembly details, follow the original tutorials linked with each project.
FAQs
How do I choose the right crochet cornucopia size?
Start with the table or shelf where the centerpiece will sit. A large horn can anchor a buffet or dining table, while a mini shell may work better for place settings or a narrow runner. Check the finished dimensions in the tutorial whenever they are provided, and leave room around the display for dishes, candles, or serving pieces.
What should I put inside a crochet cornucopia?
Use fillers with different shapes, such as pumpkins for round volume, corn for length, fruit for harvest color, and leaves or acorns for small finishing details. Avoid filling the opening so tightly that the horn shape disappears. The best mix usually includes one or two larger pieces and several smaller accents.
Can crochet cornucopia centerpieces be used near food?
They can be placed on a holiday table as decor, but crochet pieces should not be treated as food-safe serving items unless the creator provides specific care and use guidance. Keep yarn away from sauces, crumbs, candles, and spills. A tray, runner, or separate display area can help protect the handmade pieces.
Should all fillers use the same yarn color family?
They do not need to match exactly, but the centerpiece will look more polished if the colors repeat. Rust, cream, brown, mustard, olive, and muted orange work naturally for harvest displays. Choose the horn color first, then pick filler colors that either blend with it or provide controlled contrast.
Can I sell a cornucopia made from a YouTube tutorial?
Do not assume selling is allowed. Check the creator’s video description, linked pattern terms, shop policies, and any licensing notes before selling finished items. Some creators allow sales with conditions, while others limit use. Credit alone does not replace permission or override the creator’s stated terms.