Winter amigurumi projects can cover more than one kind of seasonal decorating. Some pieces work well as soft shelf sitters, while others feel right for tree ornaments, small gifts, keychains, or a cozy craft table display. This list brings together animals, holiday characters, food-inspired pieces, and classic winter shapes so readers can compare the finished look before choosing a tutorial.
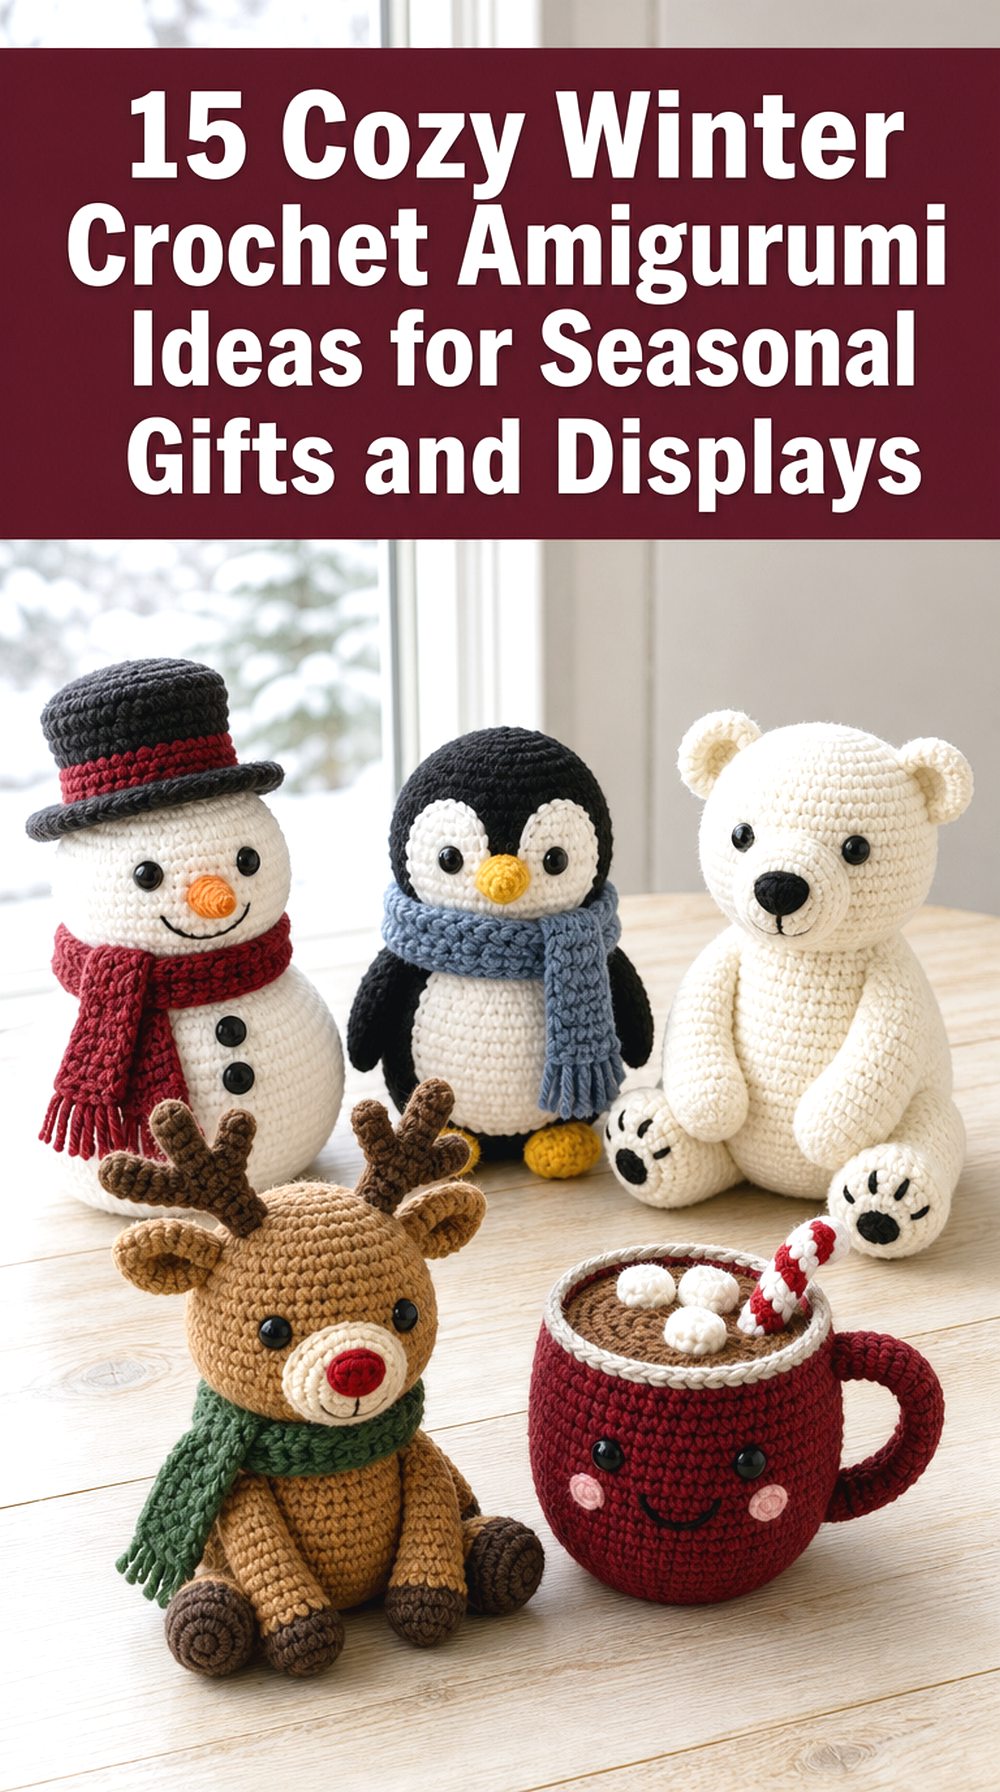
The projects below are different in shape, size, structure, and purpose. You will find rounded plush animals, hanging decorations, flat seasonal shapes, and small stuffed designs with scarves, antlers, mugs, or festive details. Each one links to an original YouTube tutorial from a different creator.
Quick List
- Crochet Classic Winter Snowman Amigurumi
- Crochet Round Penguin Amigurumi
- Crochet No-Sew Polar Bear Amigurumi
- Crochet Antlered Reindeer Amigurumi
- Crochet Gingerbread Man Amigurumi
- Crochet Stuffed Christmas Tree Amigurumi
- Crochet Scarf Bear Amigurumi
- Crochet Arctic Seal Amigurumi
- Crochet Woodland Fox Amigurumi
- Crochet Fluffy Hedgehog Amigurumi
- Crochet Narwhal Amigurumi
- Crochet Cozy Coffee Cup Amigurumi
- Crochet Christmas Gnome Amigurumi
- Crochet Candy Cane Amigurumi Ornament
- Crochet Christmas Star Amigurumi
Why These Crochet Amigurumi Projects Are Worth Making
Winter amigurumi is useful when you want small handmade pieces that can sit on a mantel, tuck into a gift bag, hang from a tree, or become part of a seasonal display. The category works especially well because the shapes are clear: a snowman reads as winter right away, a reindeer feels festive, and a polar bear or seal brings in a softer arctic theme.
This mix also gives readers different commitment levels to consider. A simple ornament-style shape may suit a smaller display, while a taller bear, fox, or reindeer can become a more noticeable shelf piece. Before choosing, it helps to check the finished size, assembly needs, facial details, and whether the creator provides written support.
Crochet Classic Winter Snowman Amigurumi
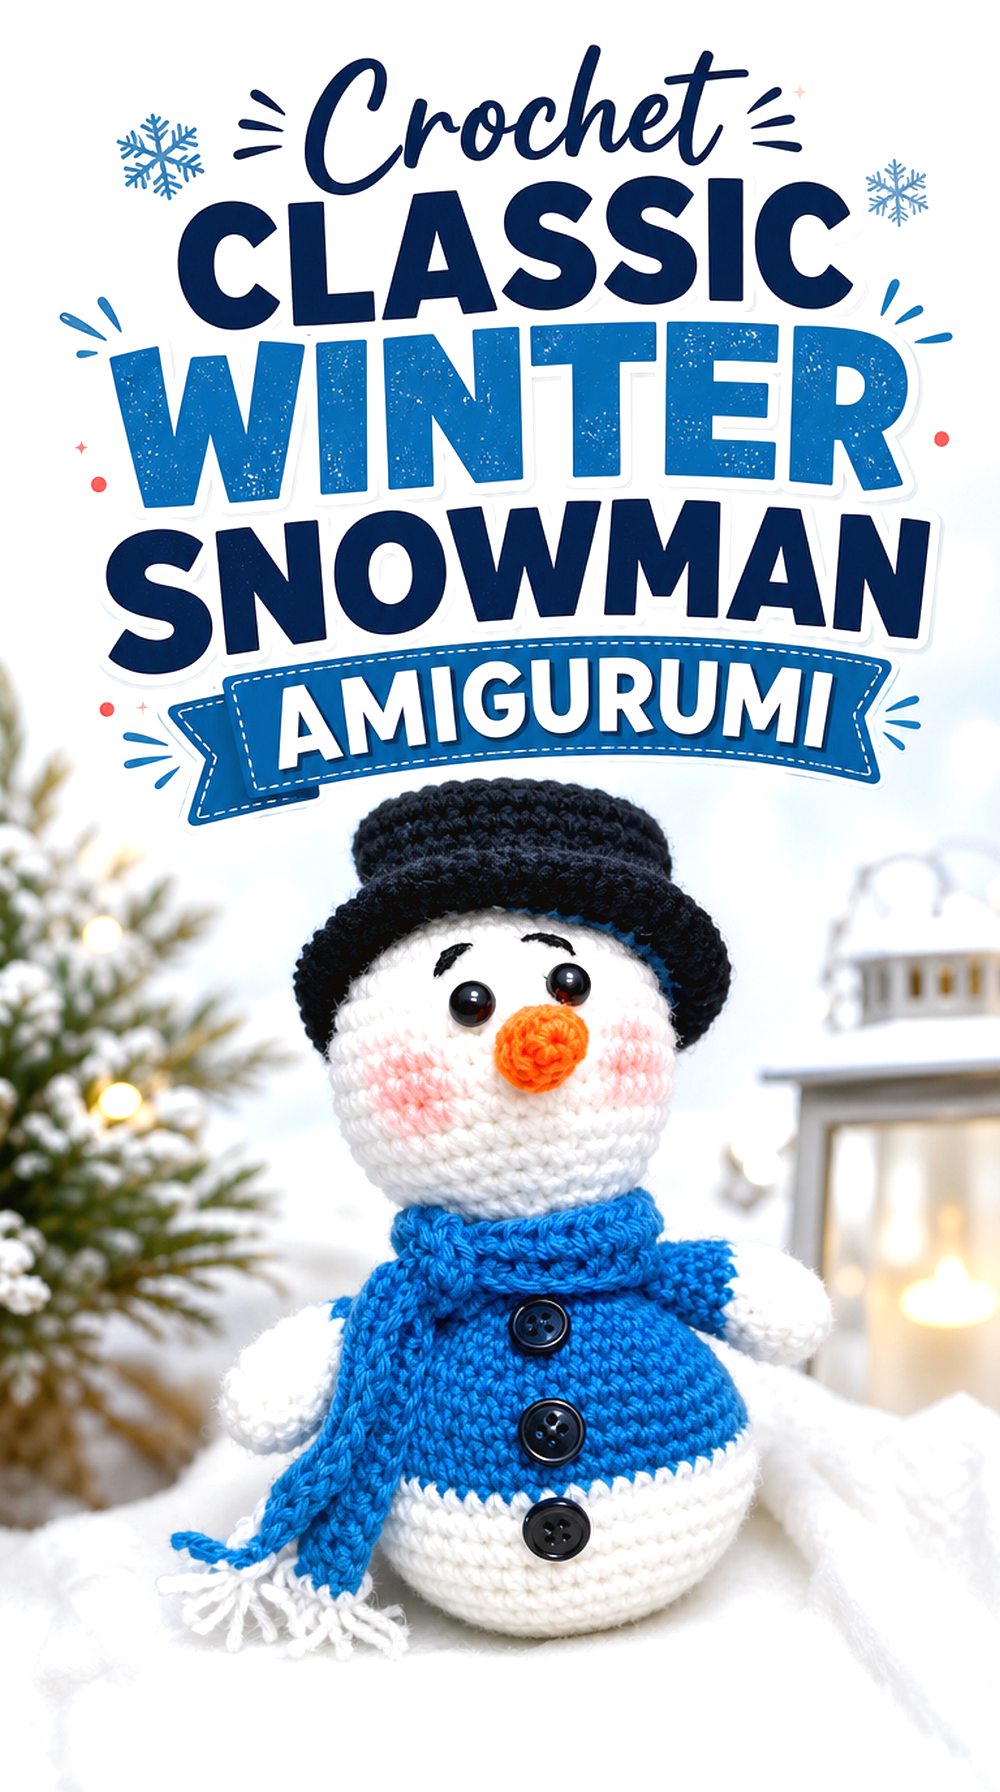
A snowman is one of the clearest winter amigurumi choices because the stacked rounded shape, face, and small accessories make the finished item easy to recognize. This version suits a seasonal shelf, a small handmade gift, or a winter display with other soft decorations. It differs from the animal projects in this list because its charm comes from simple snowman proportions rather than limbs, fur texture, or character clothing.
Check the Stacked Shape
The snowman’s shape depends on the body sections looking balanced once stuffed. Readers may want to compare the finished silhouette in the source before choosing yarn thickness or stuffing firmness. A snowman that leans too soft may lose its rounded profile, while one that is overstuffed may look stretched. The original guide should be followed for exact shaping.
Plan the Face Details
Facial placement matters on a snowman because small changes can shift the expression. Before attaching or embroidering features, pause and check the spacing against the finished example. If safety eyes or small parts are used, confirm the creator’s notes and decide whether the finished piece is meant only for display.
Think About Winter Display Use
This snowman can work well in a group of winter amigurumi because the white body gives visual contrast next to darker animals or bright holiday colors. When planning a display, consider where it will sit and whether the base appears stable enough for that spot. Use the tutorial for the exact construction details.
Crochet Round Penguin Amigurumi
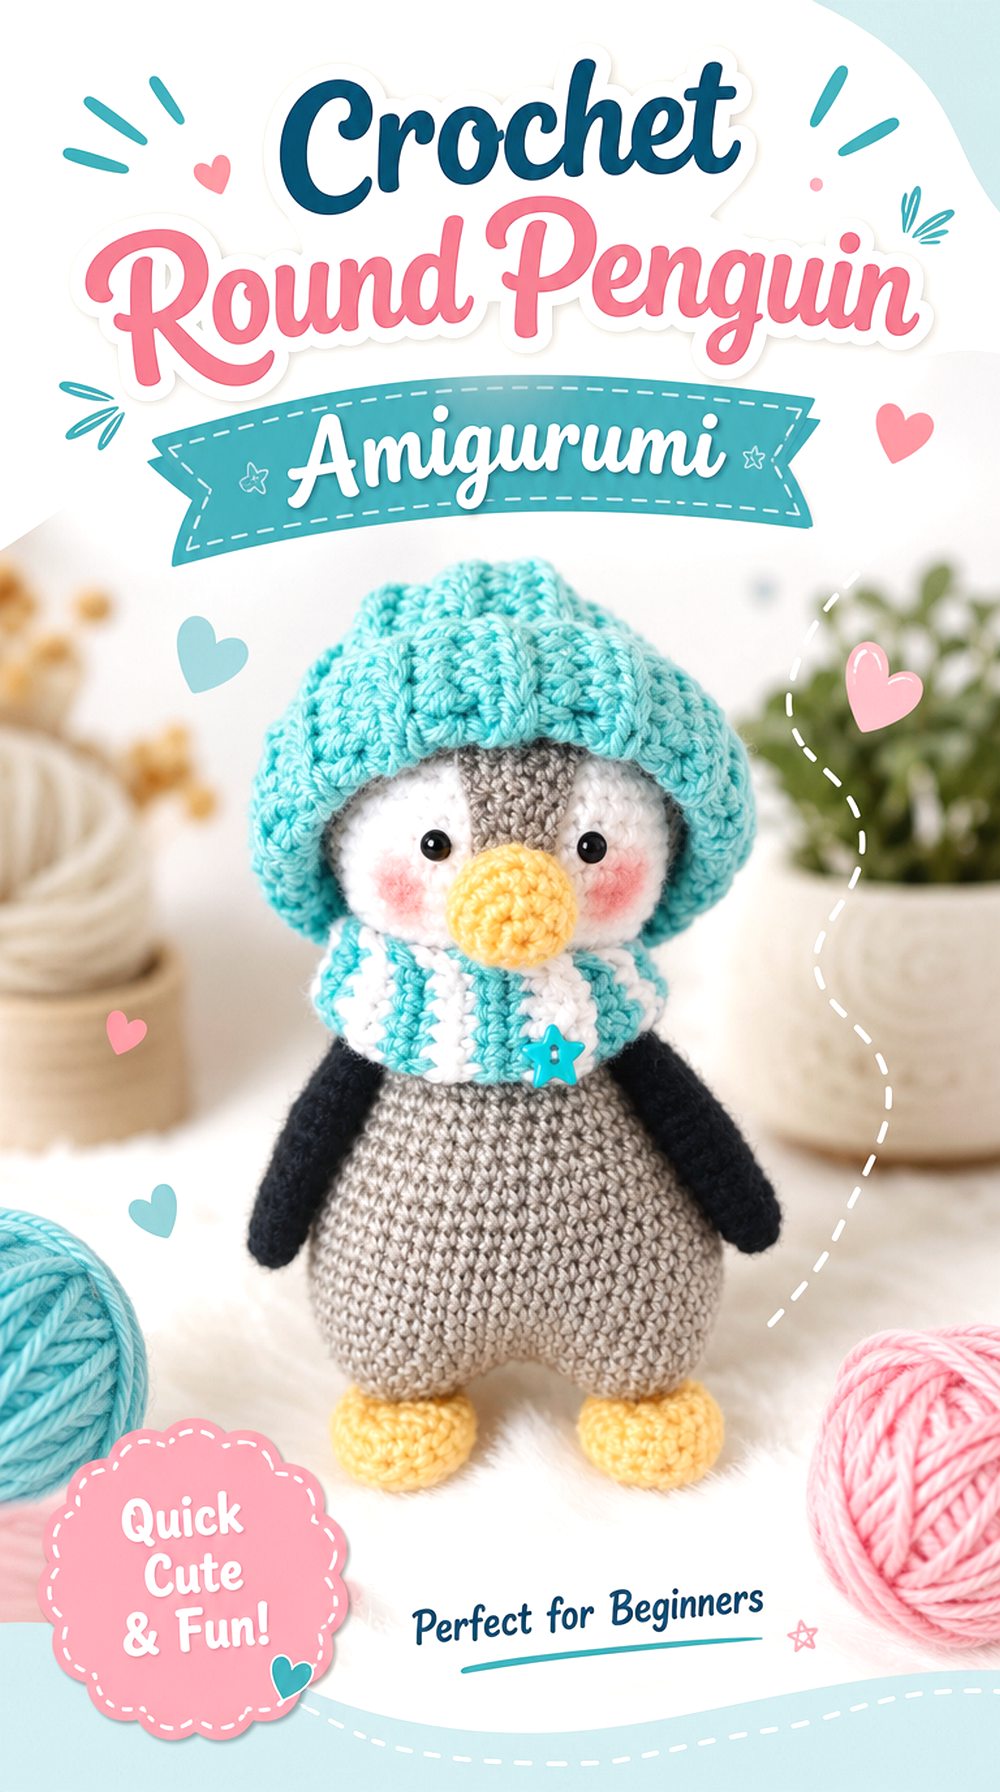
The penguin brings a soft arctic look to a winter amigurumi set without feeling strictly Christmas-only. Its rounded body, contrasting belly, small wings, and simple face make it a friendly option for a desk, nursery shelf, or seasonal gift. Compared with the snowman, this project has more animal character and depends more on color placement and symmetrical shaping.
Keep the Belly Contrast Clear
A penguin usually relies on a strong front contrast so the body shape is easy to read. Check how the light belly area sits against the darker outer body before moving too far ahead. If the contrast is too close, the penguin may lose definition from a distance, especially when displayed beside other winter toys.
Compare the Wing Position
Small wings can change the finished personality of the penguin. Look at the final view and notice whether the wings sit close to the body, angle outward, or rest lower on the sides. Marking placement before final attachment can help keep both sides even without turning the project into a guessing exercise.
Review the Finished Size
The tutorial description does not clearly provide every display-use detail, so readers should check the finished view before deciding where this penguin will go. A compact penguin may suit a small tray or ornament-style grouping, while a larger version may need more room beside other amigurumi pieces.
Original Tutorial and Creator Credit
Creator: Magic Uncinetto
Crochet No Sew Polar Bear Amigurumi
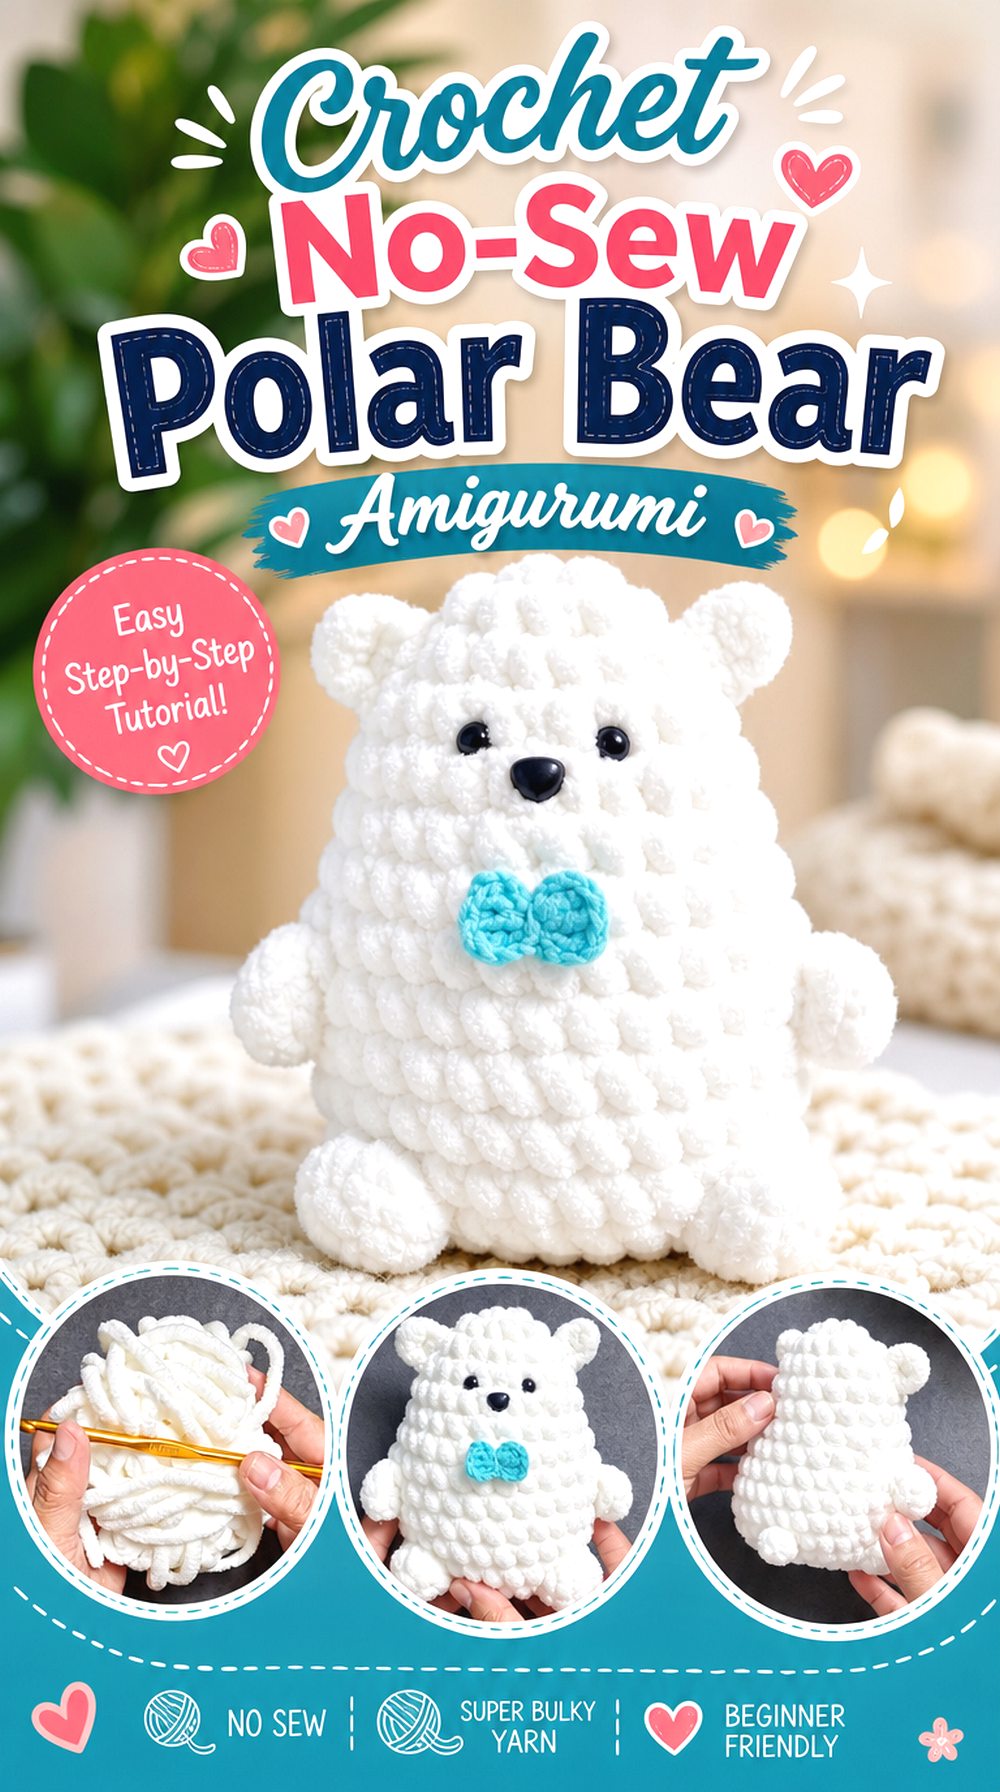
A polar bear adds a plush, snowy look to the collection and pairs naturally with penguins, seals, and other cold-weather animals. This selected tutorial is presented as a no-sew polar bear plushie, so it may appeal to readers who prefer fewer separate finishing stages. The finished bear shape is different from the scarf bear later in the list because this one focuses on a cleaner arctic-animal look.
Check the No-Sew Structure
A no-sew design can reduce attachment work, but readers should still look closely at how the ears, limbs, and body are formed. The main question is whether the construction style matches the crocheter’s preferred pace. Watching the major shape changes first can make the project feel easier to follow without needing to rewrite any instructions.
Think About White Yarn Visibility
A polar bear depends on light yarn for its snowy look, which can make stitch definition harder to see in some lighting. Readers may want to work with good daylight or a bright lamp when following close-up sections. The finished result should still show the face and body outline clearly against the display background.
Confirm the Material List
The creator includes material information in the video description, but readers should check the original listing before buying supplies. Yarn type, hook size, stuffing, and small details can affect the finished scale and firmness. Avoid assuming that a substitute yarn will produce the same size or shape unless the creator explains adjustments.
Original Tutorial and Creator Credit
Creator: Jiyusu Crochet
Crochet Antlered Reindeer Amigurumi
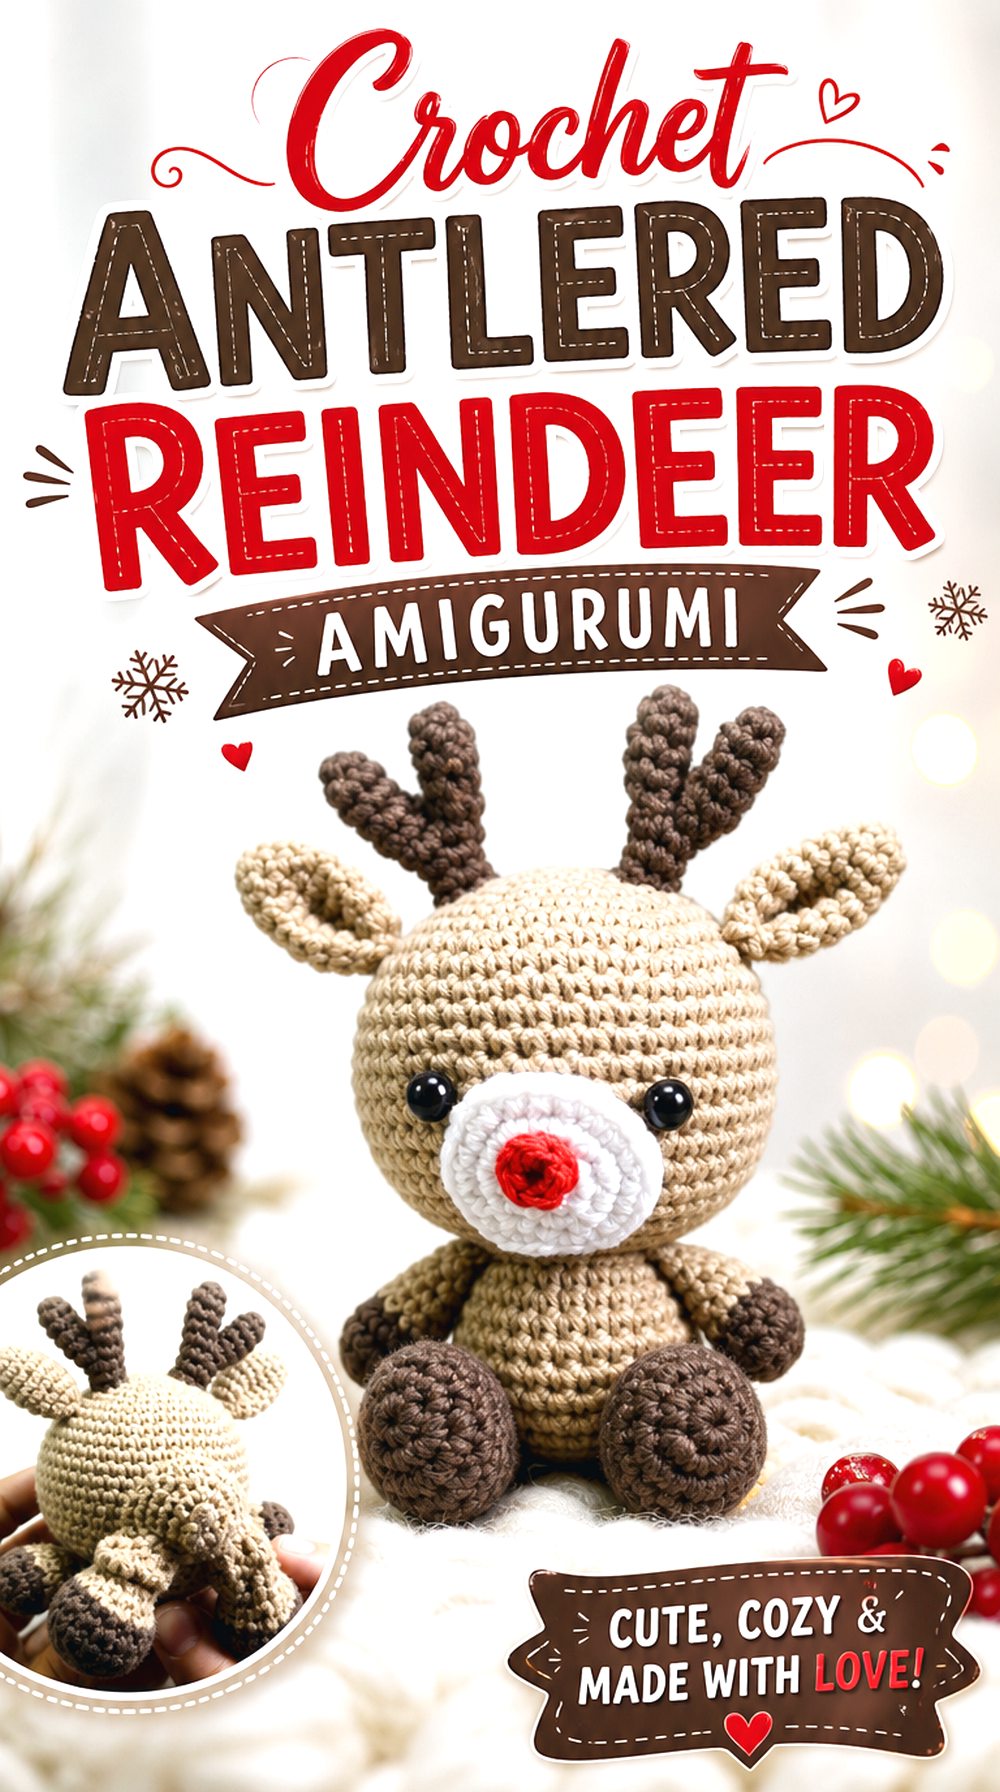
The reindeer gives this winter amigurumi list a more classic holiday character. Antlers, ears, legs, and a rounded body create a more detailed silhouette than a simple ornament shape. It can stand out as a centerpiece in a small Christmas display, especially when placed near a tree, candy cane, or gingerbread piece from the same seasonal theme.
Look Closely at the Antlers
Antlers are the feature that makes this project read as a reindeer rather than a basic deer. Before starting, check how the creator handles the antler shape and where it is placed on the head. This is a detail worth slowing down for because uneven placement can change the finished character quickly.
Watch the Assembly View
The reindeer appears to rely on several recognizable parts, so the final assembly stage matters. Readers should pay attention to the position of legs, ears, and facial details rather than rushing through finishing. Use the original tutorial for the exact order and counts, and compare the shape before fastening pieces permanently.
Decide on Display Placement
A reindeer with antlers may need slightly more overhead space than a round snowman or penguin. If it will sit on a shelf, check the total height in the source if available, or compare the finished item against the creator’s hands and tools. This helps avoid choosing a display spot that crowds the antlers.
Original Tutorial and Creator Credit
Creator: Odinka Wisanindhi
Crochet Gingerbread Man Amigurumi
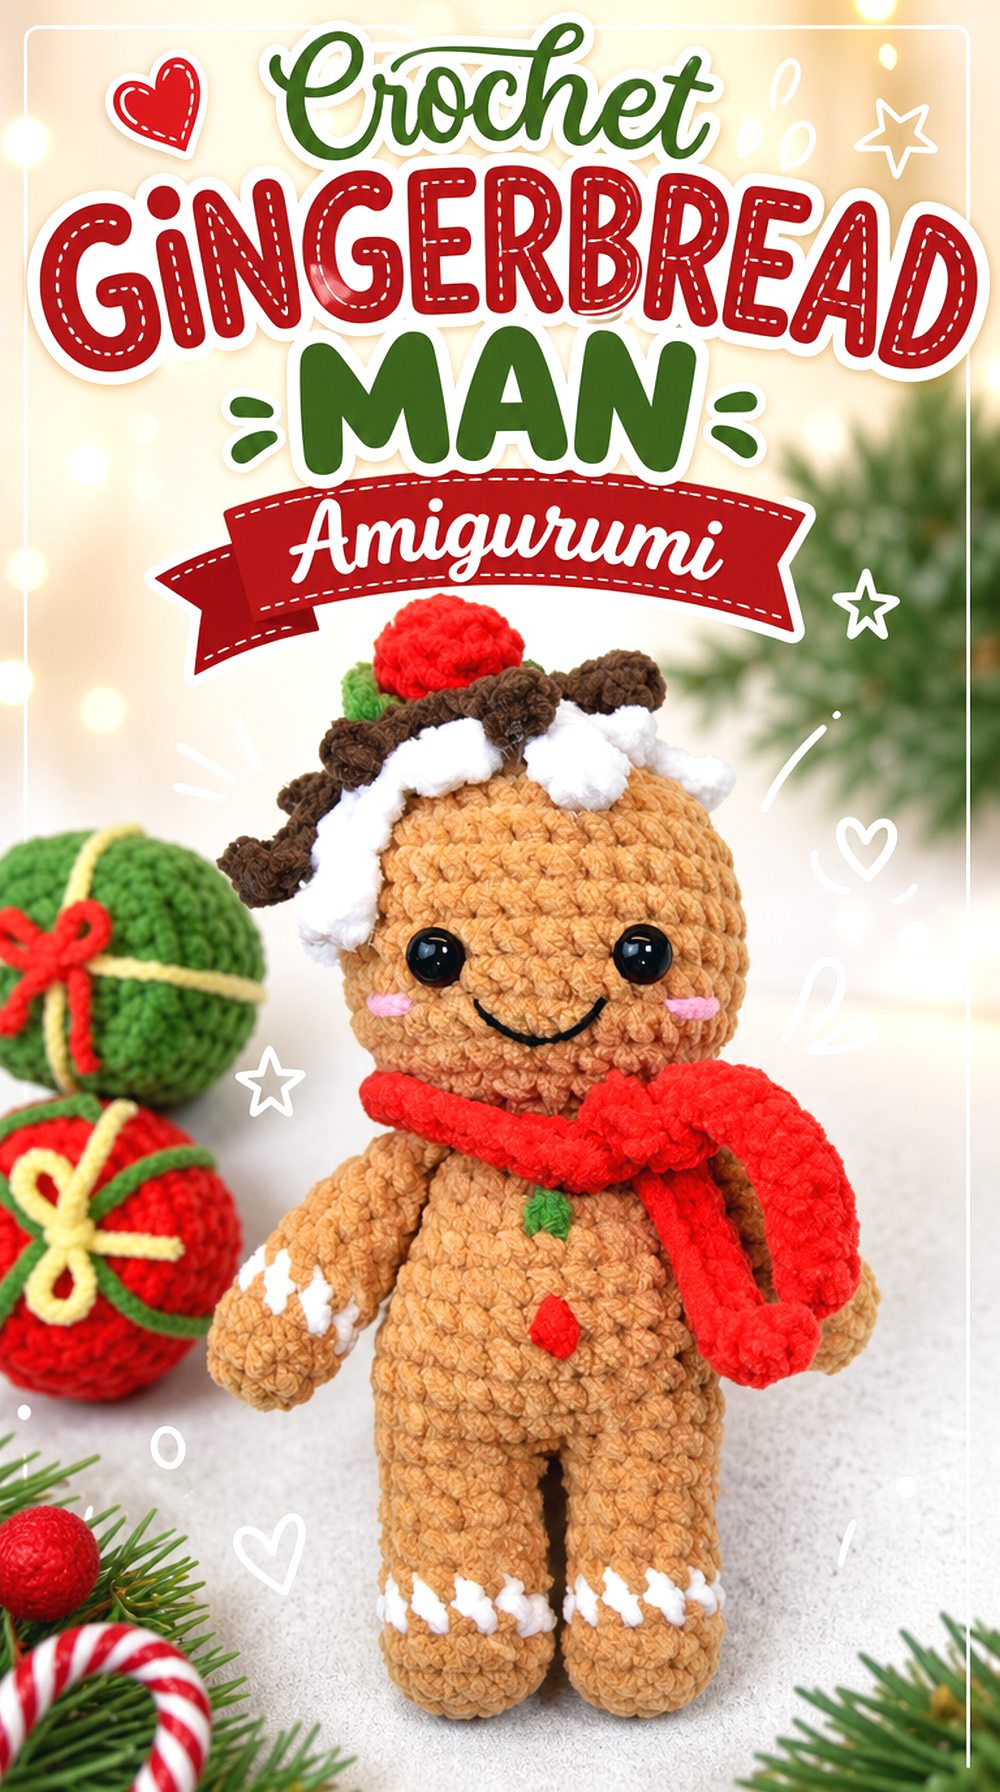
The gingerbread man brings a cookie-inspired holiday shape into the amigurumi mix. Its flat, recognizable body outline makes it very different from the round animals and taller display pieces. This kind of project can work as a small seasonal gift, a tree-side accent, or part of a handmade dessert-themed arrangement with mugs, candy canes, and other cozy winter pieces.
Keep the Body Outline Recognizable
The gingerbread shape depends on clear arms, legs, and a rounded head. Before finishing, compare the outline to the final example and make sure the body has not become too narrow or uneven. A strong silhouette helps the project stay readable even when it is displayed with other small holiday amigurumi.
Check the Decorative Details
Buttons, icing-style lines, facial features, and small color accents can give the gingerbread man its cookie look. Readers should confirm what details the creator includes and whether they are crocheted, embroidered, or attached. Small parts should be considered carefully if the finished item will be handled often.
Pair It With Other Cozy Pieces
This project fits especially well beside the coffee cup and candy cane because they share a warm treat-inspired theme. For a display, avoid crowding too many small brown or red pieces together. A lighter background can help the gingerbread outline and decorative details remain visible.
Original Tutorial and Creator Credit
Creator: Crochet with Mai
Crochet Stuffed Christmas Tree Amigurumi
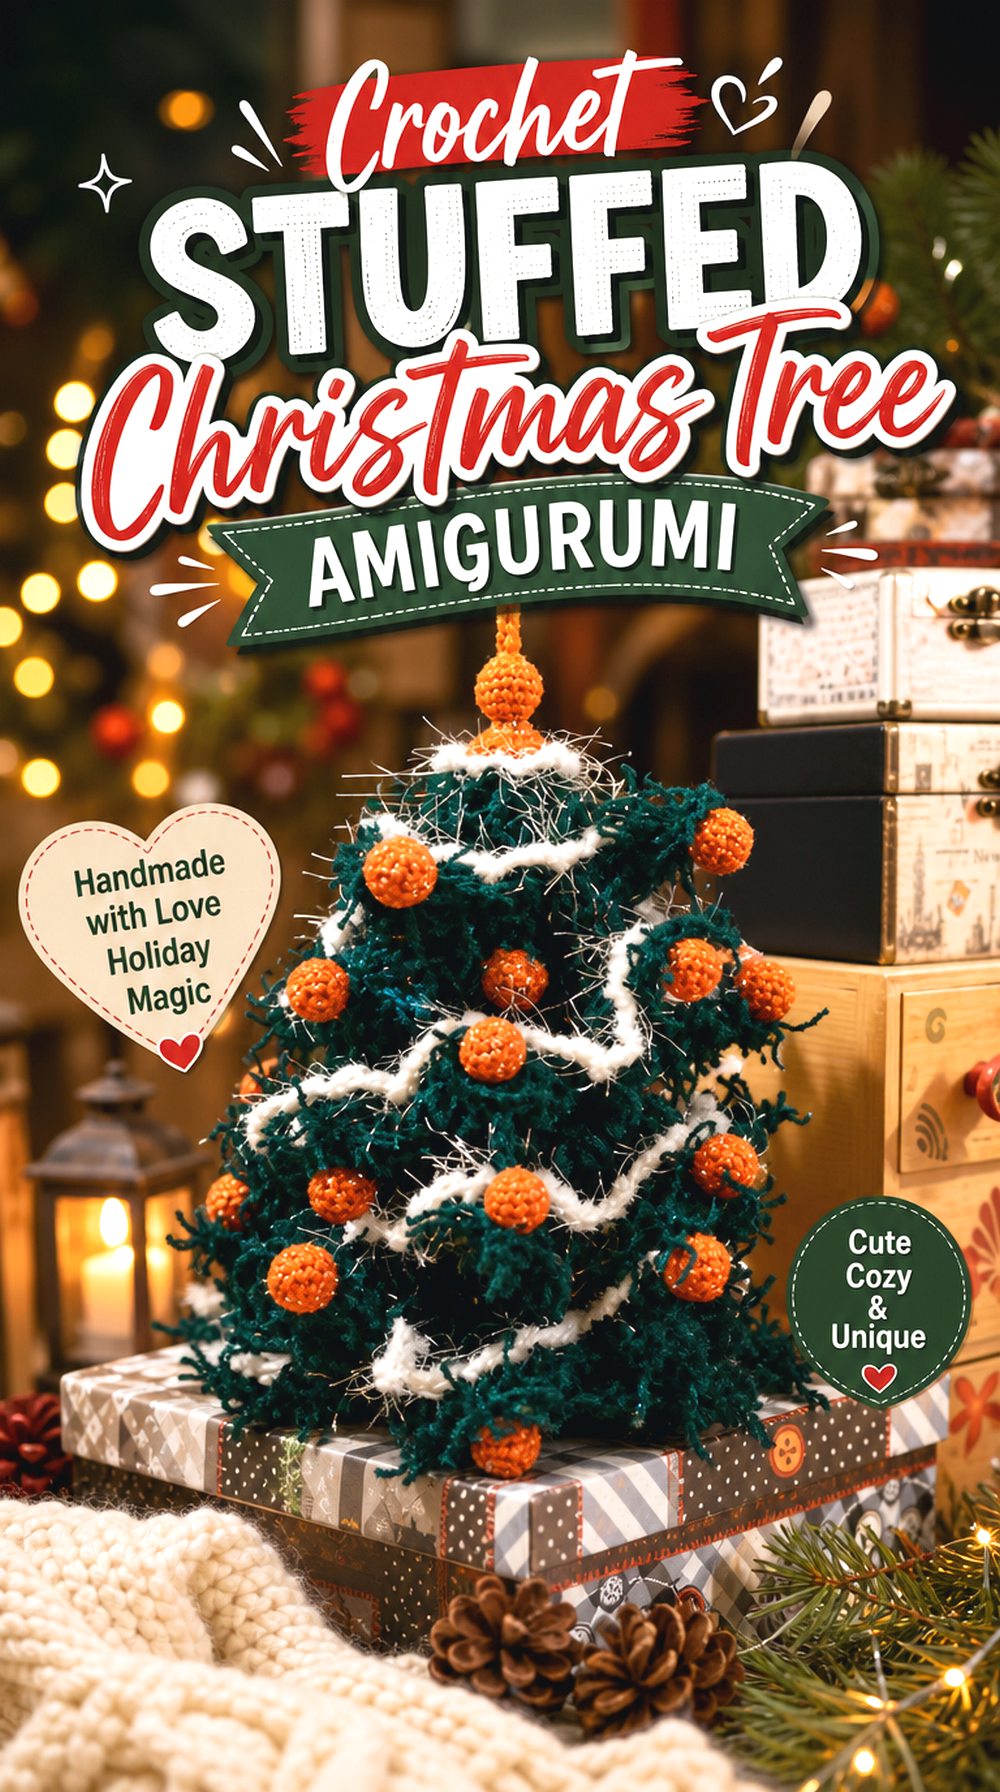
A stuffed Christmas tree amigurumi gives the collection a vertical decorative shape rather than another animal or character. The tree form can sit on a desk, shelf, mantel, or craft table as a soft seasonal accent. It stands apart from flat tree appliques because the amigurumi style gives it more dimension and makes it feel like a small object rather than a surface decoration.
Check the Tree Silhouette
The finished tree should have a clear triangular or tiered look so it reads instantly as a Christmas tree. Readers may want to check the shaping stages and compare the sides as the project grows. If the source uses mixed techniques or added details, follow the original guidance rather than trying to reconstruct the shape from memory.
Think About the Base
A tree amigurumi often needs enough lower stability to sit neatly. Before choosing it for a shelf or centerpiece, look at the finished base and decide whether it appears flat, rounded, or supported by stuffing. The display surface matters because a narrow tree can lean if the base is not suited to the placement.
Plan the Color Direction
Classic green is the most obvious choice, but the display style can change with cream, snowy blue, or muted winter tones if the creator allows color flexibility. Keep contrast in mind if ornaments or small details are included. The original tutorial should remain the source for any exact materials or construction choices.
Original Tutorial and Creator Credit
Creator: L’angolo di Criss
Crochet Scarf Bear Amigurumi
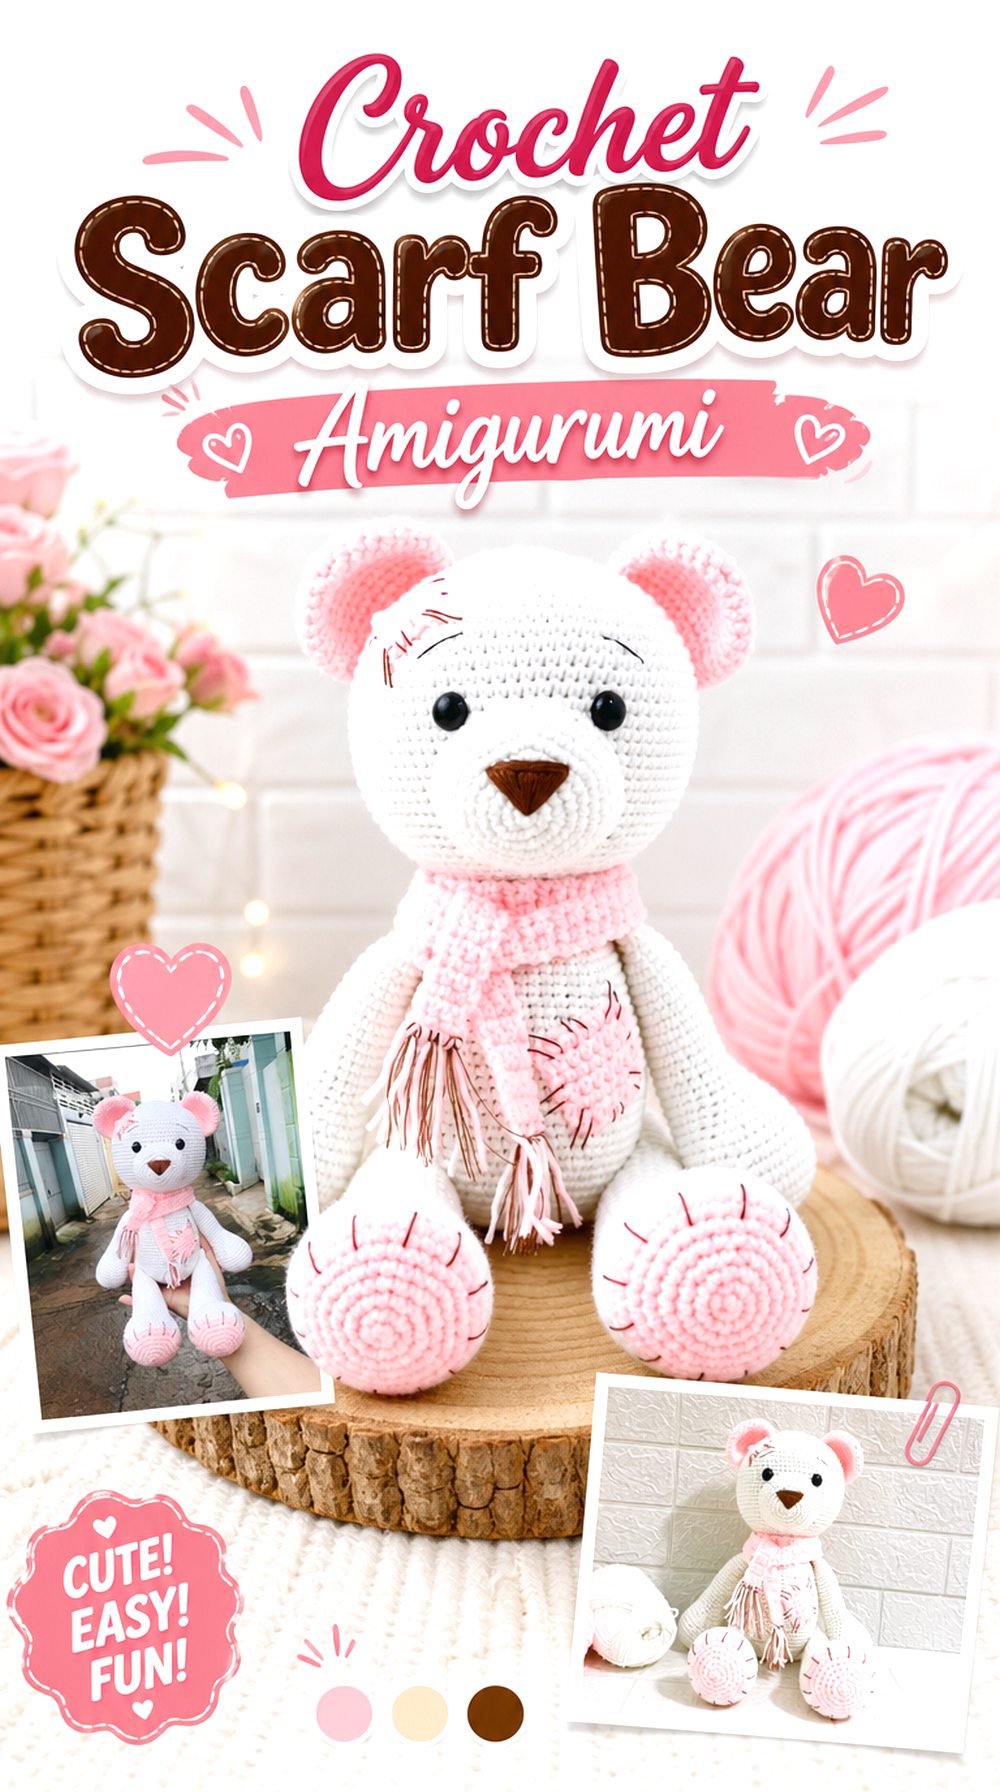
A scarf bear feels especially cozy because the accessory turns a basic bear shape into a winter character. This project is larger in feel than many ornament-style pieces, and the scarf gives it a dressed, giftable look. It differs from the polar bear because the focus is not just the animal shape, but the finished bear’s seasonal styling.
Confirm the Finished Size
The creator’s description includes a finished height, so readers who need a compact project should check that detail before starting. A larger bear may be better for a shelf, bed, or gift display than for a small ornament tray. Size also affects how much storage space the finished amigurumi may need after winter.
Look at the Scarf Placement
The scarf is the detail that gives the bear its winter mood. It should sit clearly around the neck without covering the face or making the head look crowded. Before securing any accessory, compare the final look and decide whether the scarf position keeps the bear’s expression visible.
Prepare for a Longer Project
A bigger bear with accessories may involve more finishing than a small candy cane or star. Readers should review the full guide first and note where the project changes from body shaping to accessory work. This helps with pacing and reduces the chance of stopping midway through an important section.
Original Tutorial and Creator Credit
Creator: Da Crochet
Crochet Arctic Seal Amigurumi
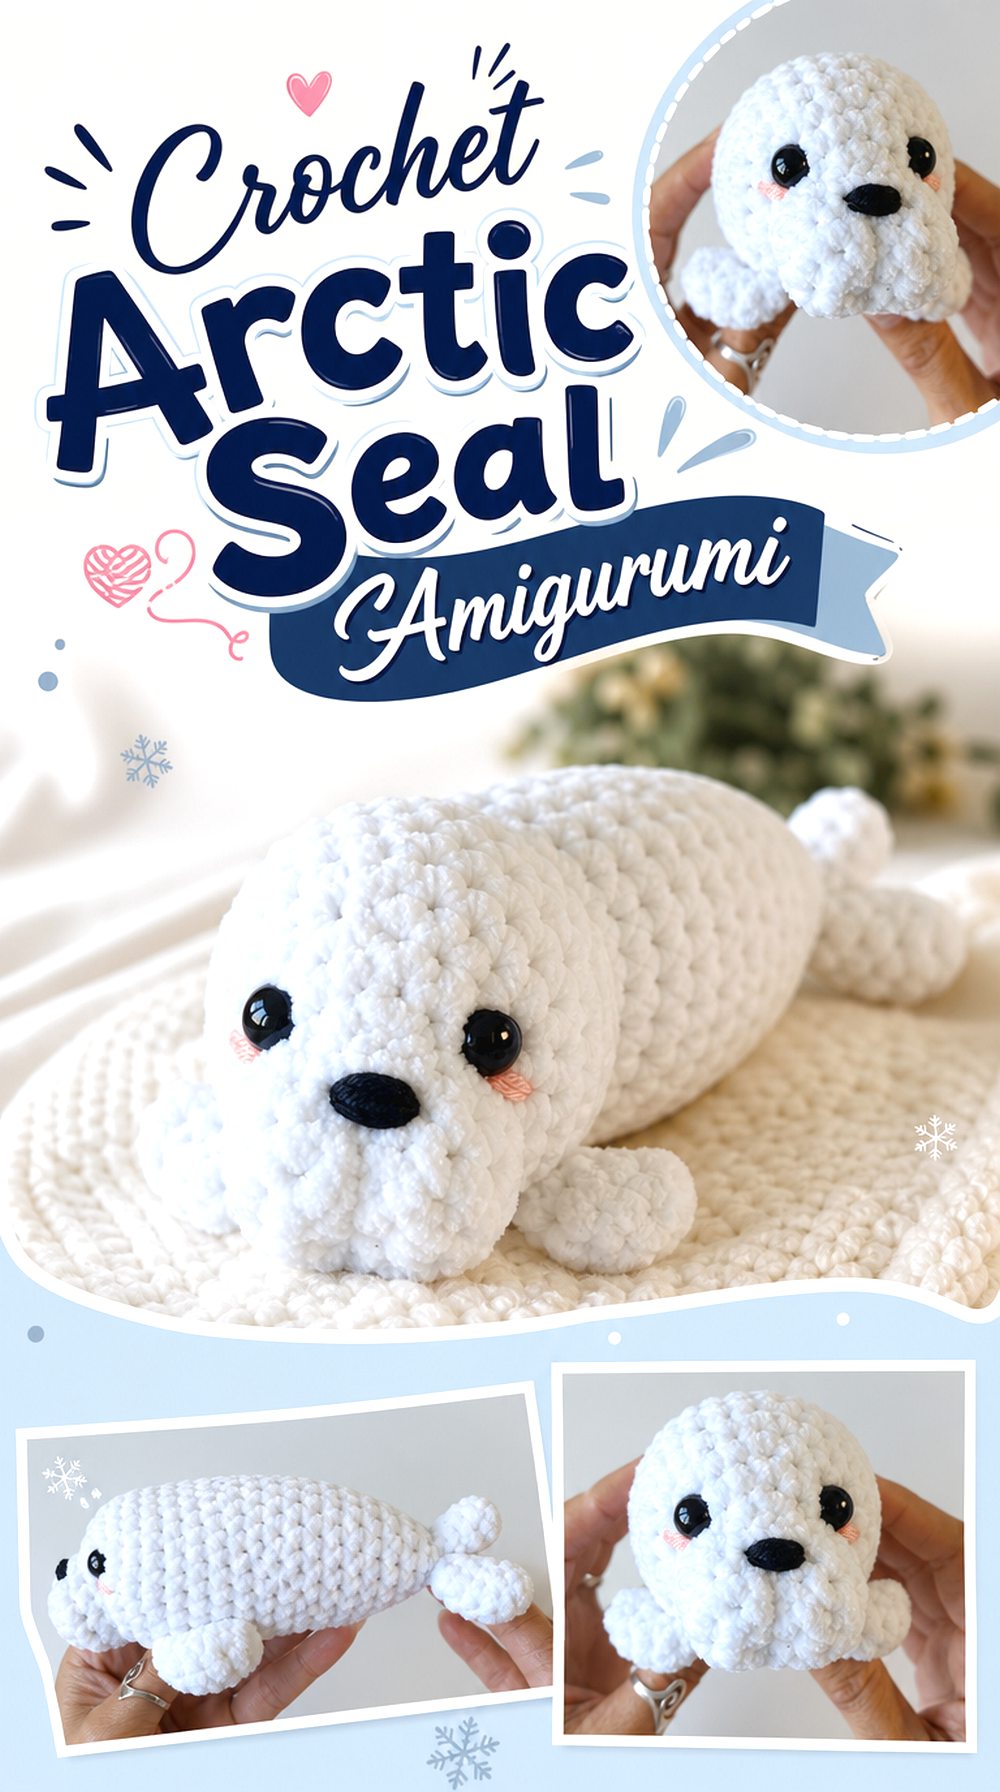
The seal adds a low, rounded arctic animal to the winter mix. Its flippers, muzzle, and soft body shape make it different from upright animals like the bear, fox, and reindeer. This kind of amigurumi can work well in a winter animal display, especially when placed near the polar bear, penguin, or narwhal for a cold-weather wildlife theme.
Notice the Low Body Shape
A seal does not need the same upright balance as a bear or fox. The finished shape should look smooth, rounded, and close to the surface. Readers may want to compare the body and flipper proportions as they work so the seal keeps its relaxed arctic-animal look rather than becoming too tall.
Check the Muzzle and Face
The seal’s expression depends heavily on the muzzle and facial detail. Look closely at how the creator positions the nose, eyes, and any small stitched features. Since these details sit near the front of the body, uneven placement can be more noticeable than it would be on a busier character.
Review the Material Notes
The creator lists materials and timestamps in the description, which can help readers prepare before starting. Confirm the yarn, stuffing, eyes, and small-detail supplies directly from the source. If making the project for display only, readers can choose placement freely, but child safety should not be assumed unless the creator clearly addresses it.
Original Tutorial and Creator Credit
Creator: Crochet With Greta
Crochet Woodland Fox Amigurumi
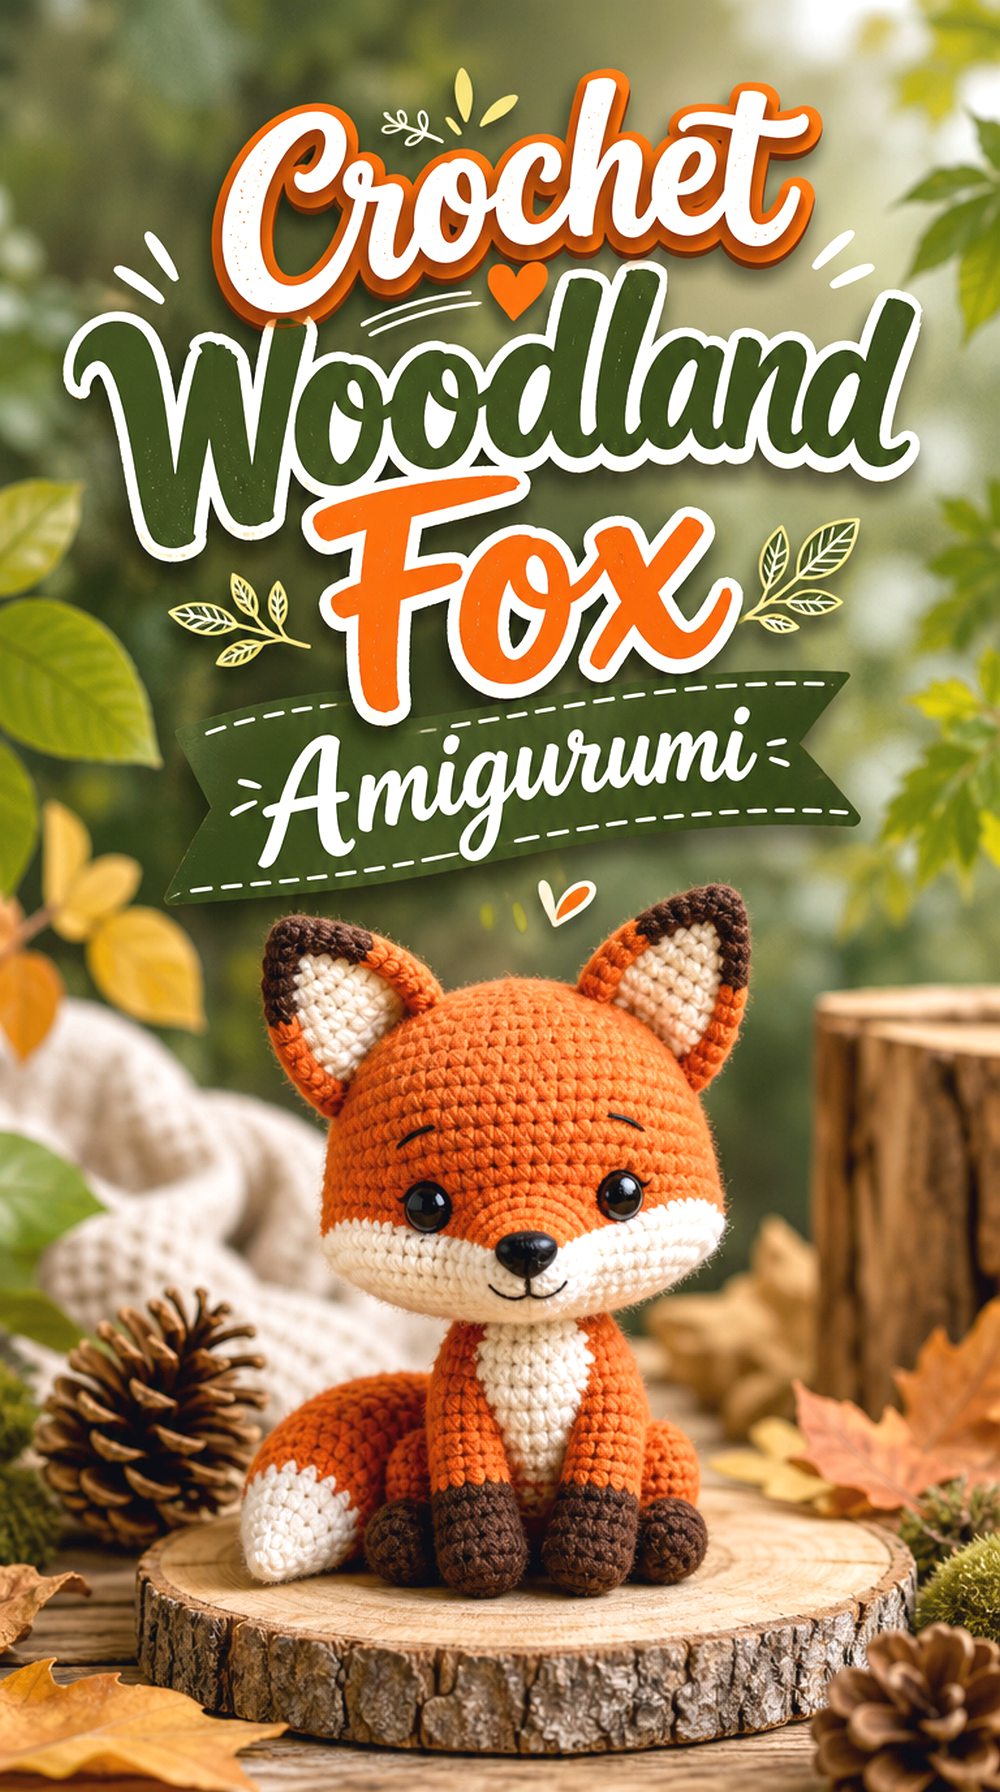
A fox brings a woodland winter feeling to the list, especially when displayed with bears, hedgehogs, and other forest-inspired pieces. The pointed ears, snout, and tail make the shape more angular than the penguin or seal. It is not limited to Christmas decorating, so it can stay out longer as part of a winter woodland shelf.
Keep the Fox Features Defined
The ears, snout, and tail are what make the finished animal read as a fox. Readers should look carefully at the final view and make sure those features stay clear. Color changes can also affect the face and tail, so it helps to review those sections before beginning the project.
Consider the Woodland Theme
This fox pairs well with the hedgehog and scarf bear because they share a soft forest-animal feeling. For a winter display, muted rust, cream, brown, and gray tones can keep the arrangement calm. Do not assume exact yarn substitutions will match the creator’s finished size unless the source explains that flexibility.
Follow the Live Format Carefully
This tutorial is presented as a live step-by-step workshop, so viewers may want to use pauses and timestamps if available. Live teaching can include extra discussion, which some readers enjoy and others may prefer to navigate around. Marking the stopping point can help keep progress organized.
Original Tutorial and Creator Credit
Creator: Rania Crochet Guide
Crochet Fluffy Hedgehog Amigurumi
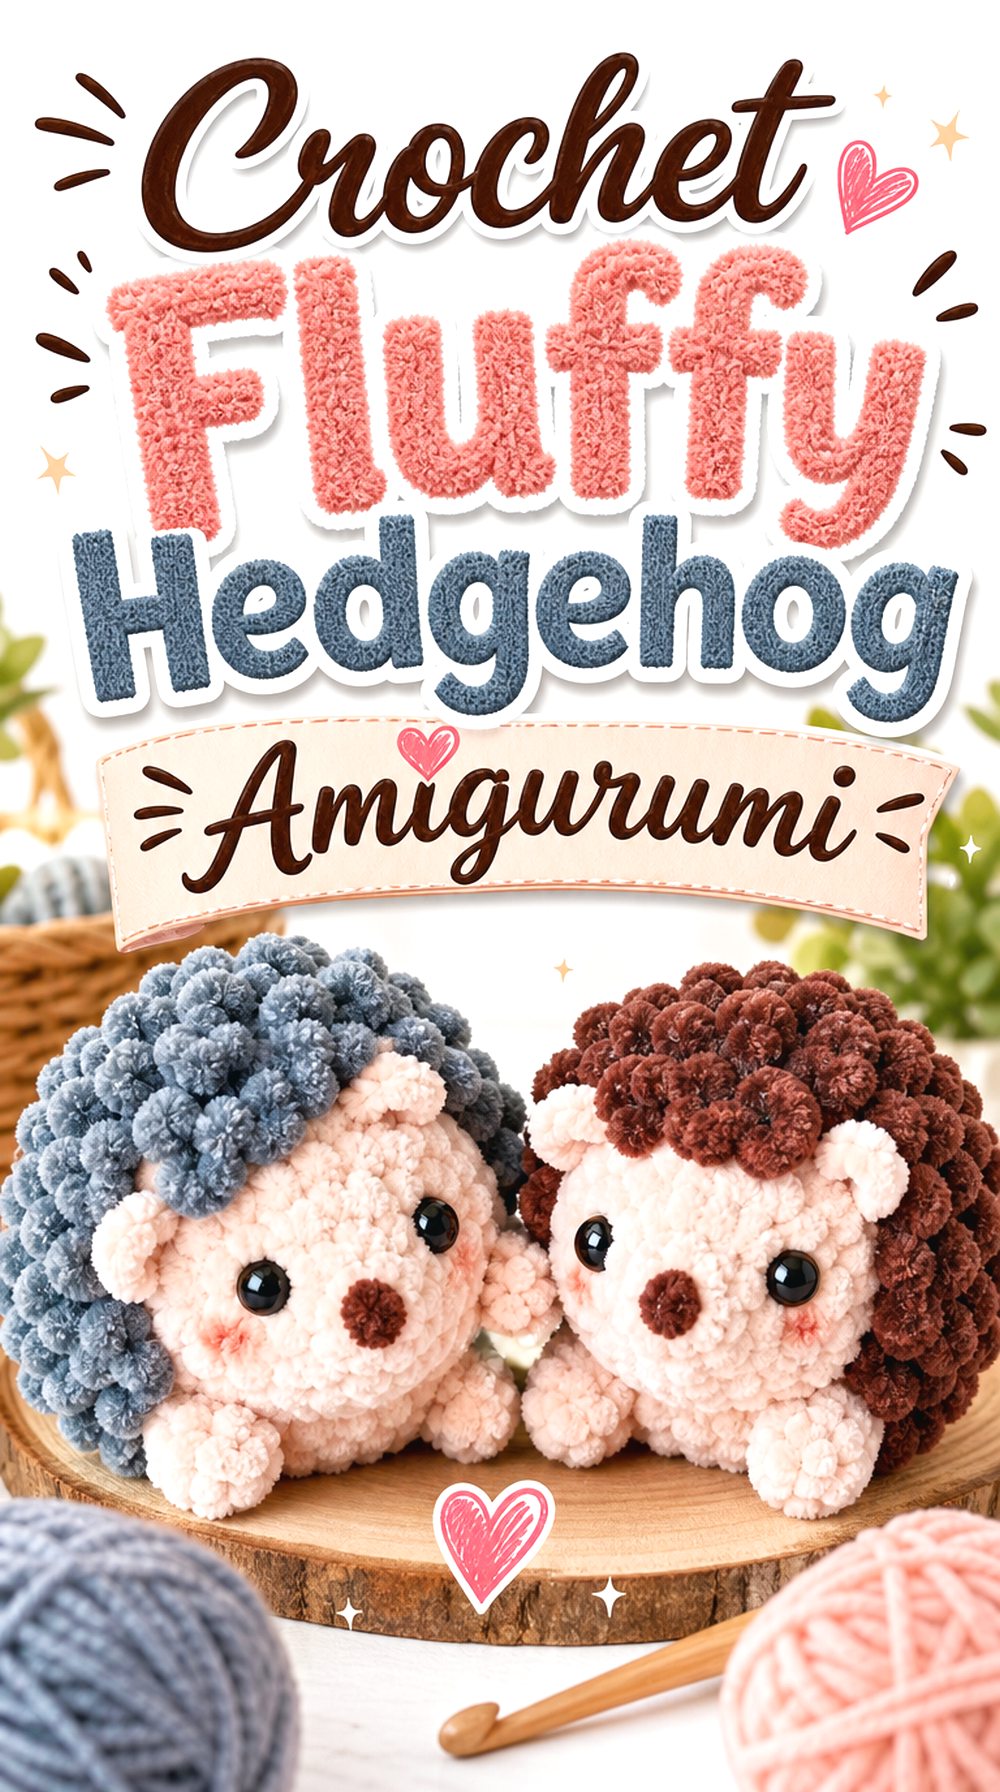
The hedgehog adds texture to the collection. Instead of relying only on shape or color, this project uses a fluffy look for the spines, making it stand out beside smoother animals. It can work as a woodland winter accent, a small gift, or a soft display piece for readers who want a different surface effect.
Check the Spine Texture
The hedgehog’s texture is its main feature, so readers should review how the spines are handled before starting. Fluffy yarn or textured sections can be harder to see than smooth stitches. Good lighting, stitch markers, and careful progress checks may help, especially when the back texture begins to build.
Balance the Face and Body
A hedgehog needs enough face definition so it does not become only a fluffy oval. Look at the finished example and note how the nose, ears, and eyes sit against the textured body. The face should remain visible from the front, especially if the piece will be displayed among other amigurumi animals.
Confirm the Supplies First
The creator lists materials in the description, including yarn and basic finishing items. Readers should check those notes directly before buying supplies because texture and size may change if different yarn is used. The written pattern link may also be worth reviewing if a printable reference is preferred.
Original Tutorial and Creator Credit
Creator: Amigurumi Forge
Crochet Narwhal Amigurumi
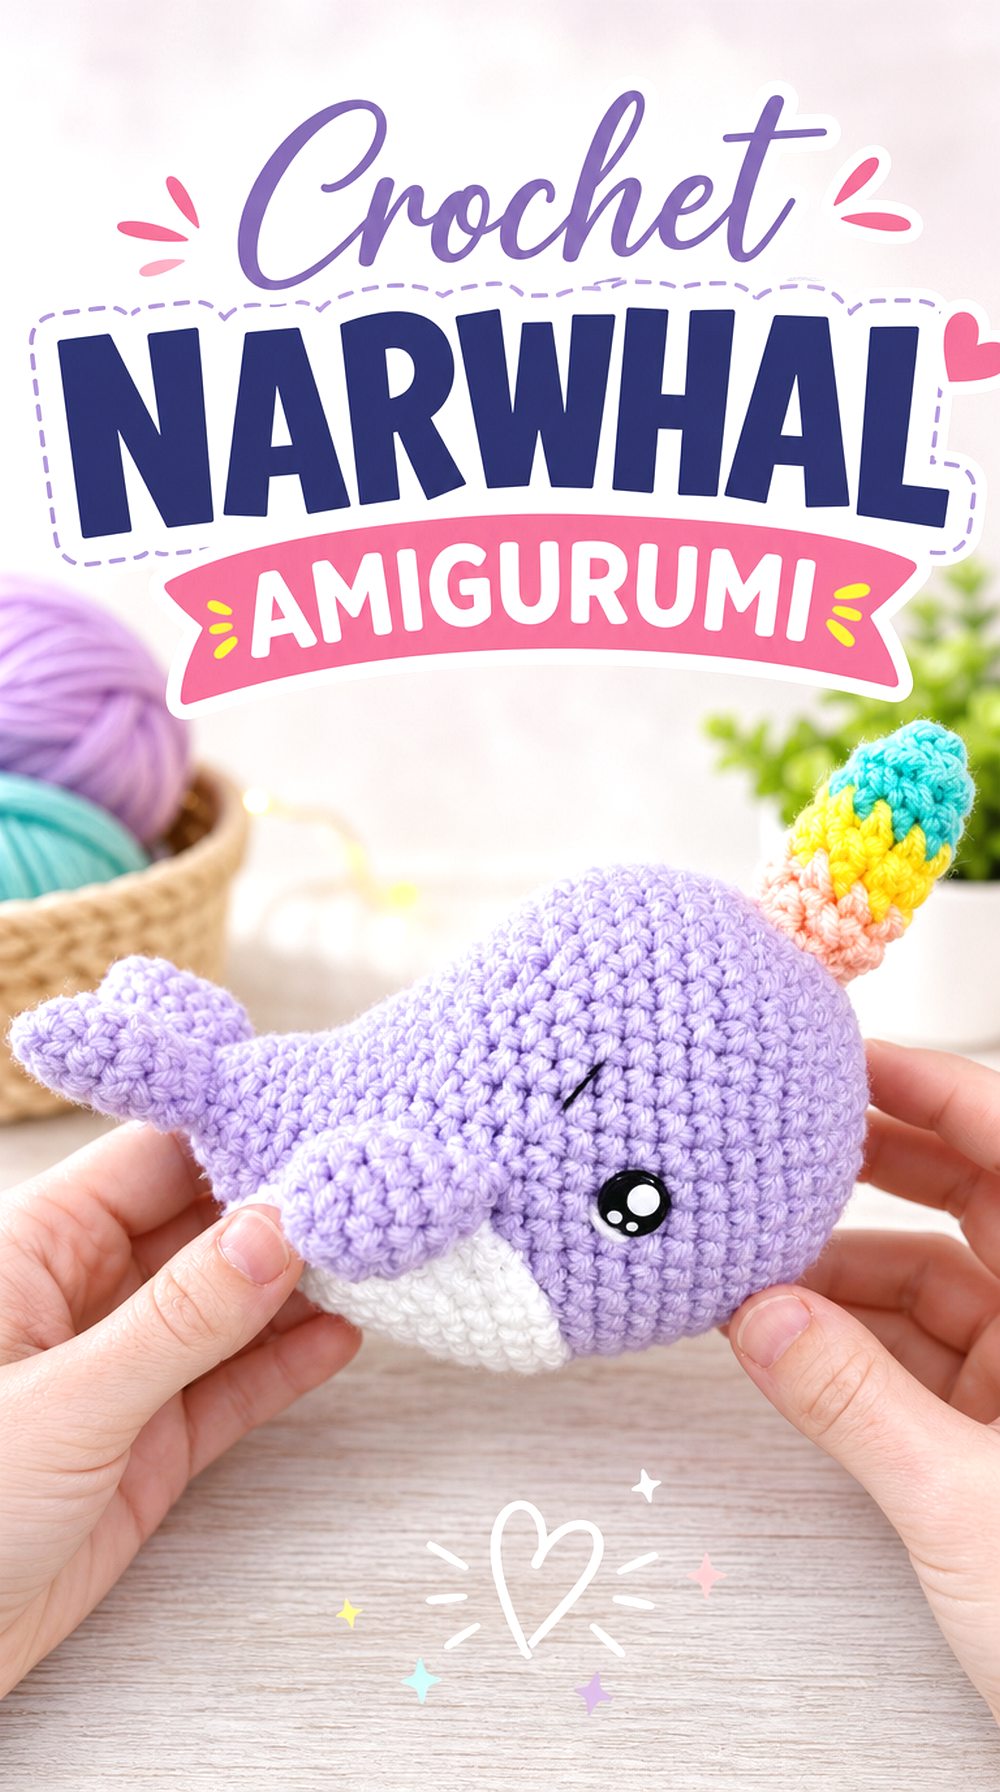
A narwhal brings a playful icy-ocean theme to winter amigurumi. The rounded whale body and horn make it different from the seal, penguin, and polar bear while still fitting the cold-weather animal mood. It can suit a nursery shelf, a marine-themed gift, or a winter display that leans more arctic than Christmas.
Keep the Horn Centered
The horn is the detail that separates a narwhal from a basic whale. Readers should pay attention to placement and angle before attaching or finishing it. A centered horn keeps the character recognizable from the front, while a tilted or crowded placement may distract from the smooth body shape.
Think About Soft Display Pairings
This narwhal can sit well near the seal and polar bear for an arctic collection. Since the body is likely round and smooth, it may also balance more detailed pieces like the reindeer or gnome. Leaving enough space around the horn helps the silhouette stay clear.
Check Written Support
The creator’s description mentions an ad-free downloadable pattern and a step-by-step tutorial. Readers who prefer written backup should review what is free, what is paid, and what format works best for them. Use the original source for exact shaping, attachment, and finishing information.
Original Tutorial and Creator Credit
Creator: The Kindness Company
Crochet Cozy Coffee Cup Amigurumi
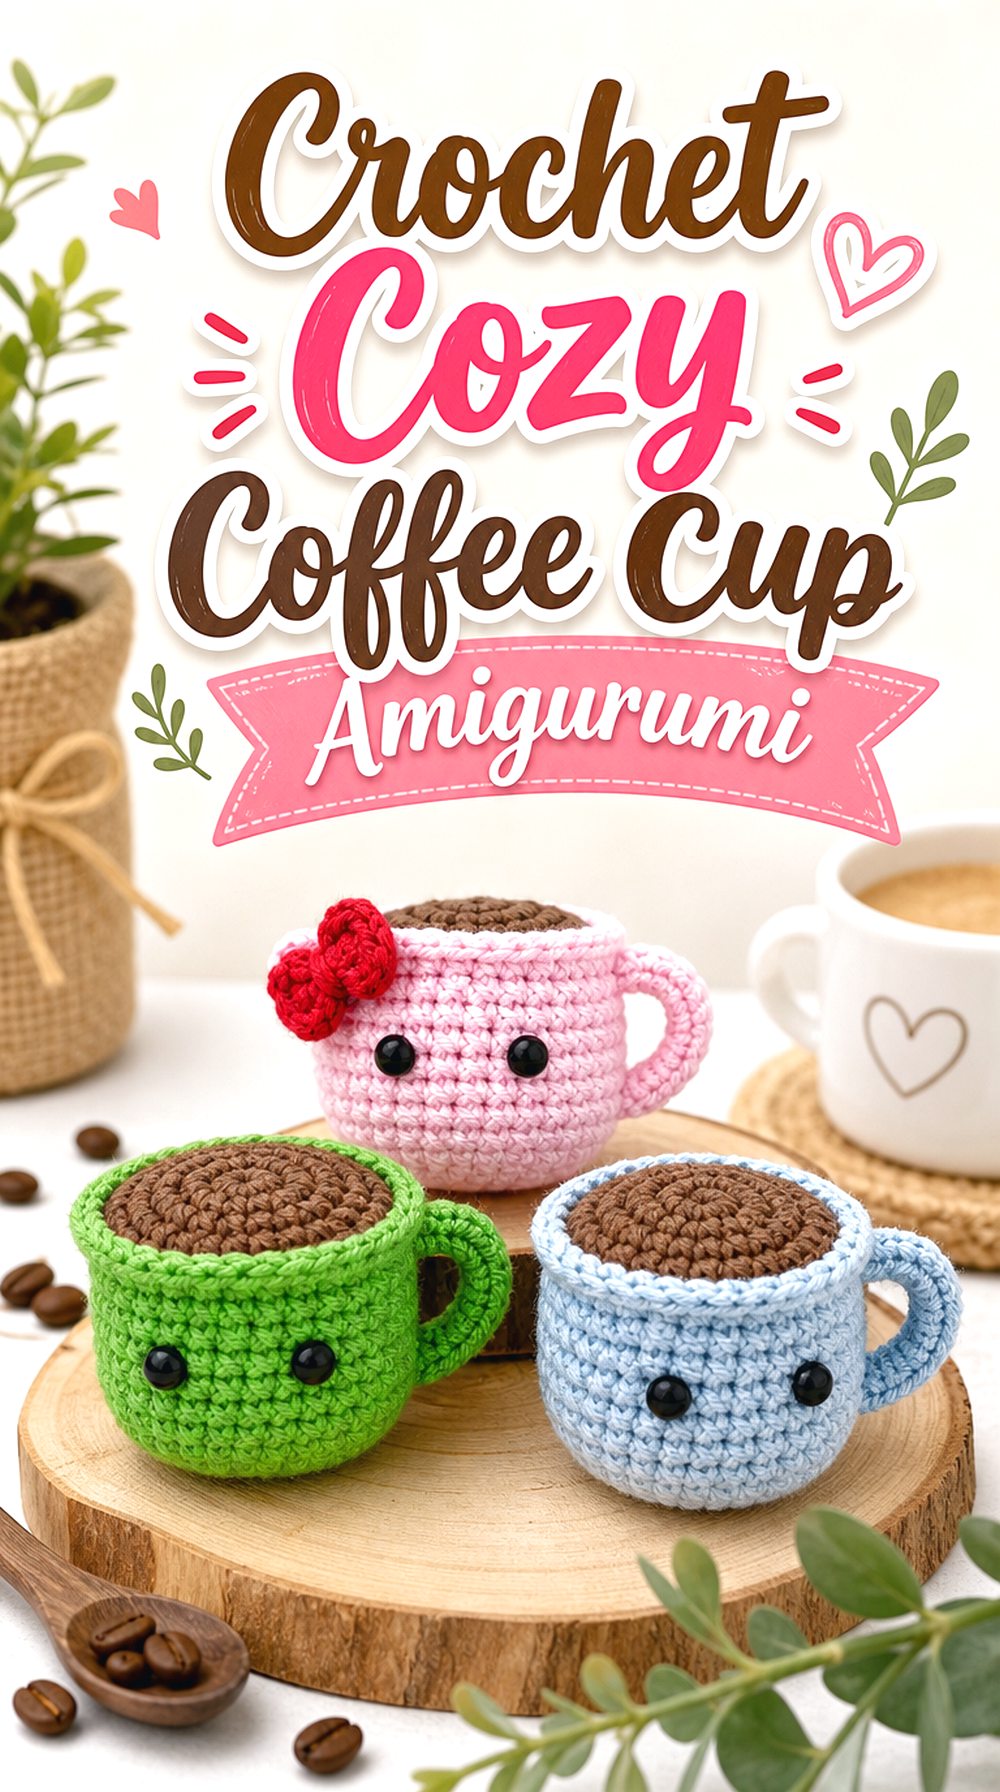
A coffee cup amigurumi adds a warm drink theme to the winter list. It is different from the animal projects because it works more like a small object, keychain, or decorative desk piece. The cup shape can pair nicely with gingerbread, candy cane, and gnome projects for a cozy handmade holiday tray.
Check the Cup Shape
A coffee cup needs a clear top, body, and base so it does not look like a plain cylinder. Readers should look at the final view and notice whether the cup has a lid, sleeve, face, or keychain detail. Those visible features help decide whether the project fits a display, bag charm, or gift topper.
Consider Small-Item Use
The description presents this as a coffee cup keychain, so readers may want to think about how it will be used after finishing. A piece meant for a keychain may need secure attachment points, while a shelf version can focus more on shape and expression. Confirm any hardware directly from the creator’s source.
Review the Full Guide First
Small amigurumi can still include careful shaping and finishing. Watching the full guide before starting helps readers see where the cup changes from body form to decorative details. This is especially useful if the project includes a face, handle, hanging loop, or other small features.
Original Tutorial and Creator Credit
Creator: Crochet dreamland
Crochet Christmas Gnome Amigurumi
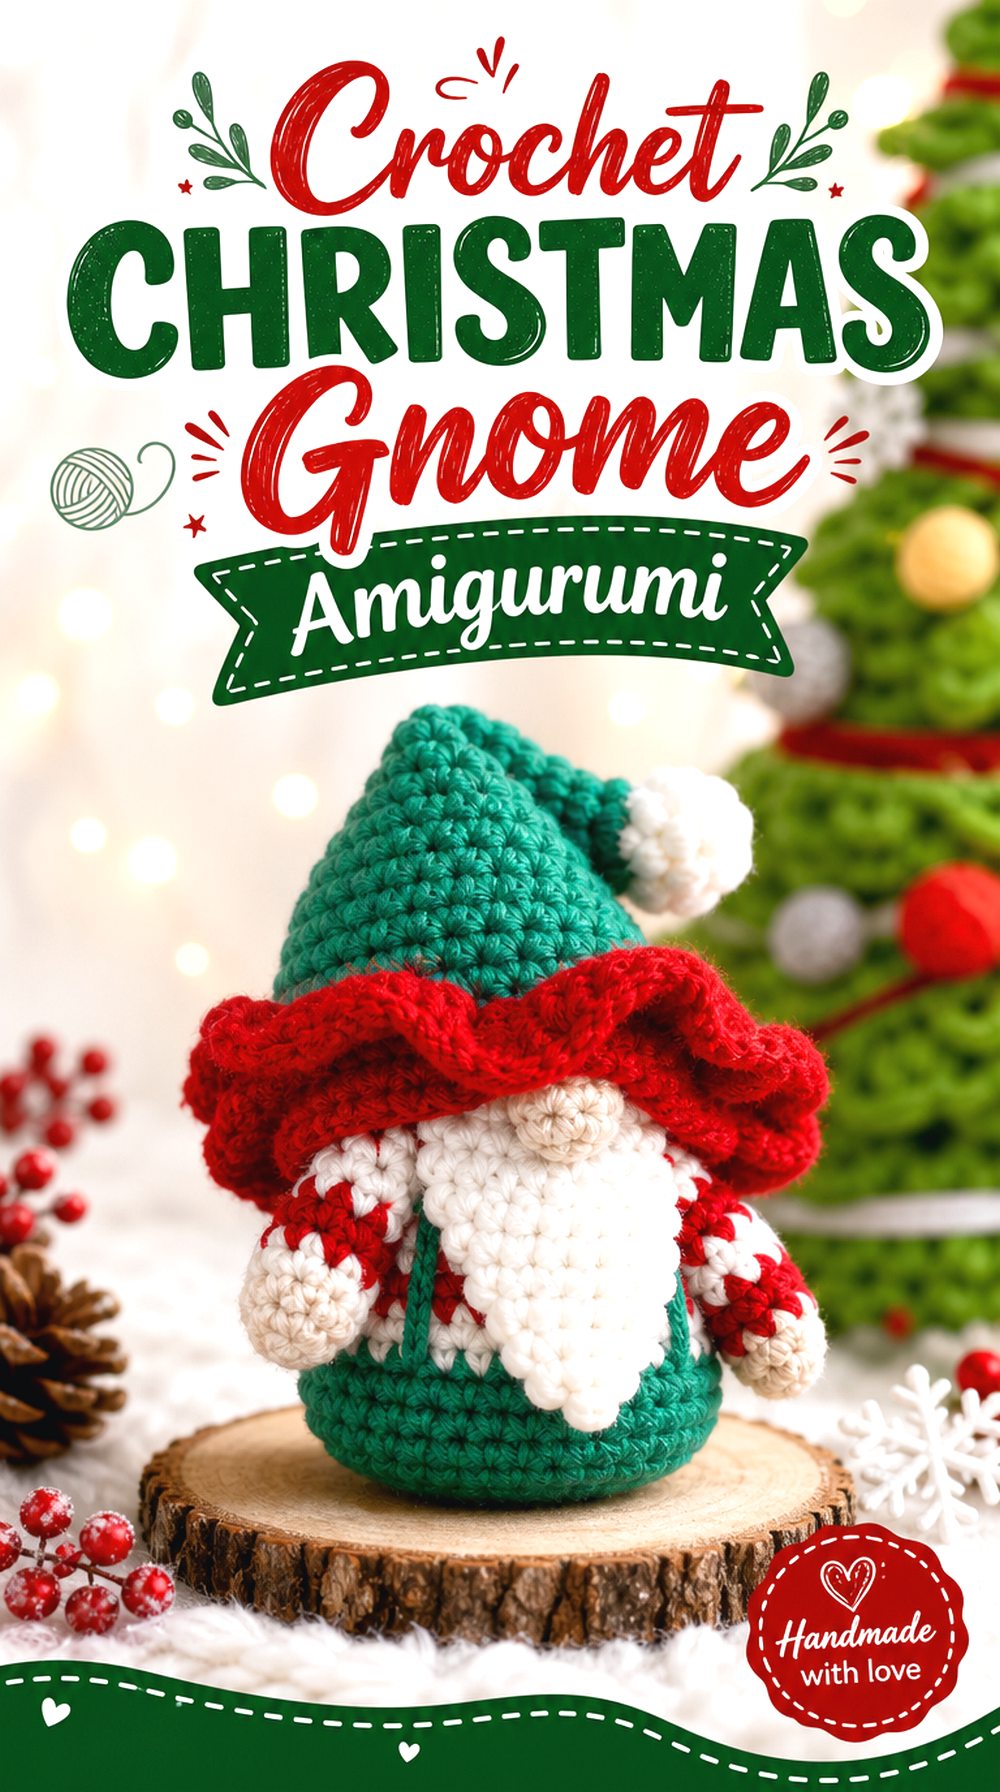
A Christmas gnome brings a bearded holiday character into the collection without repeating Santa. The tall hat, compact body, beard, and nose create a strong seasonal silhouette. This project can work as a small ornament-style piece, keychain, or shelf accent depending on the final size and attachment choices shown by the creator.
Focus on the Hat Shape
The hat is the most visible part of a gnome, so its height and angle affect the whole finished look. Readers should compare the hat to the body before final finishing. A hat that is too loose or crowded may hide the face area, while a well-placed one keeps the gnome shape easy to recognize.
Check the Beard Detail
The beard gives the gnome its character. Look at whether the beard is crocheted, attached separately, or shaped as part of the body. Because the nose usually sits over or near the beard, placement matters. Follow the creator’s exact instructions for attaching those details rather than estimating from the finished photo alone.
Confirm Ornament or Keychain Use
The source description refers to a Christmas gnome keychain and includes finished-size information. Readers who want a hanging ornament should check whether the attachment method is included and whether any extra hardware is needed. For shelf display, consider whether the base shape will sit neatly on a flat surface.
Original Tutorial and Creator Credit
Creator: Kane Crochet
Crochet Candy Cane Amigurumi Ornament
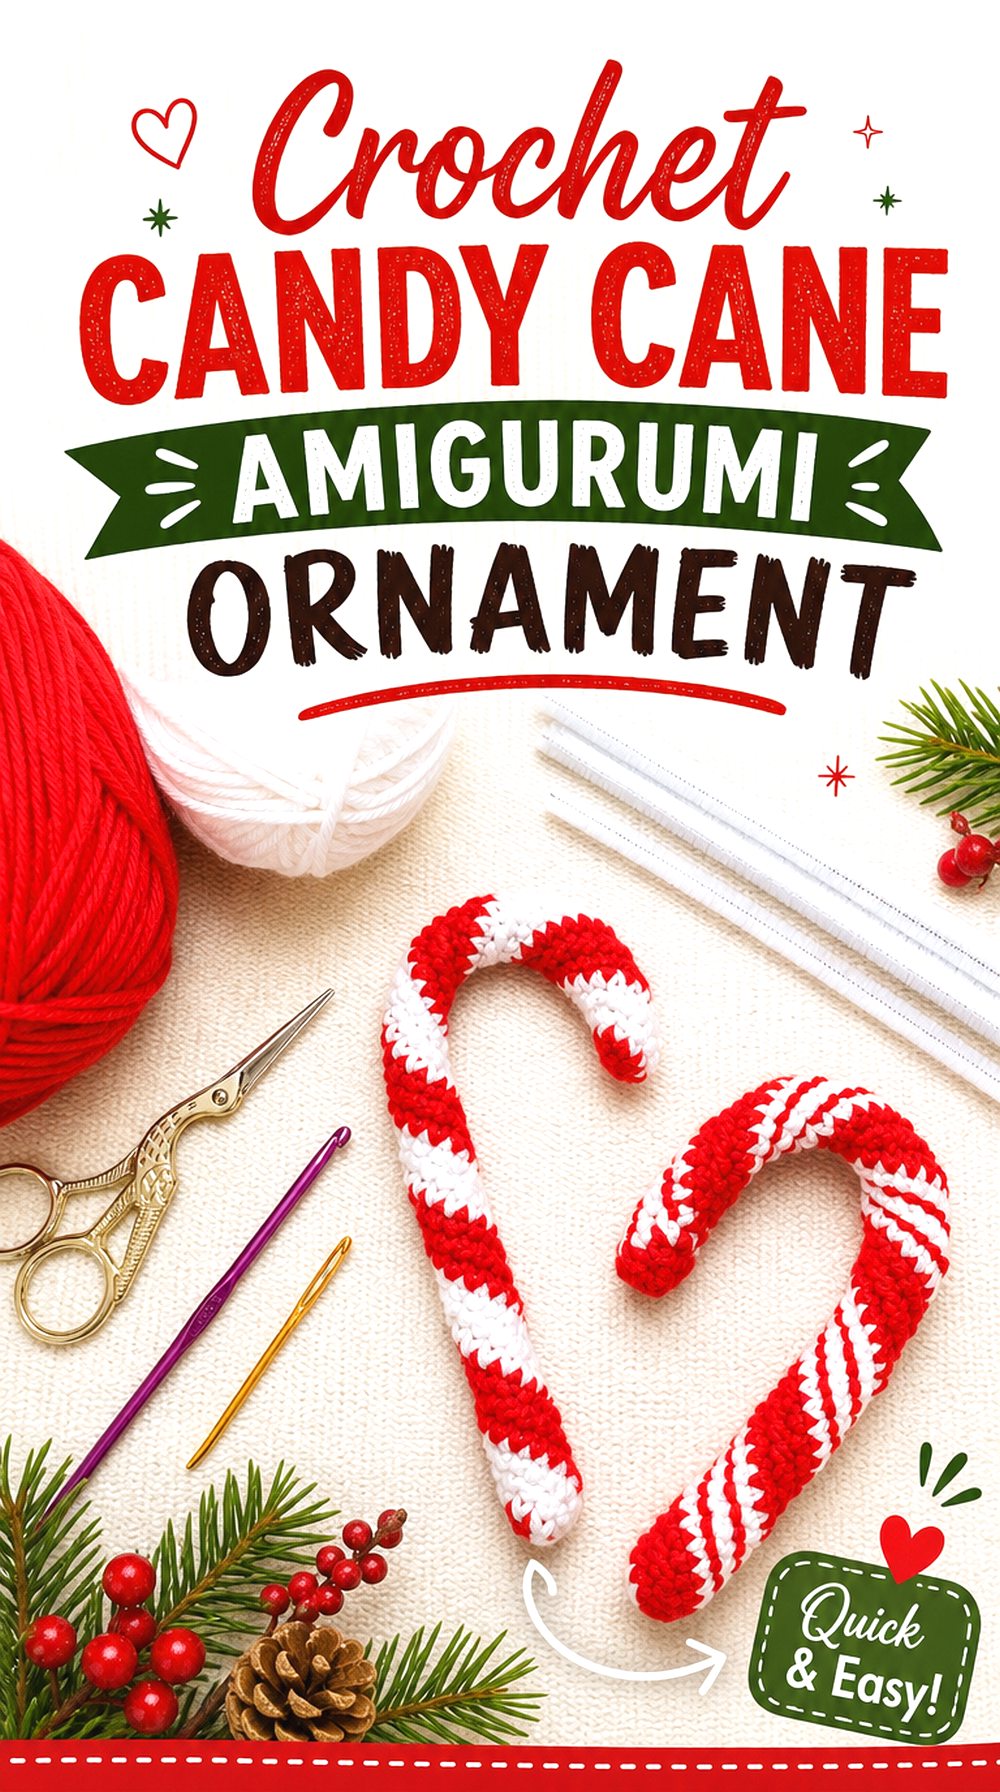
A candy cane amigurumi ornament adds a slim, curved holiday shape that contrasts with the round snowman, penguin, and cocoa cup. It can be used in displays where taller stuffed animals would feel too bulky. The red-and-white stripe effect is the main visual feature, so the project suits readers who want a recognizable Christmas accent.
Keep the Stripe Direction Neat
The candy cane depends on clean striping to look polished. Readers should watch how the stripes are formed and how the curve is finished in the original tutorial. Since the shape is narrow, uneven spacing can show quickly. Pausing during the shaping stage can help keep the finished ornament tidy.
Check the Inner Support
The creator’s description mentions pipe cleaners for shaping, so readers should review that supply detail before starting. Inner support can affect bend, firmness, and final use. If the candy cane is intended for display around children or pets, confirm whether the materials are appropriate for that setting.
Decide Where It Will Hang
A slim candy cane may work on a tree, garland, gift wrap, or small hook, but the source should be checked for any hanging method. If no loop is included, readers can still use it as a flat-lay display piece. Avoid assuming it will hang securely without reviewing the finishing details.
Original Tutorial and Creator Credit
Creator: Theresa’s Crochet Shop
Crochet Christmas Star Amigurumi
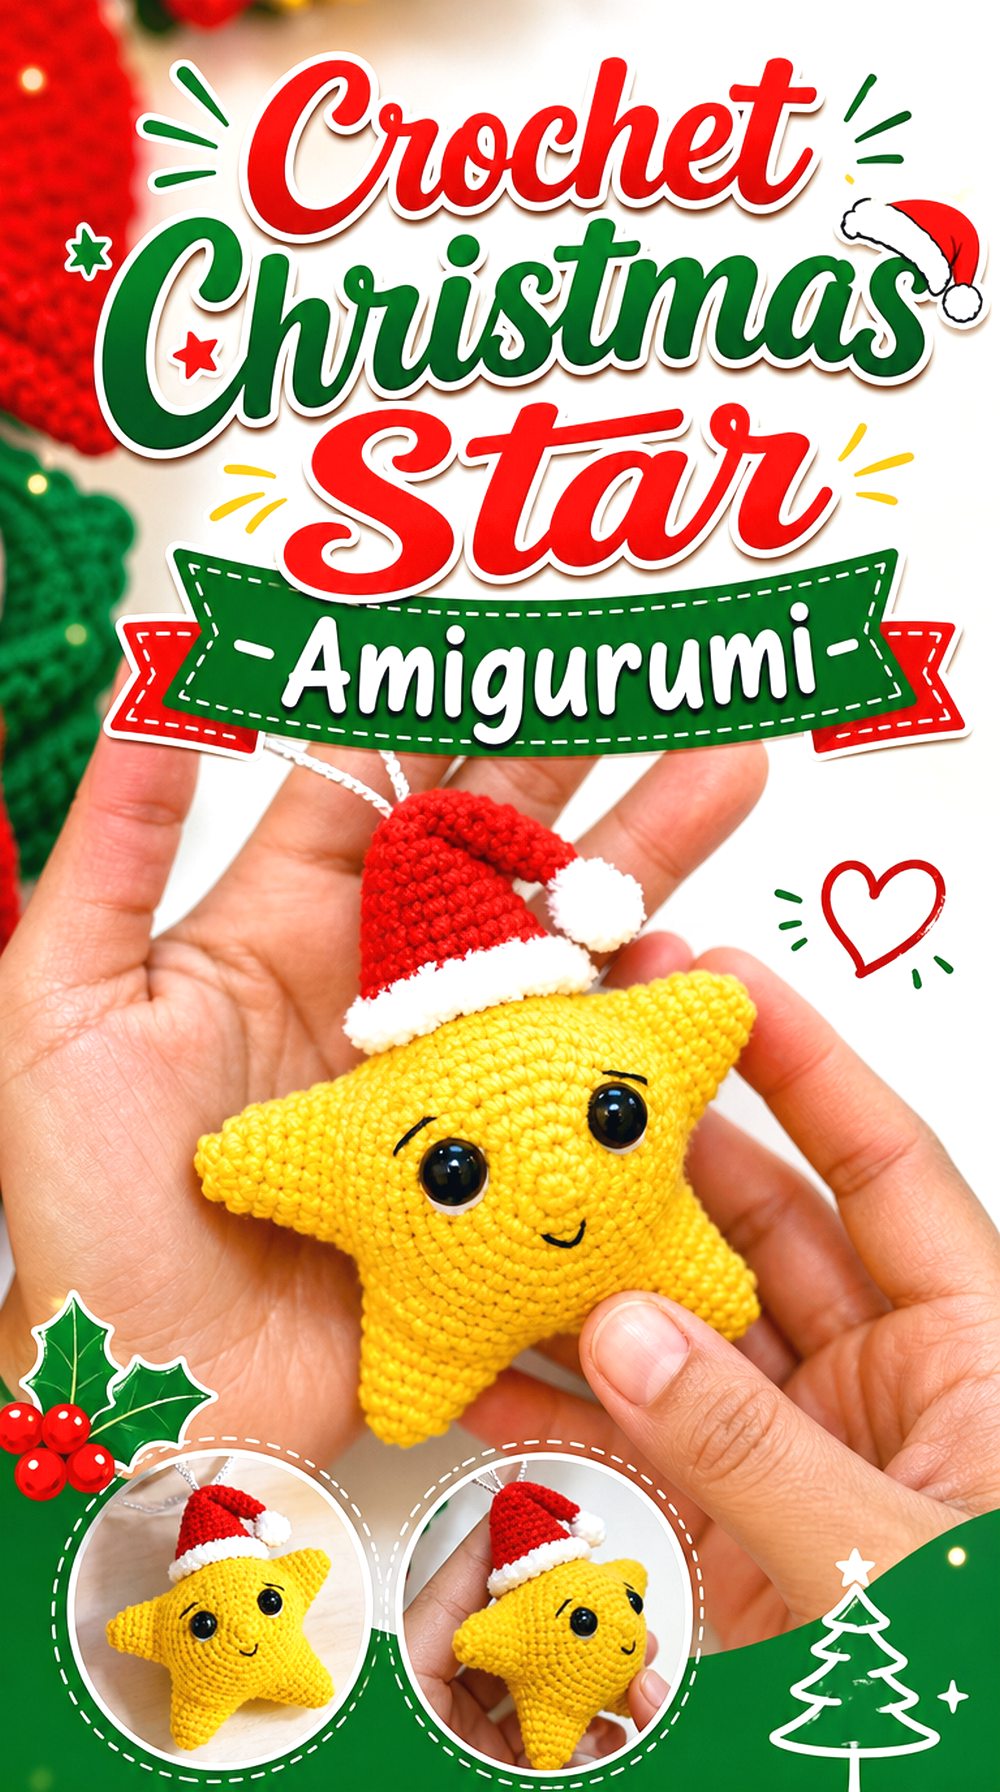
A Christmas star gives the list a bright finishing shape that can sit between ornaments and stuffed decor. It is flatter and more graphic than the animals, but still fits a winter amigurumi collection when made as a soft decorative piece. The star can be useful for tree accents, gift toppers, garlands, or a simple seasonal display.
Check the Point Definition
A star needs clear points to read properly from a distance. Readers should compare each point as the shape develops and avoid rushing through the sections where the outline changes. If the points are uneven, the finished piece may look more like a flower or blob than a holiday star.
Think About Hanging or Laying Flat
This project may be used in different ways depending on how it is finished. A hanging star needs a secure loop or attachment, while a flat display star can sit under or beside other amigurumi pieces. Check the creator’s final view to decide how this project best fits the planned winter setup.
Review Creator Terms
The creator’s description includes copyright and support information, so readers should check the original source before sharing, selling, translating, or reposting any pattern-related material. Making a finished piece for personal use is different from copying the tutorial, written instructions, photos, or video content. Always follow the creator’s stated terms.
Original Tutorial and Creator Credit
Creator: Amigurumi rainbow
Conclusion
These cozy winter crochet amigurumi ideas give readers several directions to choose from. The snowman, tree, candy cane, gnome, gingerbread man, and star lean into holiday decorating, while the penguin, polar bear, seal, narwhal, fox, bear, and hedgehog create a softer winter animal theme. The coffee cup adds a warm, giftable object shape. For the best match, compare finished size, display purpose, small details, and assembly needs, then use the original tutorials for exact construction details.
FAQs
How do I choose the right winter amigurumi project first?
Start with the finished purpose. A shelf display can handle larger pieces like the scarf bear or reindeer, while ornaments and gift toppers may work better as stars, candy canes, gnomes, or smaller animals. Also check whether the project has many attached parts, because assembly can affect the time and attention needed.
Are these winter amigurumi ideas only for Christmas?
Not all of them. Snowmen, polar bears, penguins, seals, narwhals, foxes, hedgehogs, and cozy drink shapes can fit a general winter theme. Reindeer, candy canes, gingerbread men, gnomes, stars, and Christmas trees feel more holiday-specific. Choosing colors carefully can also make a project feel more seasonal or more year-round.
What should I check before changing yarn?
Check the creator’s material list, finished size notes, and any comments about stuffing or structure. Changing yarn can affect height, firmness, face placement, and how well small parts hold their shape. If the finished item needs to hang, sit upright, or keep a clear silhouette, yarn changes matter even more.
Can I make these amigurumi projects for children?
Do not assume a toy is child-safe just because it is soft. Check whether the creator mentions safety eyes, small parts, removable accessories, wire, pipe cleaners, or age suitability. For young children, sewn or embroidered details may be safer than loose pieces, but the original creator’s guidance and local safety standards should be reviewed.
Can I sell finished pieces made from these YouTube tutorials?
Selling rights vary by creator. Before selling finished amigurumi, check the video description, linked written pattern, shop terms, and copyright notes. Some creators allow sales of finished items, while others restrict certain uses. Credit does not automatically give permission to reuse patterns, photos, thumbnails, charts, or video content.