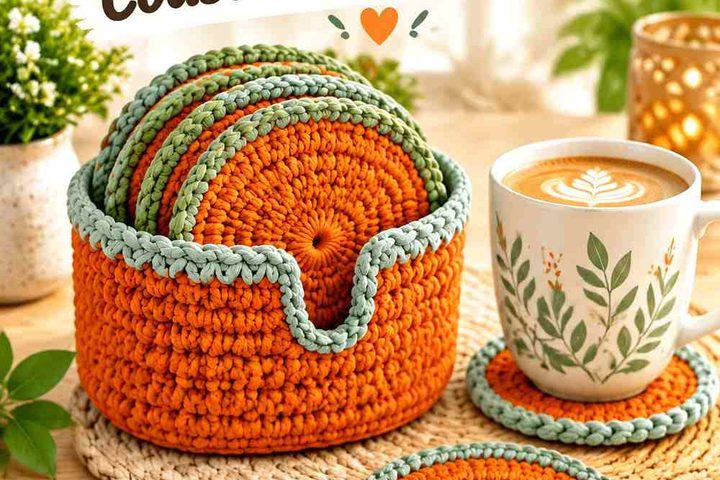
Neo Deco crochet works best when the room feels deliberately graphic rather than simply busy. For this collection, that means strong grids, repeated curves, radial shapes, stepped color changes, sculptural cylinders, clean borders, and controlled contrast. A checkerboard cushion can supply the geometry, while a round rug or pouf introduces the curved forms that keep an interior from becoming too rigid.
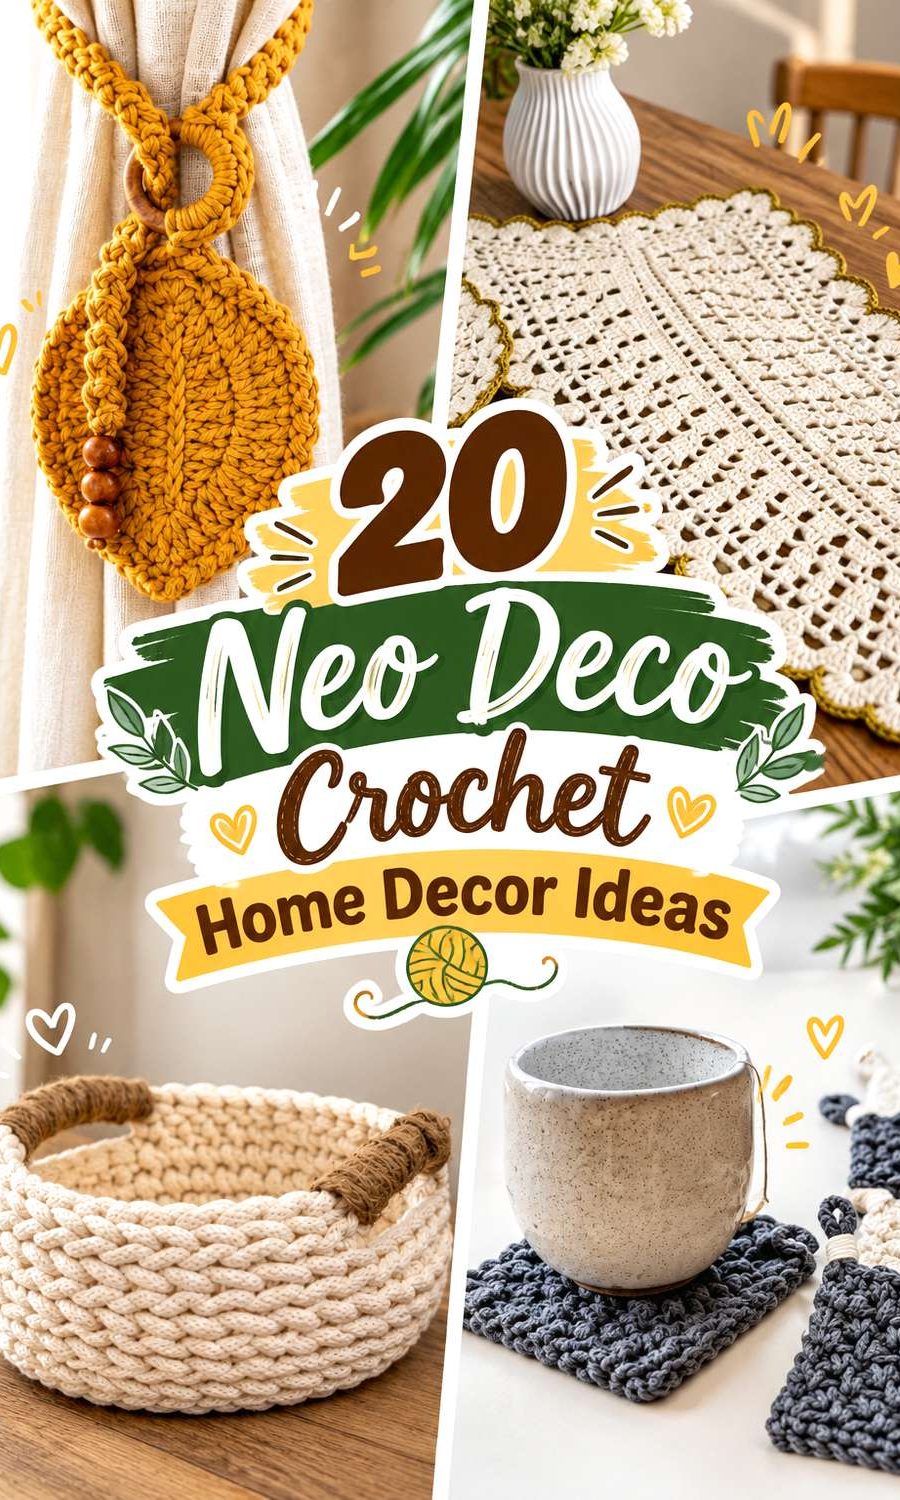
The tutorials below are verified crochet projects from 20 different YouTube channels. Some already have the bold geometry that suits a Neo Deco room; others are useful construction bases whose styling can be shifted through color, placement, or restrained finishing. Those adaptations are identified as suggestions rather than features taught by the creator. That distinction matters particularly for pieces whose size or structure affects how they sit on furniture, walls, or containers.
Quick List:
- Crochet Checkerboard Cushion
- Crochet Mosaic Geometric Pillow
- Crochet Checkerboard Blanket
- Crochet Abstract Fringe Wall Hanging
- Crochet Round Rug
- Crochet Cylindrical Floor Pouf
- Crochet Structured Basket With Handles
- Crochet Mosaic Plant Pot Cover
- Crochet Lattice Plant Hanger
- Crochet Textured Tissue Box Cover
- Crochet Linear Table Runner
- Crochet Medallion Placemat
- Crochet Chunky Square Coasters
- Crochet Armchair Organizer
- Crochet Low-Profile Decorative Tray
- Crochet Textured Jar Cover
- Crochet Sculptural Curtain Tieback
- Crochet Draft Stopper
- Crochet Three-Pocket Wall Organizer
- Crochet Radial Mandala Wall Hanging
How to Make Crochet Read as Neo Deco
A Neo Deco treatment does not require adding ornament everywhere. Start with one recognizable visual system: checkerboards, concentric curves, repeated rectangles, bold verticals, or a limited mosaic pattern. Then let quieter pieces support it. A checkerboard blanket beside a mosaic pillow can already create considerable pattern, so a nearby basket or pouf may work better in a solid shade.
Color can do much of the adaptation without changing a tutorial’s construction. Black and warm white give sharp contrast, while cream with rust, teal, ochre, deep green, or dusty rose produces a softer interpretation. Metallic-looking color can be an accent, but do not substitute an unfamiliar specialty yarn merely to imitate metal. Yarn behavior still matters more than the name of the color.
Plan the Object Before Changing Its Scale
Home décor needs to relate to a real surface. Check the sofa cushion insert, tabletop, plant pot, chair arm, tissue box, wall area, or floor space before beginning. A small change in width can be harmless for wall art but much more noticeable on a fitted cover.
Avoid assuming that a larger hook alone creates the size you need. It can also change fabric openness and structure. When a creator provides resizing guidance, use that rather than improvising from scale alone. For baskets, organizers, pot covers, and poufs, shape is part of the design; for wall hangings and table textiles, proportion may matter more. If you want several coordinated pieces, settle the room’s palette first, then decide where strong pattern belongs and where solid texture should provide visual rest.
1. Crochet Checkerboard Cushion
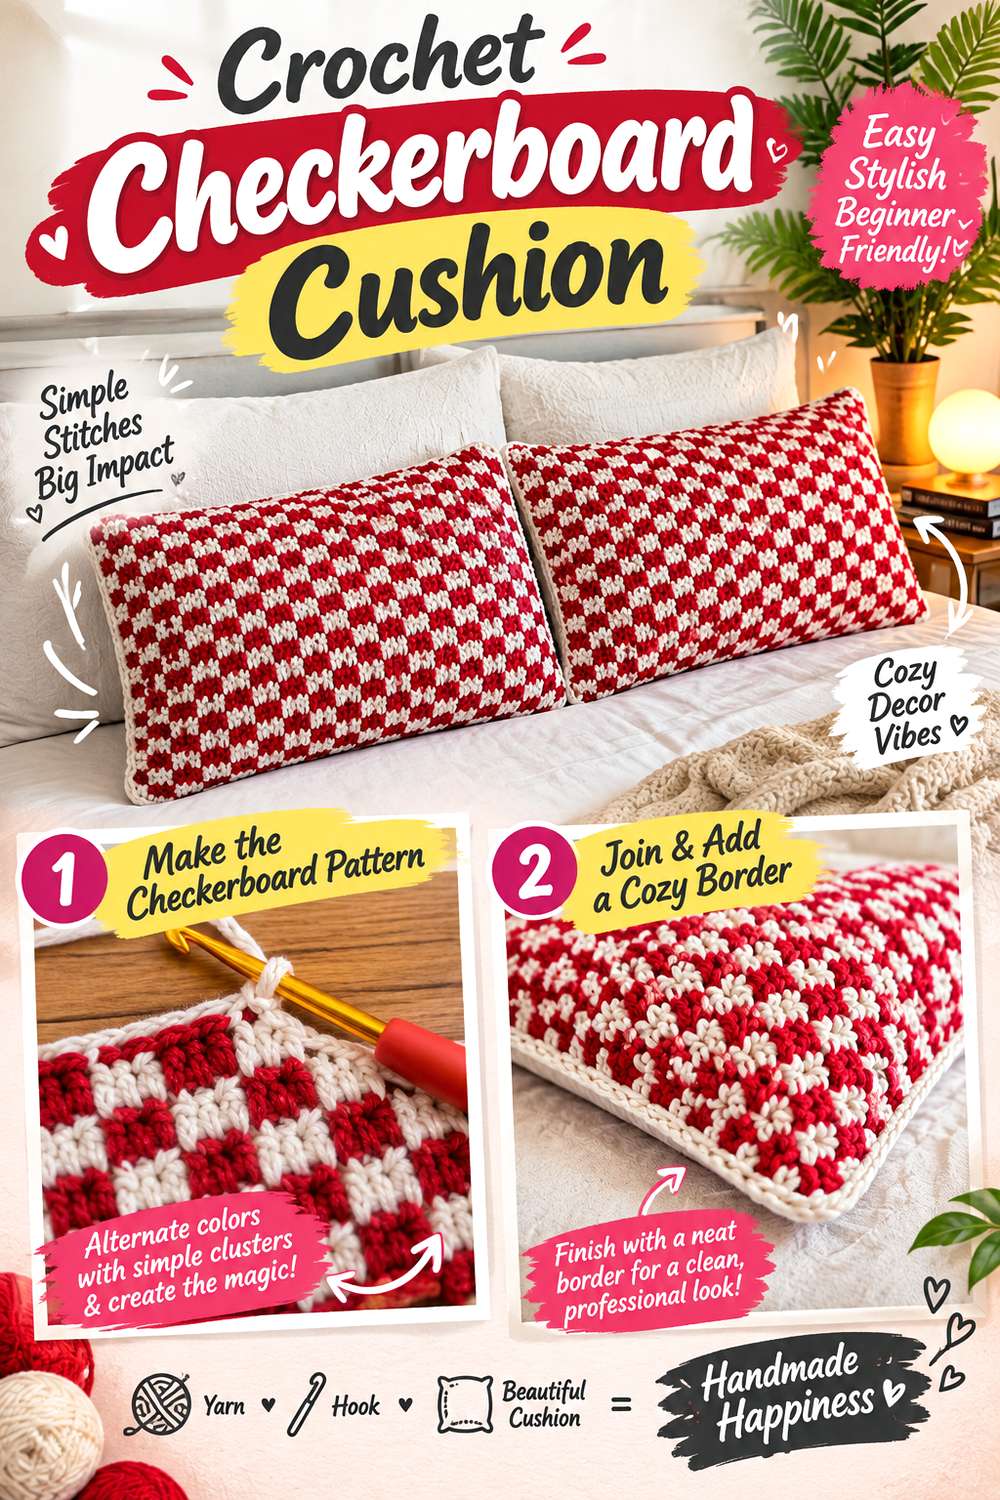
Checkerboard is one of the clearest routes into a Neo Deco look because the geometry remains readable from across a room. Lexie’s tutorial teaches a complete checkerboard cushion, giving this idea a direct source rather than requiring the grid to be added to an unrelated pillow. The alternating blocks create enough movement to make a sofa or accent chair feel graphic without needing extra appliqués or embellishment.
For a sharper interpretation, consider a two-color combination with a decisive value difference rather than several similar mid-tones. Cream against charcoal, deep green against ivory, or rust against a pale neutral can emphasize the repeated squares. The main decision is how much checkerboard the room can support: one cushion can function as the focal pattern, while a pair works better when surrounding upholstery and throws are relatively quiet.
Decide Where the Grid Should Dominate
A high-contrast checkerboard naturally attracts attention. Place it where you actually want the eye to stop rather than scattering similarly strong patterns around the whole room. On a plain sofa, one or two cushions can establish the visual language for the space. If the sofa itself is patterned, a lower-contrast checkerboard may integrate more comfortably.
Match the Cushion to the Insert
The outer appearance depends on how the cover and insert relate, so establish the insert you intend to use before making sizing changes. If your dimensions differ from the tutorial, check the creator’s construction carefully rather than assuming extra rows can be added in every direction without affecting the checker proportions.
Creator: lexie
2. Crochet Mosaic Geometric Pillow
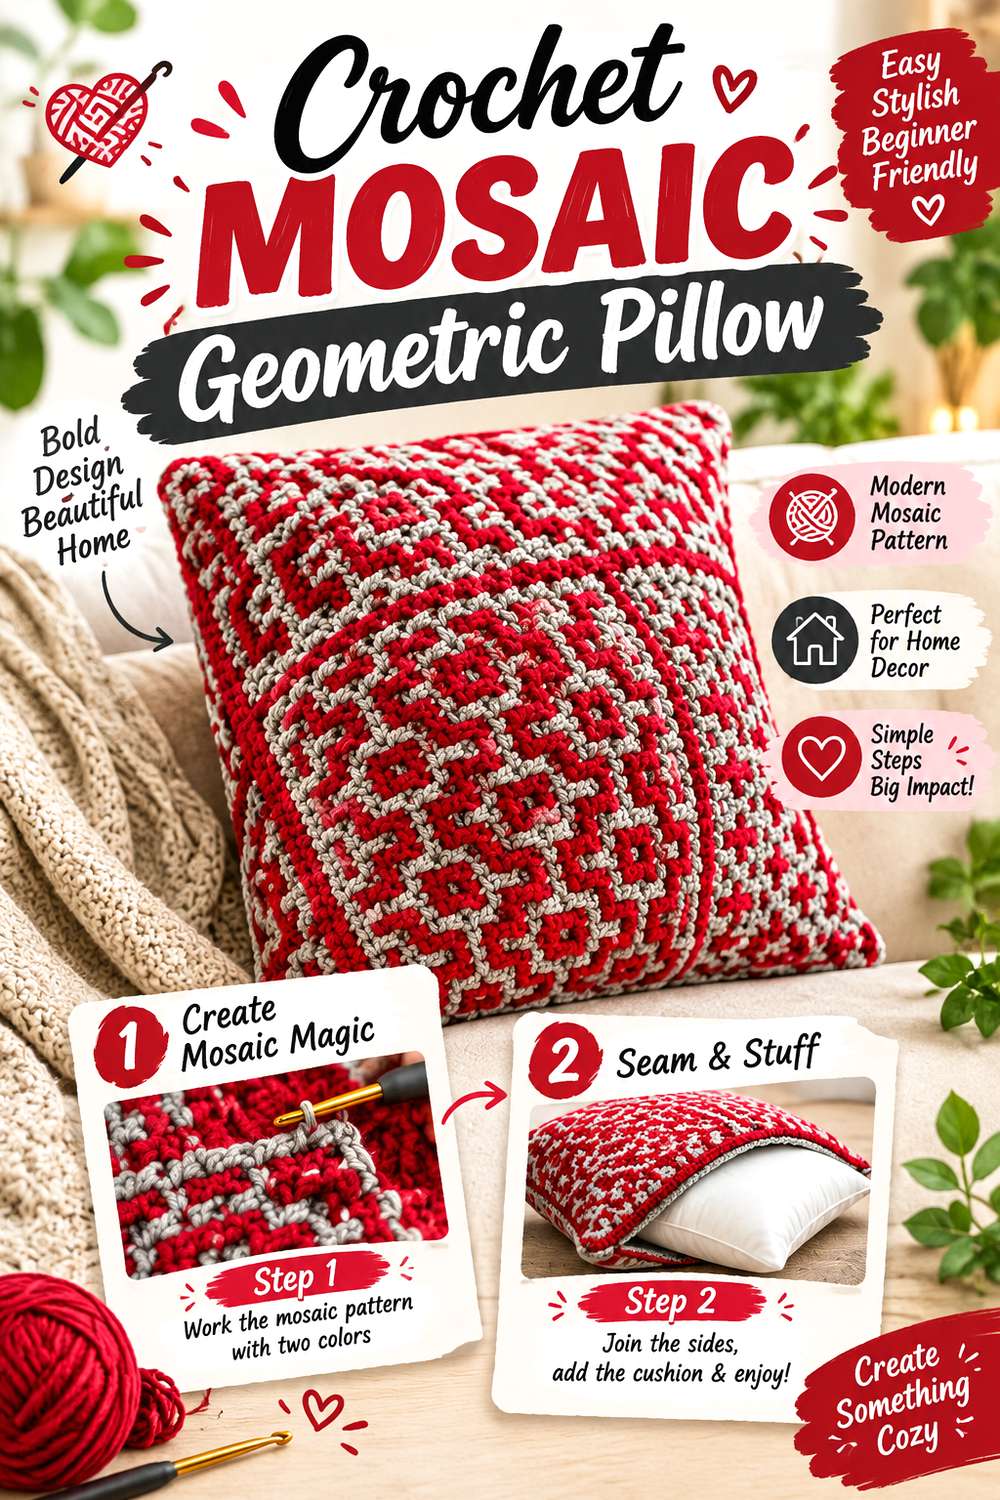
Mosaic crochet brings finer linework than checkerboard, making this pillow a useful choice when you want Neo Deco pattern without oversized blocks. MOSAIC LOOP’s tutorial covers both cylindrical and square pillow forms and demonstrates how basic mosaic patterns can produce several designs. That combination of geometry and alternate silhouettes makes the source particularly flexible for a coordinated interior.
The square version can reinforce angular furniture, while the cylindrical form introduces a contrasting curve without abandoning the patterned surface. Rather than using every available motif in one room, choose one repeat that complements the scale of nearby objects. A tightly patterned pillow generally reads as a detailed accent; a broad checkerboard reads as a larger graphic gesture. Putting both together can work when the colors connect them but the motif scales remain clearly different.
Choose Square or Cylindrical Form First
The pillow shape changes its role before color does. A square cushion visually joins other sofa cushions and creates a stable block, while a cylinder can break up a row of squares and rectangles. Decide which silhouette the seating arrangement lacks, then choose the mosaic pattern rather than selecting a motif in isolation.
Keep the Geometry Legible
Mosaic work benefits from clear separation between its pattern colors. If the shades are too similar in value, the geometry can disappear at normal viewing distance. Before committing to the entire pillow, place the chosen yarns together under the room’s usual lighting and check whether the design will remain visible from several feet away.
Creator: MOSAIC LOOP
3. Crochet Checkerboard Blanket

A checkerboard blanket takes the same grid language as a cushion and spreads it across a much larger surface. Daisy Farm Crafts teaches a 36-inch square checkerboard baby blanket with carried color changes and a textured Rocky Ridge border; the written pattern also provides a repeat for changing the size. That makes the tutorial a useful construction base when a larger lounge blanket is the goal, but the source’s demonstrated object should still be understood as a baby blanket.
In a Neo Deco living room, a resized version could act as the large graphic textile on an otherwise plain sofa. Because scaling changes yarn needs and finishing time, follow the creator’s repeat information rather than extrapolating yardage from the original. If you already plan to use a checkerboard cushion, consider changing the block scale or limiting one piece to a lower-contrast palette.
Treat the Border as Part of the Composition
The textured border visually frames the grid rather than simply ending it. That gives the blanket a defined perimeter, useful on a sofa where a loose field of squares could otherwise blend into other textiles. Choose the border color with the whole room in mind: it can either reinforce the dominant square color or create a distinct outline.
Avoid Accidental Pattern Competition
A large checkerboard occupies considerably more visual space than a coaster or cushion. Before making it the centerpiece, lay two contrasting sheets or towels over the sofa to approximate the planned light-dark balance. This simple test helps determine whether the room needs a bold grid or a quieter version before you commit to a large crochet project.
Creator: Daisy Farm Crafts
4. Crochet Abstract Fringe Wall Hanging

This wall hanging moves away from repeated squares and introduces waves, elongated stitches, texture, and fringe. The yokieB crochet & knit project is worked from the top down and combines multiple stitch effects in a full-size wall hanging, with a step-by-step video supporting the written project. The creator’s version is approximately 20 inches wide and incorporates a substantial fringe finish.
For a Neo Deco room, its strongest contribution is the combination of structured horizontal areas with a sculptural lower edge. You could shift the palette toward two or three strongly related colors while retaining the source construction, allowing the stitch changes to provide most of the decoration. This is particularly useful above a low cabinet, reading chair, or narrow console where textile art can soften a hard architectural line without requiring another framed print.
Let Texture Replace Extra Color
The source already supplies bobbles, elongated stitches, open areas, and fringe. Using many equally assertive colors on top of those textures can make the design harder to read. A restrained palette allows the stitch relief to become the pattern, which can feel more architectural and less craft-room eclectic.
Check the Wall Around the Fringe
Fringe adds visual length and movement, so allow empty wall below and around it. Hanging the piece too close to a shelf crowded with objects can obscure its tapered lower edge. Mark the approximate finished footprint on the wall with removable paper before choosing its position, especially if nearby furniture has a strong horizontal top.
Creator: yokieB crochet & knit
5. Crochet Round Rug
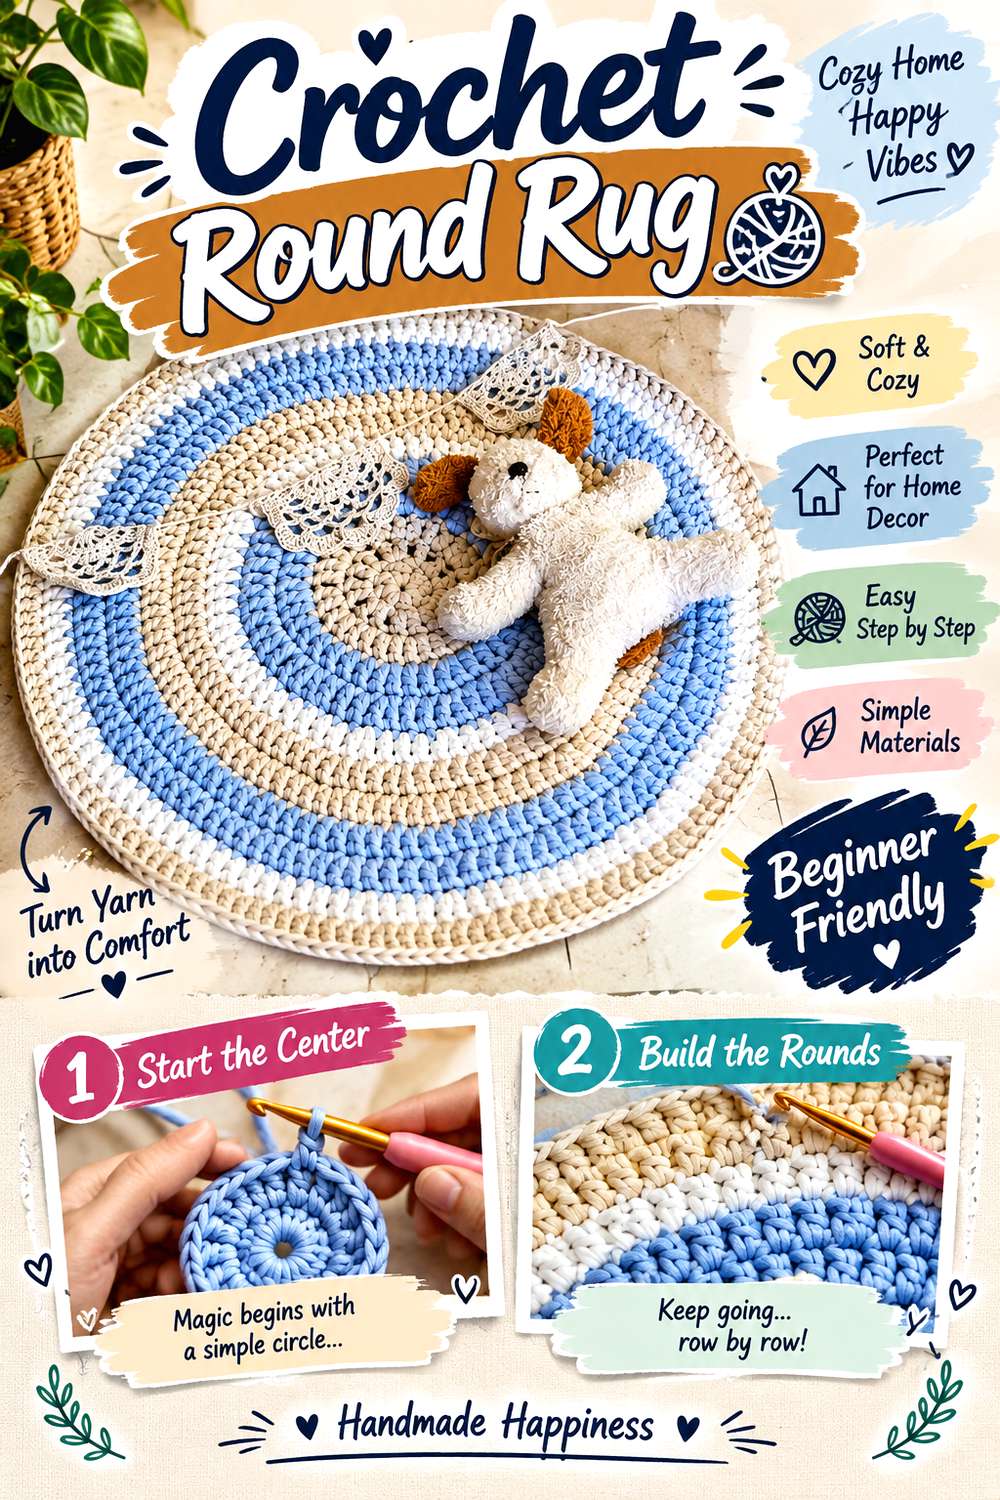
A round rug can provide the curved counterpoint that a room full of checkerboards and rectangular furniture needs. Las Totoras Crochet’s tutorial teaches a round rug using T-shirt yarn or zpagetti-style yarn, including the circular expansion and color-change process. That makes the source a practical base for a Neo Deco treatment built through color rather than a claim that the original design itself is Art Deco.
Consider broad concentric color areas instead of frequent multicolor changes if the room already contains detailed mosaic work. A circle under a small round table, beside an armchair, or in an open floor corner can echo arched and sunburst motifs without copying them literally. Before altering the diameter, remember that rug size and fabric behavior are linked; follow the tutorial’s increase logic and evaluate the piece flat as it grows rather than assuming every yarn behaves identically.
Use the Circle to Break a Rectangular Layout
Rooms often accumulate rectangles through rugs, tables, sofas, frames, and shelving. A round crochet rug interrupts that repetition intentionally. It is especially effective where it can be seen as a complete or nearly complete circle rather than disappearing almost entirely under a large piece of furniture.
Watch the Shape as It Expands
A decorative circle loses much of its graphic impact if the edge waves or the center cups. Check the work on a flat surface periodically and follow the creator’s increase guidance. Changing yarn thickness, tension, or hook size can alter the way a circular fabric expands, so treat substitutions as changes that need observation rather than automatic equivalents.
Creator: Las Totoras Crochet
6. Crochet Cylindrical Floor Pouf

A floor pouf adds volume rather than another flat patterned surface. The Snugglery’s project uses linked double crochet worked in a spiral, creating a rounded floor piece with a dense-looking continuous surface; the accompanying pattern and tutorial also address assembly and stuffing.
That simple cylinder suits Neo Deco styling because the silhouette can do the work. Instead of adding a complicated motif, consider one saturated color that repeats a smaller accent elsewhere in the room. Beside a checkerboard throw, the pouf becomes a solid visual anchor; beside plain upholstery, a planned color change could make it more graphic, but that would be an adaptation rather than part of the cited source. Choose its role before beginning: a sculptural floor accent and a larger patterned focal point do not need to compete for the same attention.
Use Volume as the Decorative Feature
A pouf projects into the room in a way a cushion or wall hanging does not. Give it enough open floor area for the rounded profile to remain visible. Tucking it tightly between several furniture legs can make the form disappear and reduce it to another patch of color.
Plan the Filling Before Finishing
The source discusses stuffing and construction, so review that portion before reaching the final joining stage. The way a pouf is filled affects its outline. If you substitute the creator’s filling method, consider how that change could affect smoothness and shape rather than assuming every soft filling produces the same cylinder.
Creator: The Snugglery
7. Crochet Structured Basket With Handles
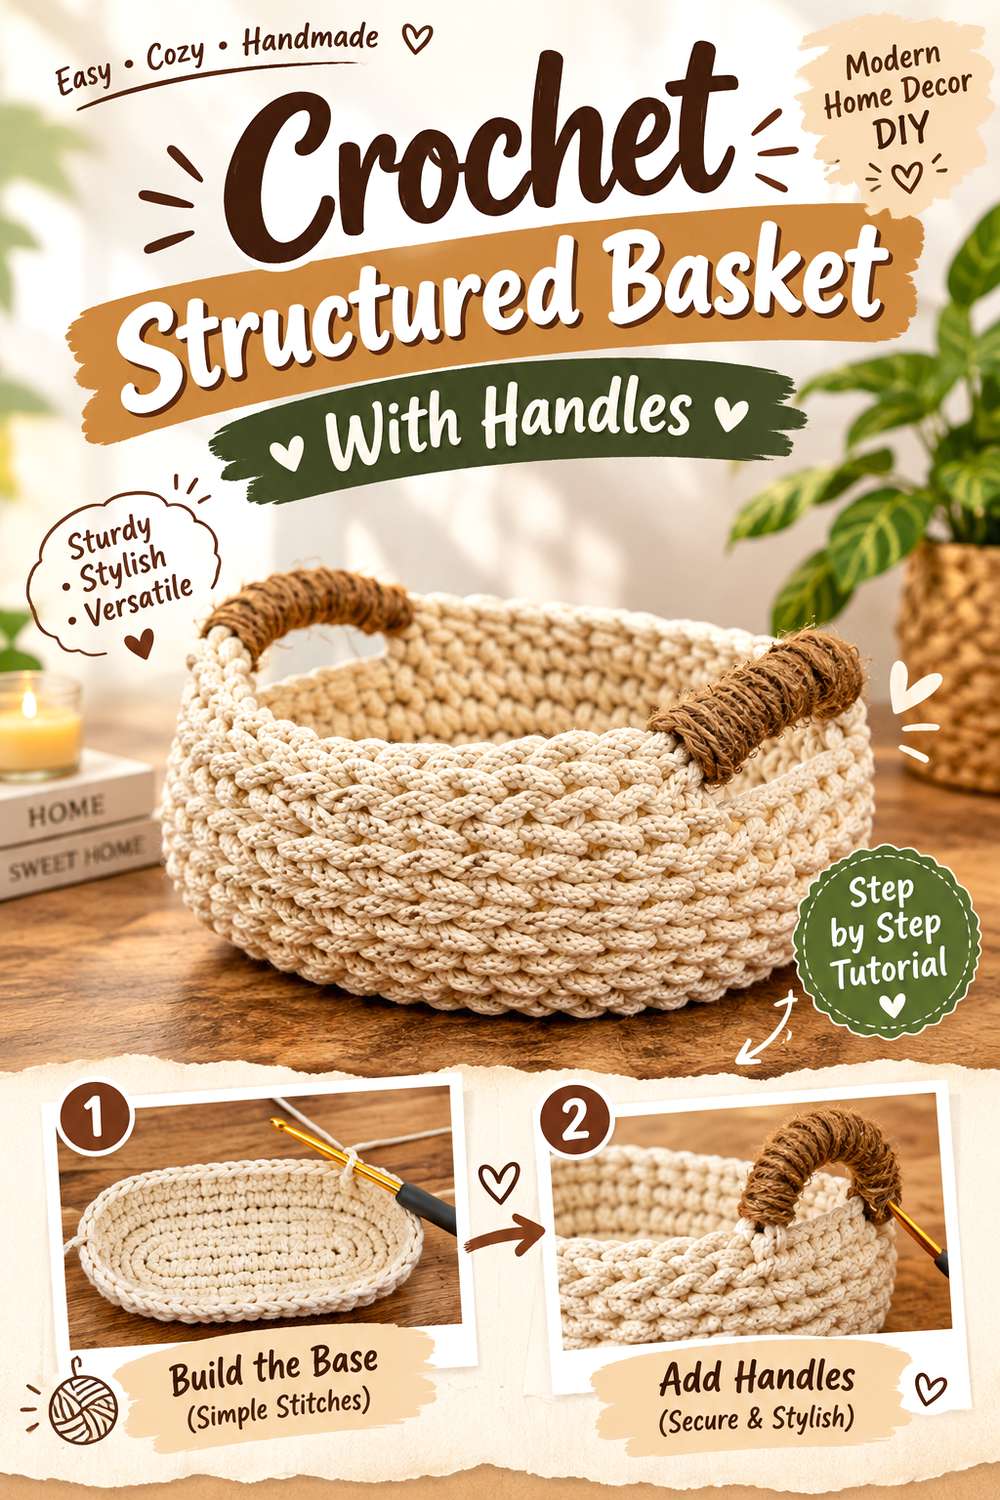
Studio Cozy Goose’s tutorial produces a round cotton-cord storage basket with integrated handles that are wrapped with jute cord. The source covers the base, walls, handle formation, and handle wrapping in a complete step-by-step sequence, giving this idea a clearly defined three-dimensional form.
For Neo Deco interiors, the attraction is less about surface ornament and more about silhouette: a low round basket, a clean rim, and repeated handle openings can sit comfortably beside stronger graphic textiles. Try letting the cord color correspond to a major neutral in the room, while the handle wrapping supplies a small contrasting material note. Because the source specifies a particular cord construction, treat different yarn or cord choices as genuine substitutions; they can change firmness and the way the walls hold their shape.
Decide What Should Remain Visible
A beautiful basket can quickly become visual clutter if it is filled past the rim with unrelated objects. If the piece is part of the décor, give it a defined storage job—such as a small set of matching textiles or another contained category—so the circular form and handles remain visible.
Let the Handles Supply the Accent
The wrapped handles already break the continuous crochet surface. That makes them a natural place for a subtle contrast without adding stripes to the basket body. In a room with multiple patterned textiles, a mostly solid basket can provide useful visual rest while still looking deliberately designed.
Creator: Studio Cozy Goose
8. Crochet Mosaic Plant Pot Cover
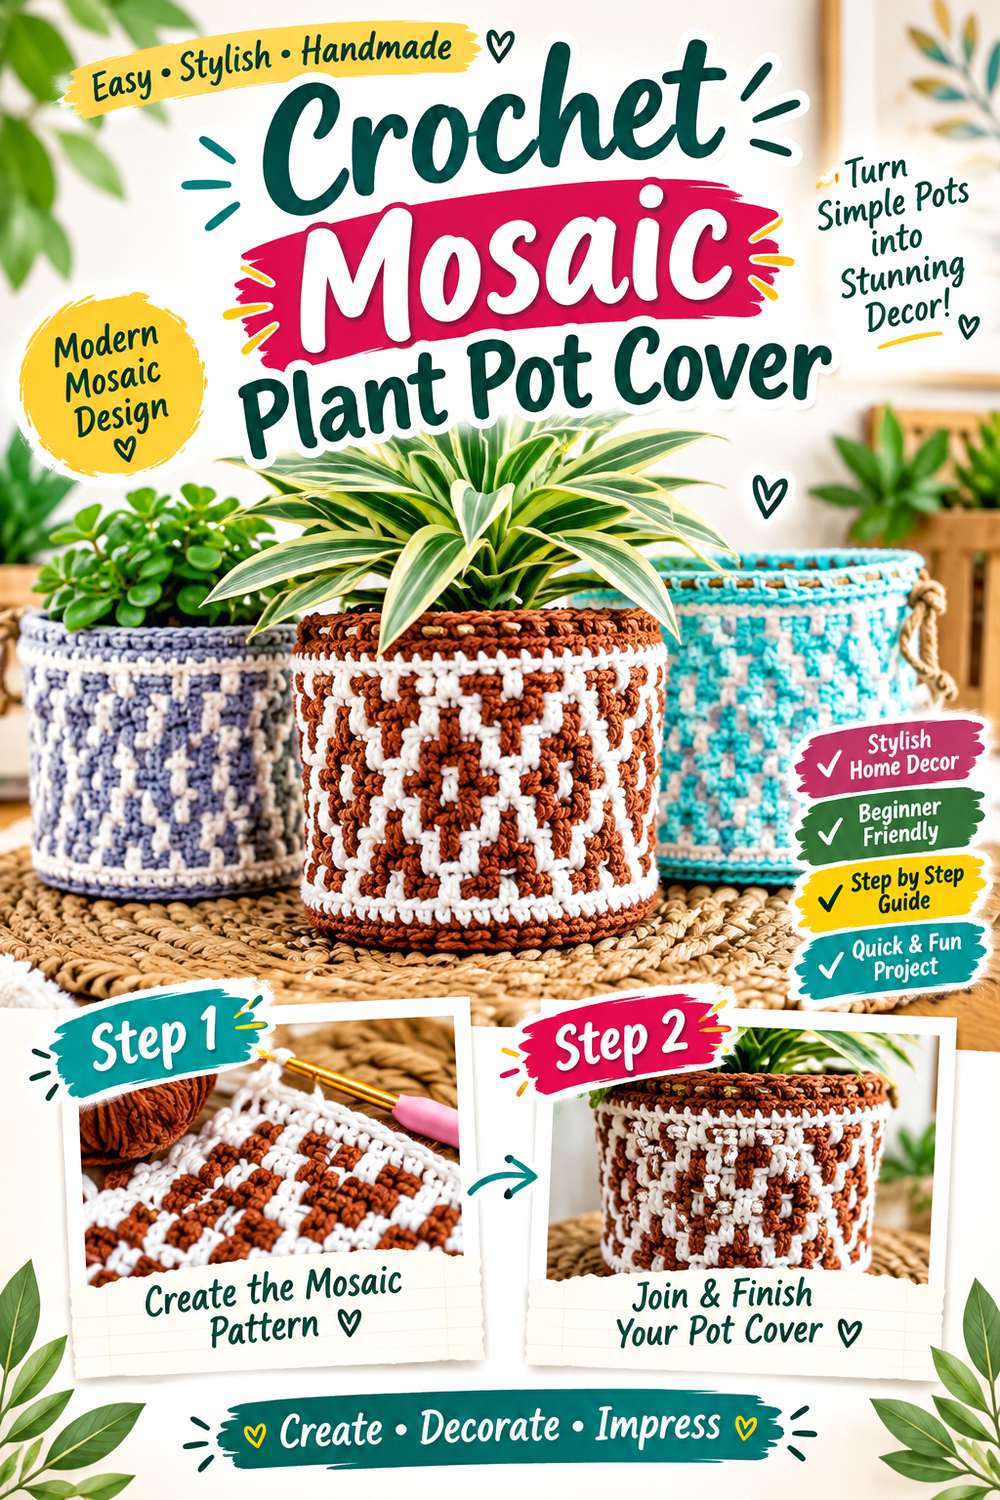
MJ’s Off The Hook Designs teaches a Potted Paradise mosaic basket in three sizes and explicitly notes that the finished pieces can be used as decorative baskets or plant pot covers. The two-color mosaic surface gives this project a stronger geometric connection to Neo Deco than a plain planter sleeve, while its round construction prevents the room from becoming entirely rectilinear.
Use the plant itself as part of the composition. A bold mosaic cover beneath highly variegated foliage may create more visual activity than you want, while a plant with a simple silhouette can make the crochet pattern easier to appreciate. The tutorial uses a specific mosaic construction and sizing system, so select the source size according to the container rather than assuming the fabric should stretch around any pot.
Measure the Container, Not the Plant
The pot or inner container determines whether the cover fits, regardless of how large the foliage looks. Check its circumference and height against the creator’s sizing before choosing a version. A decorative cover that is too tight can distort the mosaic pattern, while excessive looseness can obscure its intended cylindrical form.
Coordinate With Nearby Planters
If several plants share one shelf, avoid giving every container a different high-contrast motif. One mosaic cover can become the patterned anchor while neighboring pots remain plain or repeat one of its colors. This creates a more deliberate rhythm and lets the crochet geometry remain visible between leaves.
Creator: MJ’s Off The Hook Designs
9. Crochet Lattice Plant Hanger

Heart Hook Home’s plant-hanger pattern uses an open woven-lattice section and is provided in two sizes, with a companion video tutorial on the creator’s YouTube channel. The open structure gives this project a lighter visual presence than the mosaic pot cover, making the two useful for different parts of a room rather than redundant plant accessories.
For a Neo Deco interpretation, focus on vertical placement. A single hanger beside a tall window or at the end of a shelving run can add a controlled hanging line without creating a full bohemian cluster. A dark solid yarn against a light wall can make the lattice read almost like architectural screening. Because this is a suspended object, follow the creator’s construction and hanging guidance rather than improvising support from decorative appearance alone.
Give the Lattice a Clear Background
Openwork reads most clearly when there is visual contrast behind it. Against a busy patterned curtain or heavily filled bookcase, the negative spaces may disappear. A plain wall or uncluttered window area makes the repeated openings easier to see and gives the hanging plant a defined outline.
Keep the Vertical Accent Intentional
Multiple plant hangers at different heights can shift the room toward a fuller bohemian look. For a cleaner Neo Deco direction, one or two deliberately aligned hanging points may work better. Repeat their color elsewhere—perhaps in a cushion edge or vase—so the hanging form feels connected to the room rather than incidental.
Creator: Heart Hook Home
10. Crochet Textured Tissue Box Cover

Jo to the World Creations teaches a complete fitted tissue-box cover from the top section through the sides and optional bottom straps. The design uses alternating basic stitches to create a strongly textured surface, so it can turn an ordinary rectangular box into a deliberate decorative block without relying on a printed motif.
That boxy shape is useful in Neo Deco rooms because it can reinforce the crisp geometry of trays, books, and cabinetry. Try a single deep color for a sculptural effect, or use a neutral that repeats the upholstery while letting the stitch texture supply shadow. The source is designed around a stated box size, so this is one project where measuring your actual tissue box before beginning is particularly worthwhile. A color change is simple styling; changing the proportions requires more careful construction planning.
Make the Box Shape Look Deliberate
A fitted cover works best when the corners and top opening remain visually clear. Avoid surrounding it with several similarly textured crochet objects. On a nightstand or side table, a single covered box beside smoother materials such as wood, ceramic, or glass gives the stitch relief more definition.
Check the Box Before Choosing a Size
Tissue packaging varies. Compare the box you routinely buy with the dimensions given by the creator rather than assuming all rectangular cartons match. If yours differs substantially, look for creator-provided adjustment guidance or choose another box format rather than forcing the finished cover over an incompatible shape.
Creator: Jo to the World Creations
11. Crochet Linear Table Runner
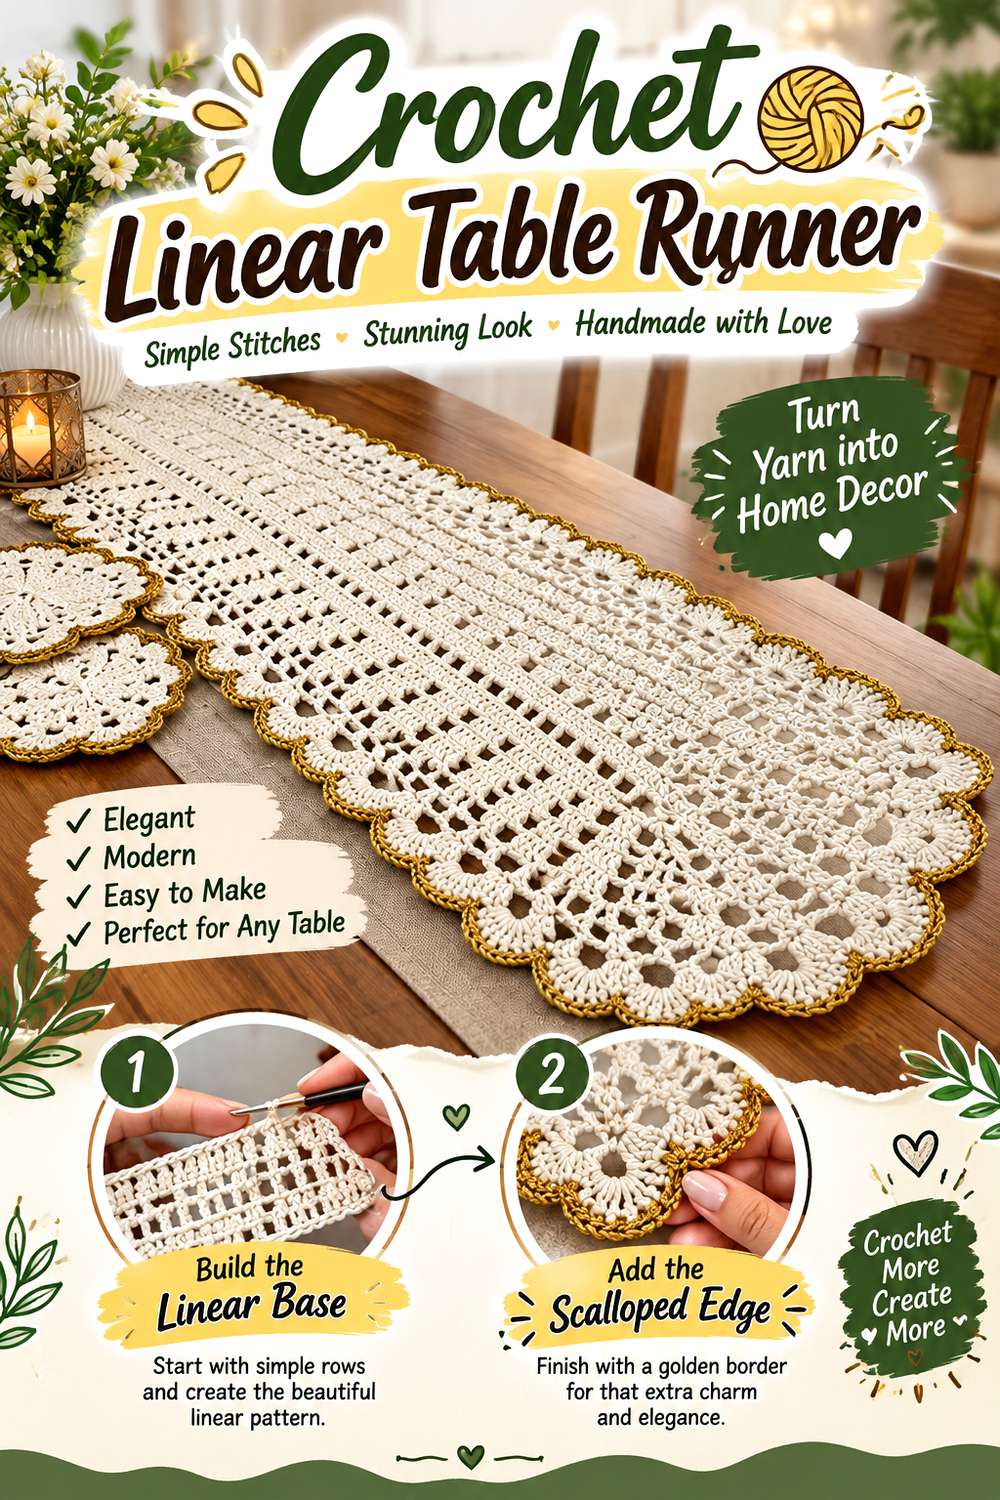
Mary Souza crochê’s tutorial presents a complete step-by-step table runner and places material and measurement information at the beginning of the video. The long, narrow format is especially useful in a Neo Deco scheme because it creates a strong axis through the center of a dining table, console, or long coffee table.
Rather than treating the runner as a generic background for a crowded centerpiece, let its length become part of the room’s geometry. A limited palette can make the crochet texture read as a continuous band between repeated objects such as candlesticks, small bowls, or vases. Do not assume the runner should hang the same distance from every table: compare the source measurements and finished form with your own furniture before changing its proportions.
Use Repetition Along the Length
A long runner naturally guides the eye. Reinforce that effect with a few spaced objects instead of one dense pile in the center. Repeating similar silhouettes along the runner can create the kind of measured rhythm associated with more architectural decorating without requiring any change to the crochet pattern itself.
Leave Some Crochet Uncovered
If nearly the entire runner disappears beneath serving pieces and décor, its stitch pattern cannot contribute much visually. Decide which section should remain exposed in everyday use. On a console, that may mean leaving the ends visible; on a dining table, it may mean keeping the center arrangement narrow.
Creator: Mary Souza crochê
12. Crochet Medallion Placemat
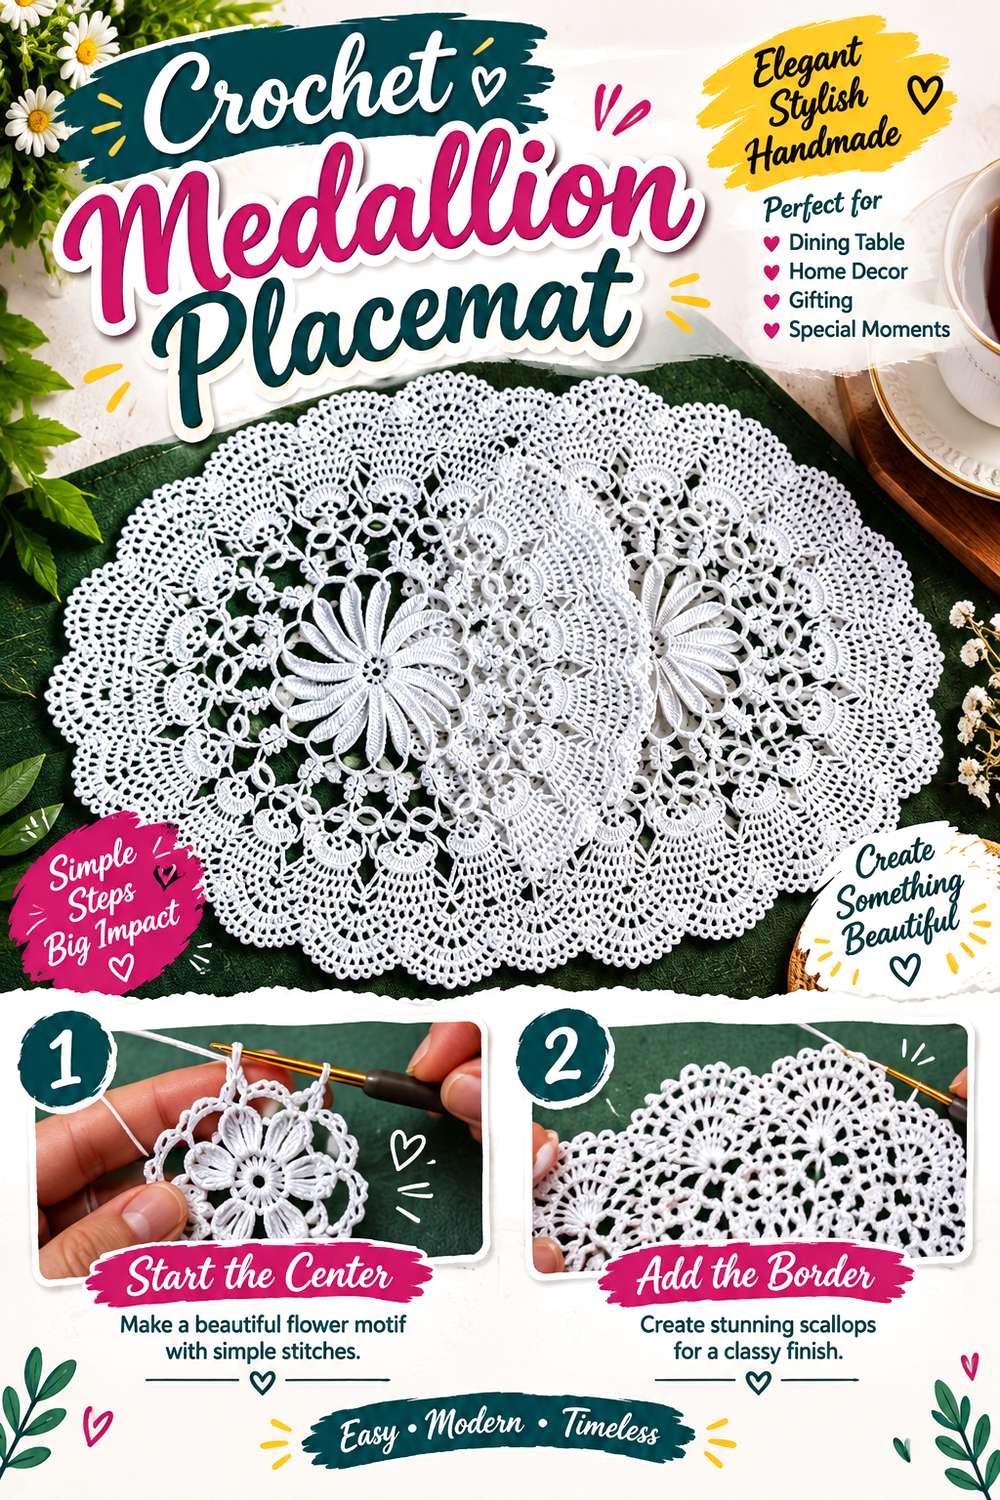
Crochet Swan’s tutorial develops a lace placemat from a central motif through its surrounding lace sections and border, with the finished piece shown and discussed near the end of the tutorial. Its radial center offers a different kind of geometry from checkerboards and linear runners: the pattern expands outward, making each place setting a small focal composition.
For Neo Deco styling, the simplest adaptation is restraint. Work with a palette that lets the central medallion and border remain legible rather than adding unrelated table patterns beneath them. A set can look particularly coherent on a plain tabletop where the repeated circular centers contrast with the rectangular table. Because the source is decorative lace, avoid assuming it has protective properties beyond those actually established by the creator; treat it primarily as a table-setting textile.
Let the Center Motif Stay Visible
The radial center is the most distinctive visual feature, so consider the size of the plate or decorative object that will sit over it. If daily tableware hides nearly all of the motif, the border becomes the main visible element. That may still work, but it is worth deciding before making an entire set.
Repeat One Color Across the Table
Placemat sets already repeat shape and pattern. Adding a different palette to every place can weaken that rhythm. For a more controlled room, repeat the same two colors or use one dominant shade across the full set, allowing the lace openings and central medallion to create variation through light and shadow.
Creator: Crochet Swan
13. Crochet Chunky Square Coasters

Jewels and Jones’ modern chunky coaster is a small rectangular project worked with a simple textured repeat and finished with a wrapped loop. The tutorial is supported by a written pattern, making it a manageable way to introduce a repeated handmade detail without committing the room to a large textile.
For Neo Deco styling, make the set behave like a miniature grid. A stack of four or six square coasters in one strong color can echo larger rectangular forms elsewhere in the room. Alternatively, alternating two colors across the set can reference checkerboard décor without putting a checkerboard pattern directly on every coaster. Their chunky surface already provides substantial texture, so elaborate edging or extra embellishment is unnecessary.
Use Them to Repeat a Distant Accent
Small accessories are useful for carrying a color across a room. If a wall hanging contains rust or a pouf is deep green, repeating that shade in coasters on the opposite side of the room can make the palette feel connected without requiring another large matching object.
Keep the Set Visually Consistent
When several coasters are displayed together, small differences become more obvious. Use the first finished coaster as a physical reference for the others and compare their dimensions as you work. A consistent stack makes the repeated square shape feel intentional, especially on a clean-lined coffee table.
Creator: Jewels and Jones
14. Crochet Armchair Organizer

Ninja Bunny Crochet’s tutorial teaches an organizer designed to sit over a sofa or armchair and notes that the same form can also work beside a bed. This project introduces flat-panel storage into the collection, giving it a practical role that is distinct from freestanding baskets and wall pockets.
A Neo Deco version could use strong color blocking or simply a deep solid shade that visually merges with the chair while the pocket divisions provide the geometry. Because the organizer will be seen directly against upholstery, compare colors beside the actual chair rather than choosing them under separate lighting. The key practical decision is fit: armrests differ significantly in width, curve, and surface texture, so review the tutorial’s finished placement and compare it with your furniture before treating it as a universal one-size accessory.
Decide Whether to Blend or Contrast
Matching the chair closely makes the organizer appear integrated, emphasizing only its pocket lines. A contrasting color turns the entire panel into a graphic stripe across the armrest. Both can suit Neo Deco styling, but the second option carries much more visual weight and should coordinate with another accent in the room.
Plan What the Pockets Will Hold
Pocket dimensions matter more than a generic label such as “remote organizer.” Identify the actual controls, reading glasses, or small objects you want nearby and compare them with the finished pockets shown by the creator. Avoid enlarging every section automatically; a much larger loaded pocket can change how the panel hangs.
Creator: Ninja Bunny Crochet
15. Crochet Low-Profile Decorative Tray

Rasa / BunnyhoodShop’s tutorial creates a shallow round decorative tray from cord, producing a broad circular base with low sides rather than the taller walls of a storage basket. The source gives specific materials and finished dimensions, so the project has a clearly established form that can be evaluated before making it.
The low profile makes this especially useful for Neo Deco styling on a coffee table, dresser, or console. A round tray can gather a few objects while breaking up a field of rectangular books and boxes. Consider a single neutral or dark tone so the shape stays visually clean; if you want contrast, let the objects placed inside provide it. Since the tutorial is designed around cord, substituting a very different material can affect both diameter and the firmness of the sides.
Curate the Interior of the Tray
A catch-all tray can either organize a surface or become a new layer of clutter. Limit it to a small related group—a ceramic vessel and one small object, for example—if the tray is intended to remain decorative. Leaving part of the crocheted base visible also makes its circular construction easier to appreciate.
Pair Curves With Straight Furniture
The tray is particularly effective on a rectangular console or coffee table because its circumference contrasts with the furniture’s edges. If the table is already round, consider pairing the tray with square coasters or a linear runner nearby so the room contains both curved and angular forms.
Creator: Rasa / BunnyhoodShop
16. Crochet Textured Jar Cover

Crochiquely’s jar-cover tutorial teaches a chunky textured stitch, clean color changes, shaping around a glass jar, and finishing. The creator suggests several uses for the covered vessel; for this collection, a pen holder, decorative storage jar, or non-heated display container keeps the focus on its visual role.
This is an effective Neo Deco project for shelves because the vertical cylinder can carry narrow horizontal stripes without becoming a dominant room pattern. Try repeating two colors already used elsewhere, or make several covers in one solid shade to create a row of textured cylinders. Because the tutorial is fitted around a jar, select the actual container before adjusting anything. Different jar diameters and shoulders can change how closely the crochet surface follows the glass.
Turn Stripes Into a Measured Accent
If you use contrasting colors, decide their sequence rather than changing shades whenever yarn runs out. A broad-dark, narrow-light rhythm can feel more intentional than evenly mixed scraps. Repeating the same sequence on two jars can create a compact shelf arrangement without requiring identical container heights.
Keep the Vessel’s Use Appropriate
The tutorial mentions several possible jar uses, but decorative crochet should not be assumed to make a glass container suitable for heat or flame. For a simple home-decor application, pens, hooks, dried decorative stems, or other cool contents avoid introducing a function the crochet cover itself has not been tested to provide.
Creator: Crochiquely
17. Crochet Sculptural Curtain Tieback

Marcelo Nunes Croche’s 2026 tutorial teaches a complete crochet curtain tieback and provides the finished tieback measurements and cord length in the video description. Unlike a flat runner or cushion, this object changes how another textile hangs, so its decorative effect comes from both the crochet shape and the gathered curtain behind it.
In a Neo Deco room, a dark tieback against pale curtains can create a small repeated accent on either side of a window. A tone-on-tone version is quieter and lets the sculptural form carry the detail. Because the source has defined proportions, compare those with the bulk of your curtains before deciding the piece will create the same gathered effect. Thick lined drapery and a light sheer panel do not occupy the same volume.
Think in Pairs Across the Window
Two matching tiebacks can create useful symmetry, one of the simplest ways to make a window treatment feel deliberate. Make the first completely before starting the second, then use it as your reference for cord length and overall shape so the two sides of the window remain visually balanced.
Coordinate With Curtain Weight
A decorative tieback should suit the amount of fabric it needs to gather. Review the creator’s demonstrated use and compare the opening with your own curtain bundle. If your drapes are substantially thicker, look for appropriate sizing guidance rather than assuming a tighter pull will solve the mismatch.
Creator: Marcelo Nunes Croche
18. Crochet Draft Stopper
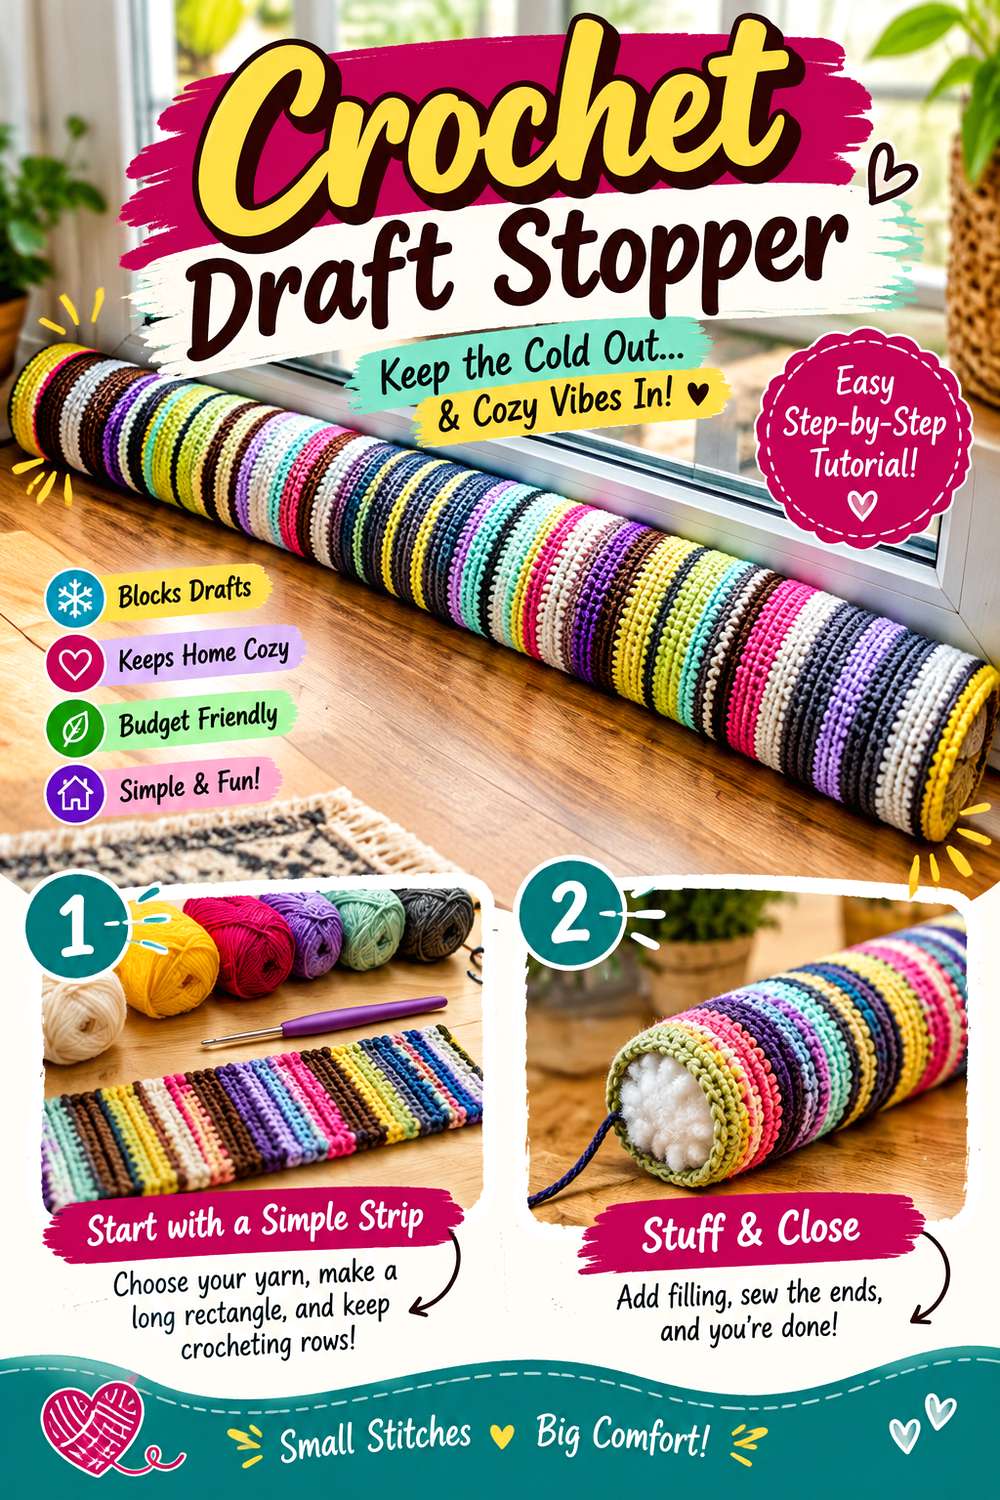
Lindy Loves Life’s tutorial combines a basic crochet lesson with construction of a draft stopper, resulting in a long cylindrical home accessory rather than another purely ornamental textile. Its elongated form can sit unobtrusively along the bottom of a door while still carrying color and pattern into an often-overlooked part of a room.
For a Neo Deco treatment, consider wide, deliberate color bands rather than many narrow scrap stripes. A dark end section with a lighter central field, or a repeated two-color rhythm, can turn the long shape into a controlled horizontal accent. Measure the door or opening first instead of choosing a length visually. If you change the filling or construction, remember that those choices can affect how evenly the finished cylinder lies along the floor.
Use the Long Shape Deliberately
Most crochet décor sits above floor level. A draft stopper creates a horizontal line exactly where the wall, door, and floor meet. Repeating one of the room’s darker colors here can visually ground the scheme, particularly if the rest of the décor includes several pale cushions or wall pieces.
Check Length Against the Actual Door
A visually attractive cylinder still needs to relate to the opening where it will sit. Measure that span before beginning and compare it with the tutorial construction. Do not rely on a generic “standard door” assumption when a small difference could leave an obvious gap or make the piece bunch at the sides.
Creator: Lindy Loves Life
19. Crochet Three-Pocket Wall Organizer

Happy Heartsy’s wall organizer combines three differently sized crochet pockets with wooden dowels and a vertical joining arrangement. The creator’s supporting pattern page and video break the project into pocket construction, dowel attachment, and joining, with the finished organizer shown at the end.
The stepped progression from smaller to larger pockets has an especially useful Neo Deco quality: it creates repeated horizontal bars within one tall composition. A solid dark color on a pale wall can emphasize the silhouette, while a quieter neutral lets the dowels become part of the design. This piece works best where vertical wall space is available but floor or counter space is limited. Decide what it will hold before hanging it so pocket size, wall position, and daily reach all make sense together.
Use the Pocket Sequence as Architecture
The three sizes already create visual progression. Preserve that hierarchy rather than surrounding the organizer with many unrelated wall objects. A narrow strip of wall beside a desk, entry console, or craft station can give the descending pockets enough negative space to read as one composition.
Plan Contents Before Installation
Small, medium, and large pockets invite different contents. Assign a purpose to each one and check that the intended objects do not overwhelm the opening. The organizer’s appearance changes when pockets bulge significantly, so decorative wall storage benefits from editing just as much as a tabletop tray does.
Creator: Happy Heartsy
20. Crochet Radial Mandala Wall Hanging
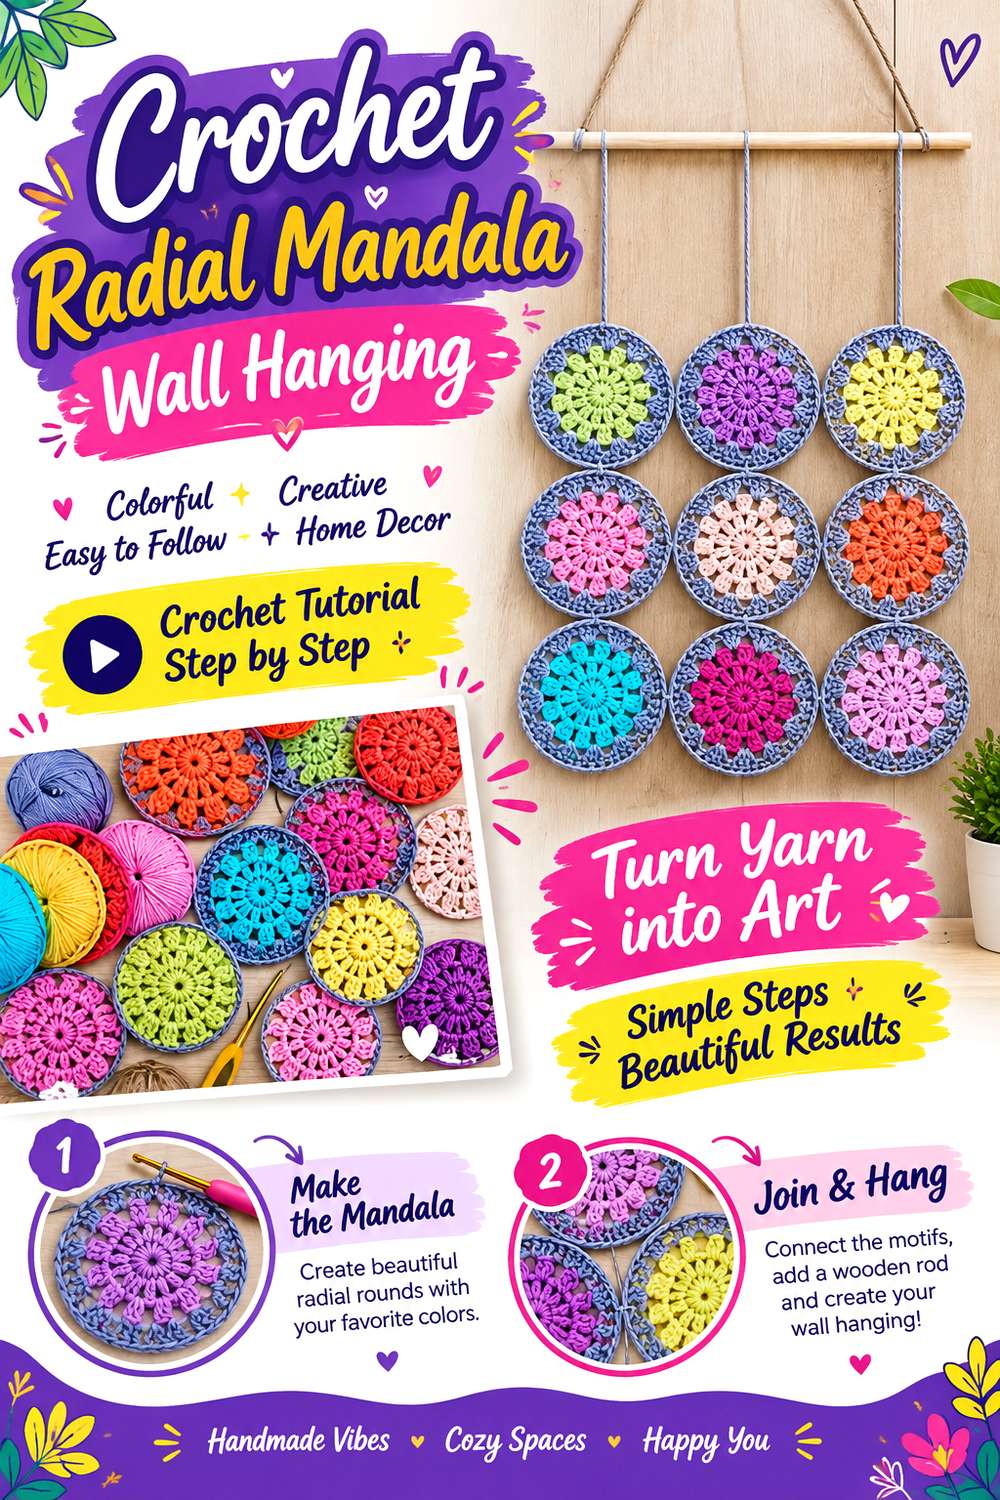
The Crochet Swirl’s tutorial teaches a circular mandala from the foundation through four rounds and assembly into a wall hanging. The creator also explains that multiple finished mandalas can be joined into a larger display. The source uses UK crochet terminology and explicitly notes that its treble crochet corresponds to US double crochet, an important detail for readers accustomed to American terms.
Radial symmetry makes this one of the strongest alternatives to rectangular Neo Deco motifs. Use a pair of high-contrast colors for a crisp medallion, or repeat several identical two-color circles in a measured grid. The second approach combines curves with strict spacing—a particularly useful balance if the room already contains square cushions or a linear runner. Keep hoop size and crochet tension aligned with the creator’s assembly method rather than assuming any finished circle will fit any ring.
Choose One Mandala or a Repeated Installation
A single hoop acts like a compact medallion and suits a narrow wall. Several identical hoops create much more presence and depend on spacing as strongly as crochet. Before making multiples, arrange paper circles on the wall to test the overall width, vertical drop, and distance between motifs.
Use Symmetry Without Making It Busy
Radial crochet already contains many repeated lines. A two-color treatment can emphasize those lines more clearly than a long sequence of unrelated shades. If you install several mandalas, repeating the same palette across them can make the arrangement feel architectural even when the crochet itself remains delicate.
Creator: The Crochet Swirl
Conclusion
A Neo Deco crochet room does not need all 20 projects. Choose the form that solves the room’s main visual problem. The Crochet Checkerboard Cushion and Crochet Mosaic Geometric Pillow bring immediate pattern to seating, while the Crochet Round Rug and Crochet Cylindrical Floor Pouf add larger curves. For quieter surfaces, the Crochet Structured Basket With Handles, Crochet Low-Profile Decorative Tray, and Crochet Textured Tissue Box Cover provide shape without another elaborate motif.
On walls, choose between the free-form texture of the Crochet Abstract Fringe Wall Hanging, the ordered storage of the Crochet Three-Pocket Wall Organizer, and the radial symmetry of the Crochet Mandala Wall Hanging. Once you choose a direction, use the original tutorials for exact construction details rather than trying to make every coordinating piece structurally identical.
Frequently Asked Questions
What colors work well for Neo Deco crochet home decor?
Start with contrast rather than a fixed historical palette. Black with warm white creates the sharpest graphic effect, while cream paired with deep green, rust, teal, ochre, plum, or dusty rose feels softer. Two or three recurring colors are usually easier to coordinate than a different palette for every project. Let one color act as the room’s anchor, one provide contrast, and use any additional accent more selectively.
Do all the tutorials in this collection teach specifically Neo Deco designs?
No. Several are direct geometric matches, such as the checkerboard and mosaic projects, while others teach useful home-decor constructions that can be styled toward Neo Deco through color, repetition, or placement. The floor pouf, tray, basket, and curtain tieback are examples where silhouette can contribute more than pattern. Suggested styling changes here should not be mistaken for construction features supplied by the original creators.
Should checkerboard and mosaic crochet be used in the same room?
They can work together when their scales and colors are controlled. A large checkerboard blanket paired with a small, detailed mosaic pillow creates more distinction than two equally busy motifs of similar size. Linking them through one repeated color also helps. If the room already contains patterned upholstery, curtains, or wallpaper, consider choosing only one strong crochet motif and allowing the remaining handmade pieces to rely on solid texture.
How should I resize crochet decor to fit my furniture?
Begin with the actual object or surface: cushion insert, table, plant pot, door, chair arm, or wall area. Use creator-provided repeats or adjustment guidance when available. Simply increasing the hook size can change fabric density as well as dimensions, so it is not a universal resizing method. For fitted or structured pieces, substantial size changes may require more than adding rows, making the original tutorial’s construction especially important.
How can several crochet home decor pieces look coordinated without matching exactly?
Repeat two or three design cues instead of reproducing one pattern everywhere. You might use the same deep green in a pouf, coaster set, and wall hanging while letting each object have a different texture. Another approach is to repeat shapes: circles in a rug, tray, and mandala balanced by rectangular cushions and organizers. Consistent color, controlled motif scale, and deliberate placement usually create stronger coordination than identical stitch patterns on every object.