Wilderkind crochet works especially well when the animal itself carries the mood. A fox with a sweeping tail, a deer pair, a squirrel, an owl, a textured hedgehog, or a tiny wolf immediately suggests woods, field paths, mossy clearings, and storybook wildlife without relying on color alone. In this collection, “Wilderkind” is an editorial styling lens rather than a label attributed to the tutorial creators.

The 15 projects below deliberately vary in silhouette and construction. Some are soft amigurumi, while others lean toward decorative objects with pronounced texture, wings, antlers, shells, or structured details. Several tutorials are multipart, and those dependencies are noted where they matter. Choosing between them is less about finding the “cutest” animal and more about deciding which feature you want to dominate: a dramatic tail, recognizable markings, raised texture, compact woodland form, or a creature whose outline reads clearly from across a shelf.
Quick List
- Crochet Woodland Fox Amigurumi
- Crochet Buck and Doe Deer Dolls
- Crochet Rabbit Amigurumi
- Crochet Woodland Squirrel Amigurumi
- Crochet Textured Hedgehog Amigurumi
- Crochet Granny Owl Decoration
- Crochet Chunky Bear Amigurumi
- Crochet Plush Mouse Amigurumi
- Crochet Bow-Tied Frog Amigurumi
- Crochet Raccoon Amigurumi
- Crochet Winged Bat Amigurumi
- Crochet Ammonite Snail Amigurumi
- Crochet Small Wolf Amigurumi
- Crochet Color-Worked Otter Amigurumi
- Crochet Woodland Beaver Amigurumi
What Makes a Crochet Animal Feel Wilderkind?
Species recognition matters more than simply using brown or green yarn. The projects that communicate a woodland feeling most strongly tend to have one memorable identifying feature: the fox’s tail, the squirrel’s large tail, deer antlers, hedgehog texture, bat wings, an ammonite-style shell, or the flattened tail associated with a beaver. Keeping that feature visually clear usually does more for the theme than adding several unrelated forest decorations.
There is also room for different levels of realism. The wolf and otter can lean toward recognizable animal shaping, while the bow-wearing frog and chunky bear bring a more storybook interpretation. Neither approach is inherently more appropriate. What matters is consistency within the group you plan to display. A collection can look deliberate when its animals share scale, palette, or styling, but those choices should come after you decide which silhouettes deserve to remain distinct.
Choose Between Display Detail and Frequent Handling
Before choosing a project, consider where the finished animal will live. Raised hedgehog texture, broad bat wings, deer details, or a spiraled snail shell can be especially effective where the creature can be viewed from several angles. A chunky bear or compact rabbit puts more emphasis on the overall plush form.
Materials also affect that decision. Some tutorials use separate eyes, stuffing, decorative components, or internal materials, and the ammonite snail source lists a pipe cleaner among its supplies. Those details should be treated according to the creator’s construction guidance rather than assumed suitable for every purpose. If you are making a piece for frequent handling, inspect protruding parts, joins, facial components, and appendages as carefully as the main body. A decorative shelf creature and an object intended for constant handling do not necessarily need the same finishing decisions.
1. Crochet Woodland Fox Amigurumi

A fox is a natural starting point for a Wilderkind collection because its body shape offers more than one recognizable feature. Rose and Lily Crochet’s project is taught across two linked tutorials. The first develops the legs, joined body, belly, and head, while the second continues with the muzzle, arms, ears, tail, assembly, and final details.
The multipart structure is useful if you prefer to separate the main body from the smaller identifying pieces. It also means the fox should be considered as a complete silhouette rather than simply another four-legged amigurumi. The ears and tail do much of the visual work once the basic body is finished. For a woodland grouping, give the fox enough surrounding space that its tail does not disappear behind another animal. That tail can help distinguish it immediately from the wolf, mouse, or squirrel elsewhere in this collection.
Give the Tail Visual Room
The tail is one of the fox’s strongest species cues, so placement matters after assembly. If the animal is destined for a shelf, think about the viewing angle before crowding it between taller pieces. A large feature pressed against a wall or another plush may become almost invisible. Displaying the fox slightly turned can make both the face and tail contribute to the overall outline.
Plan for a Two-Part Tutorial
This is not a single-video project. The first tutorial establishes the main form, and the linked second installment handles several details that make the animal recognizably foxlike. Keep both parts available before beginning so you can see how later components relate to the earlier body rather than treating the first video as a complete standalone construction.
Creator: Rose and Lily Crochet
2. Crochet Buck and Doe Deer Dolls
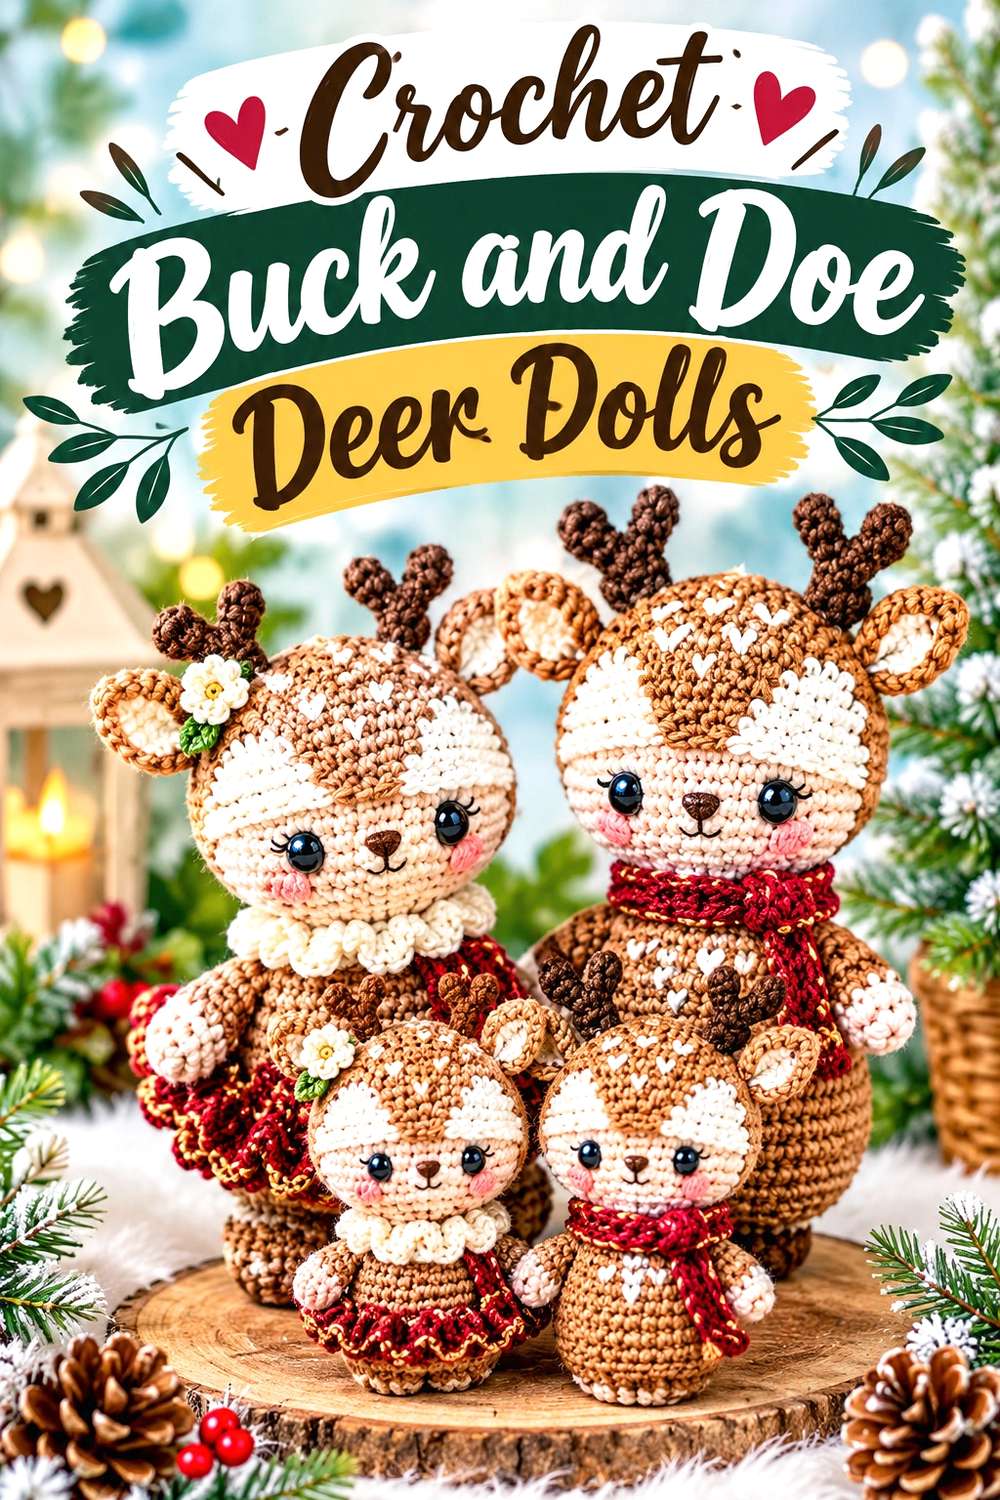
Briana K’s tutorial presents a pair of deer rather than a single generic woodland animal, giving you the option to make a buck, a doe, or use both forms together. The project is framed as a set of deer dolls, and the creator’s accompanying information distinguishes the two characters while showing how the design can fit a rustic woodland setting beyond a strictly seasonal display.
That paired concept is what makes this entry useful in a larger Wilderkind collection. Instead of relying on a color change to create variety, the deer can contribute two related silhouettes. If you are building an arrangement with several species, consider whether you actually need both. A single deer can provide height and woodland character, while a pair can become the center of the grouping. The more animals you place nearby, the more important it becomes to preserve enough open space for the deer details to remain readable.
Choose a Pair or a Single Focal Deer
Two related figures can create a deliberate mini-scene, but they also occupy more visual space than one animal. If the rest of your collection already includes fox, rabbit, squirrel, and bear figures, a single deer may offer enough contrast. If deer are the main feature, the buck-and-doe pairing gives the display its own internal relationship.
Keep Seasonal Styling Separate From the Animal Form
The source presentation includes a festive context, but the deer shape itself does not have to remain tied to one season. If you want a year-round woodland collection, let the animal silhouette do the work and treat optional clothing or decorative styling as secondary. This makes the deer easier to combine with neutral forest creatures without turning the whole group into holiday décor.
Creator: Briana K
3. Crochet Rabbit Amigurumi
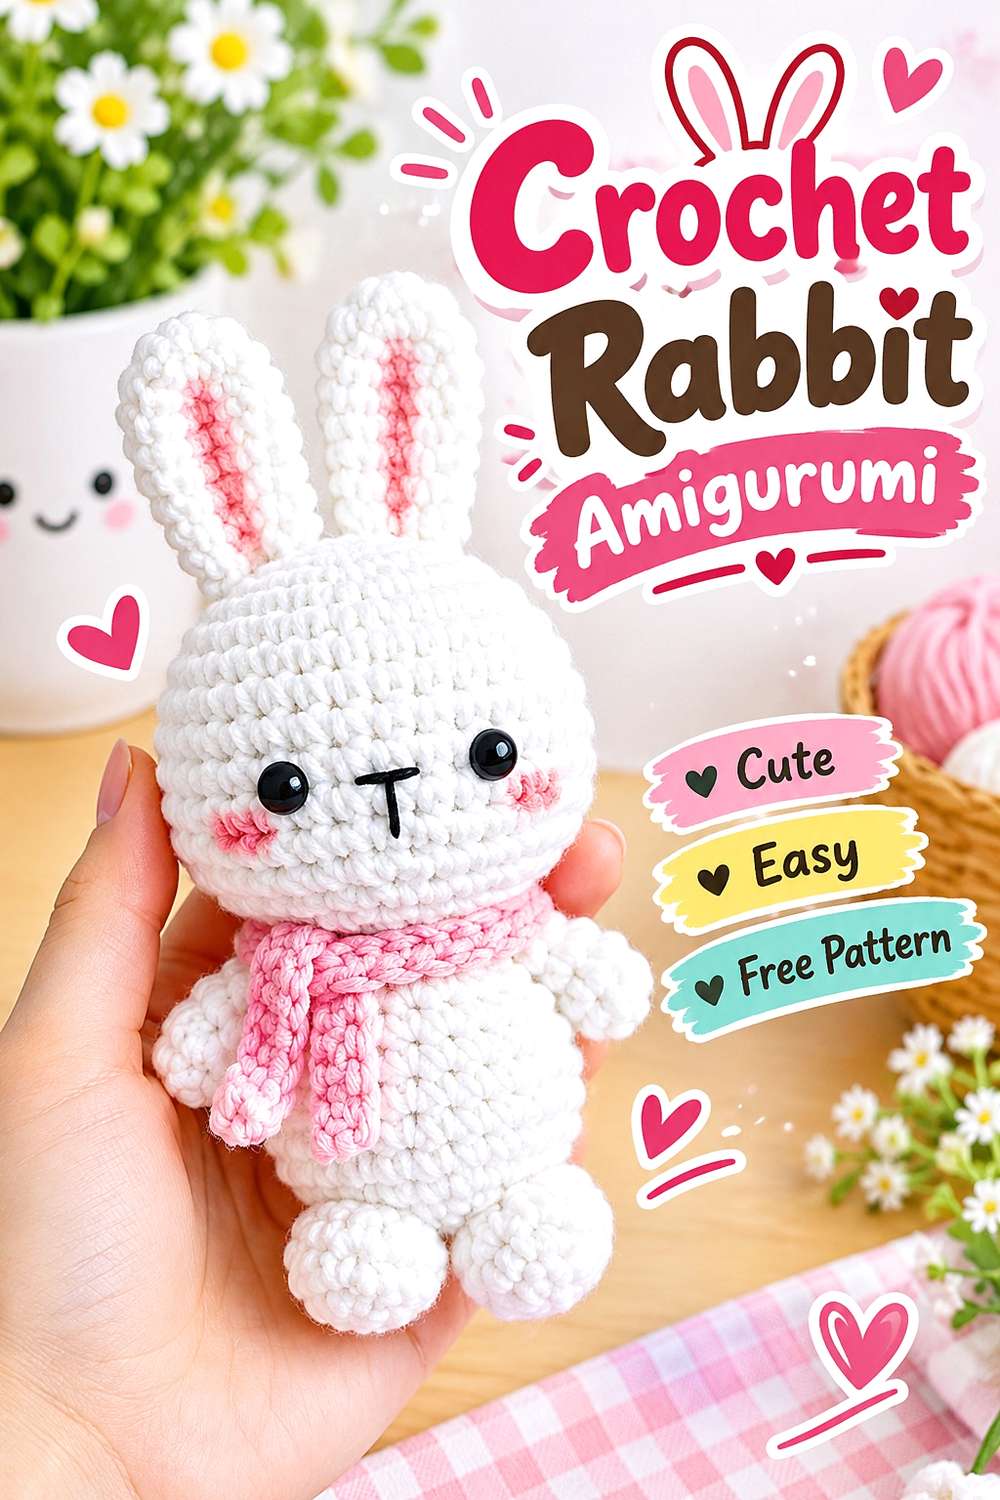
The rabbit from Happygurumi offers a cleaner, gentler silhouette than the more heavily textured hedgehog or winged bat. The creator’s step-by-step tutorial is devoted specifically to making a bunny amigurumi, so it works as a complete animal project rather than a motif that must be incorporated into something larger.
For Wilderkind styling, the rabbit is useful because it can soften a collection of animals with stronger profiles. Place it beside a fox or deer and the long-eared form remains easy to distinguish without demanding the same visual space as antlers, wings, or a large tail. It is also a good project for anyone who prefers woodland character without elaborate surface texture. Rather than adding extra flowers, bows, or clothing automatically, first consider how much expression can come from the rabbit’s basic proportions and ear placement. A restrained version can act as a quiet connector between more elaborate creatures.
Let the Ears Establish the Silhouette
A rabbit’s ears carry much of its identity from a distance. When you reach the assembly stage, follow the creator’s placement carefully and then view the animal from the front and side. The goal is not to force a particular expression, but to make sure the ears remain visibly part of the outline rather than disappearing behind the head.
Use Simplicity as Contrast
Not every animal in a Wilderkind grouping needs dramatic texture. A comparatively simple rabbit can make the hedgehog’s quills, deer’s details, or snail’s shell look more distinctive by contrast. If your collection already contains several embellished animals, resist adding decoration simply to make the rabbit equally busy. Its quieter form can be an advantage.
Creator: Happygurumi
4. Crochet Woodland Squirrel Amigurumi

A squirrel brings a different kind of woodland energy because the tail occupies such a large part of its overall outline. Odinka Wisanindhi teaches this squirrel through a three-part tutorial sequence, beginning with the head, ears, and tummy before continuing the rest of the animal in subsequent installments. A supporting pattern roundup identifies the source as a detailed three-part video tutorial.
That multipart construction is worth noting before you begin because this is not a quick single-video project. The visual payoff is the squirrel’s unmistakable profile. In a mixed animal collection, the tail can create height and movement without relying on additional accessories. Think about which direction you expect the animal to face when displayed. If the tail projects strongly behind or above the body, it needs enough clearance from nearby pieces to avoid being flattened visually into the background.
Treat the Tail as Part of the Display Footprint
The squirrel may occupy more visual room than its body alone suggests. When planning shelf space, consider the full tail rather than measuring only the torso. A slightly angled placement can reveal more of the profile and prevent the tail from becoming hidden behind another animal or pressed visually against the back of the display.
Keep the Three Tutorial Parts Together
Because the project is divided across three videos, organize the sequence before crocheting. The first video is the starting point rather than the entire pattern. Moving through the parts in order is especially important for a shaped animal where the head, body, and later components need to relate to one another consistently.
Creator: Odinka Wisanindhi
5. Crochet Textured Hedgehog Amigurumi
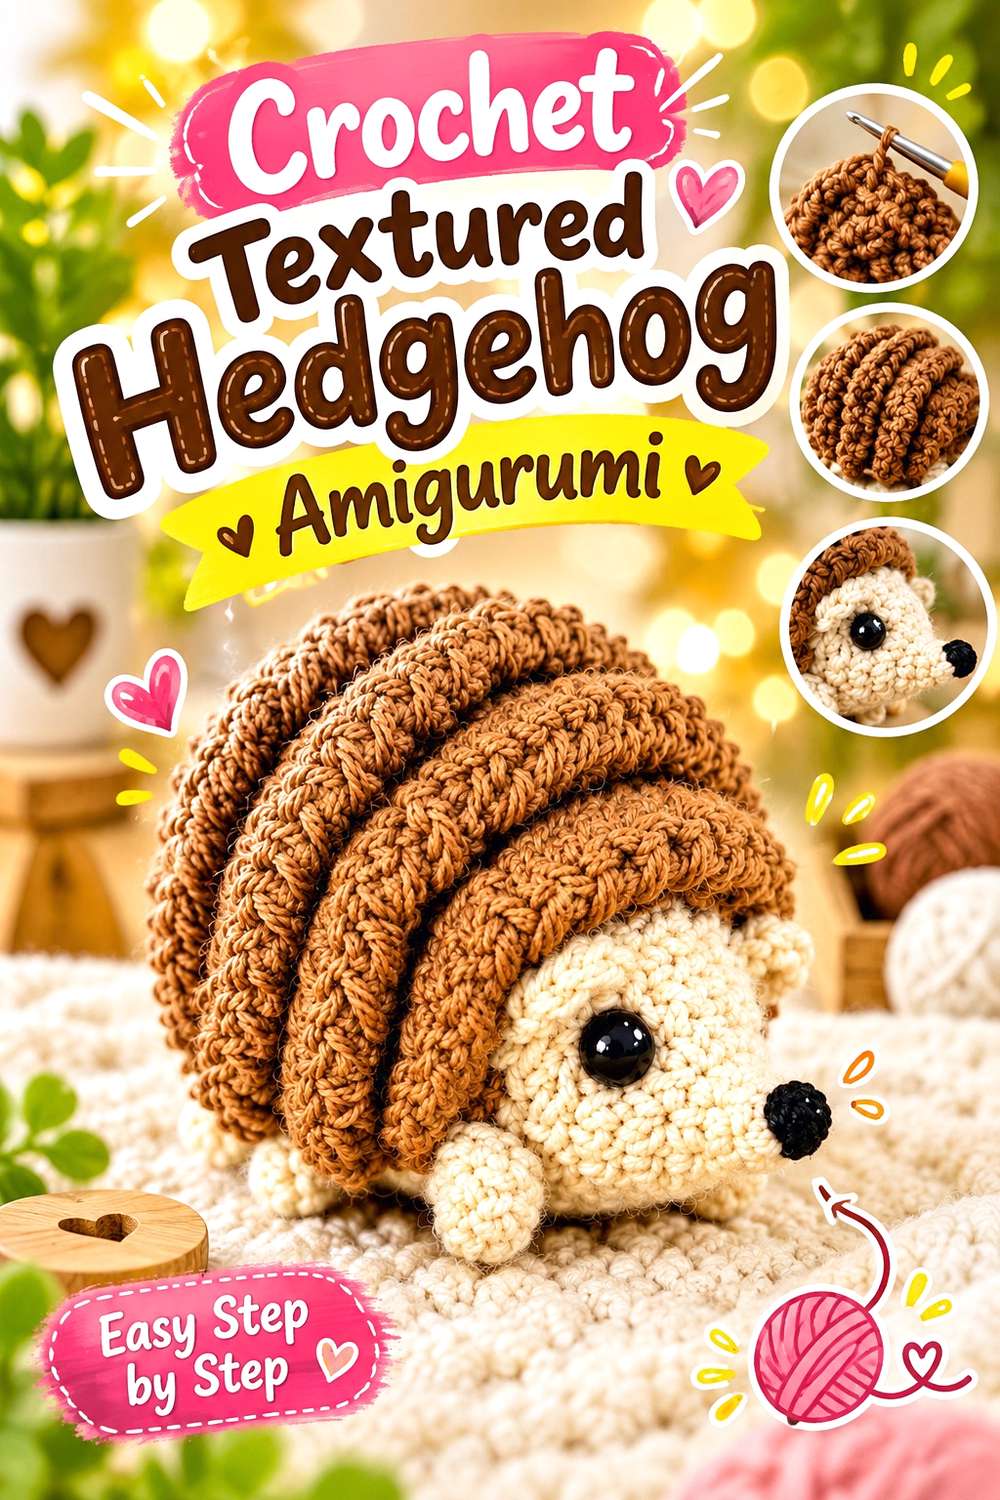
The hedgehog from Les Mignonneries de Steph au crochet stands apart because texture is central to the animal rather than an optional finishing flourish. The tutorial specifically covers shaping the snout and a technique for creating raised quill-like texture, making the surface treatment part of how the finished creature is recognized.
That makes this a strong Wilderkind choice when your collection needs tactile contrast. A smooth rabbit or mouse can sit nearby without looking repetitive because the hedgehog’s back provides an entirely different surface. The useful decision is how prominently you want that texture displayed. A front-facing position emphasizes the face, while a slight turn can show more of the raised back. Since the quill effect already supplies considerable detail, additional accessories are unlikely to be necessary for the animal to read as distinctive. Let the construction technique itself provide the ornament.
Show Both Face and Quill Texture
The face and textured back perform different jobs. The snout gives the creature character at close range, while the raised surface differentiates the species. If you display the hedgehog at an angle rather than squarely forward, both features can remain visible instead of one hiding the other.
Avoid Covering the Main Surface Feature
A scarf, cape, or other large accessory could obscure the very texture that makes this project unusual. If you want to customize the hedgehog, consider changes that do not cover most of the back. The quill treatment already provides a strong Wilderkind quality without needing additional woodland symbols attached on top.
Creator: Les Mignonneries de Steph au crochet
6. Crochet Granny Owl Decoration
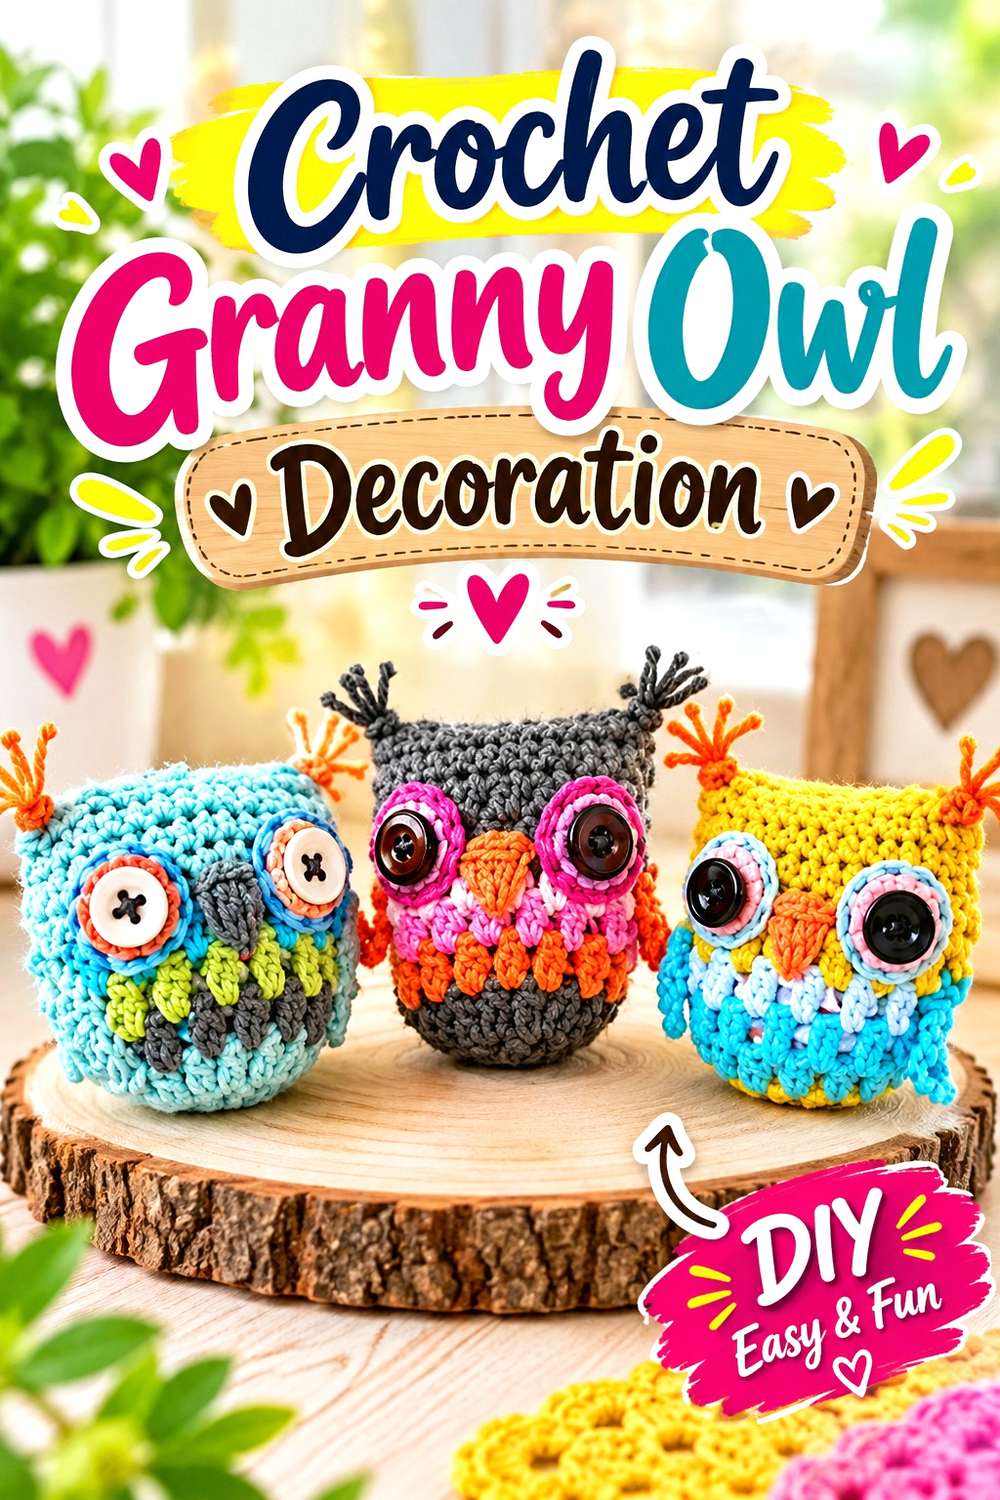
This owl from Zeens and Roger is different from the rounded amigurumi animals surrounding it. The creator’s project is identified as a Granny Owl Decoration, and supporting material lists not only crochet supplies but also fabric for lining, buttons, felt, and embroidery thread for the eyes.
Those mixed materials give the owl a crafted decorative character rather than making it simply another stuffed woodland figure. That distinction can be useful in a Wilderkind arrangement where every piece does not need the same construction. The broad owl face and textile layers can introduce a flatter form beside three-dimensional animals such as the bear or rabbit. Before substituting eye treatments or leaving out non-crochet components, look at how the creator uses them in the finished design. Here, the additional materials are part of the visual structure rather than incidental supplies.
Embrace the Mixed-Material Character
If your goal is an all-crochet collection, this may not be the most seamless match because the source incorporates fabric, felt, buttons, and embroidery materials. If you enjoy folk-craft layering, however, that combination is precisely what distinguishes the owl. Choose it because you want that mixed-media quality rather than expecting it to behave like a conventional amigurumi.
Use the Owl to Break Up Rounded Shapes
Many stuffed animals share a compact, rounded body outline. The granny-style owl introduces a different visual geometry and can interrupt a row of similar plush forms. Positioning it between softer shapes such as the rabbit and bear can help the entire collection look more intentionally varied.
Creator: Zeens and Roger
7. Crochet Chunky Bear Amigurumi

Keep Calm and Crochet’s bear shifts the collection toward a larger, plush-looking form. The source describes a large crochet bear worked with chunky yarn and notes a minimum-sewing construction, with step-by-step instructions presented using US crochet terminology.
A bear of this type can anchor a Wilderkind group because its broad body reads differently from the finer, smaller woodland animals. That scale also means it deserves more physical space. If you intend to display several creatures together, avoid judging the bear only by its height; its wider body can visually dominate smaller animals such as the wolf, mouse, or frog. The thicker yarn treatment also changes how much tiny surface detail is visible, so this is a project where silhouette and plush texture can matter more than intricate decoration. Let the bear function as the substantial, soft form in the group.
Use Scale as Part of the Composition
A noticeably larger bear can become the visual center even if you did not plan it that way. Decide whether that is desirable before placing it in the middle of a shelf. Putting the bear toward the back or side can allow smaller animals to remain visible while still letting the larger form provide depth.
Let Plush Texture Replace Extra Ornament
Chunkier yarn already gives the bear a pronounced textile presence. Adding many small accessories can compete with that soft surface or disappear into it. If you want a restrained woodland feel, the animal shape and plush texture may be enough. Save more intricate details for projects where they can be seen clearly.
Creator: Keep Calm and Crochet
8. Crochet Plush Mouse Amigurumi
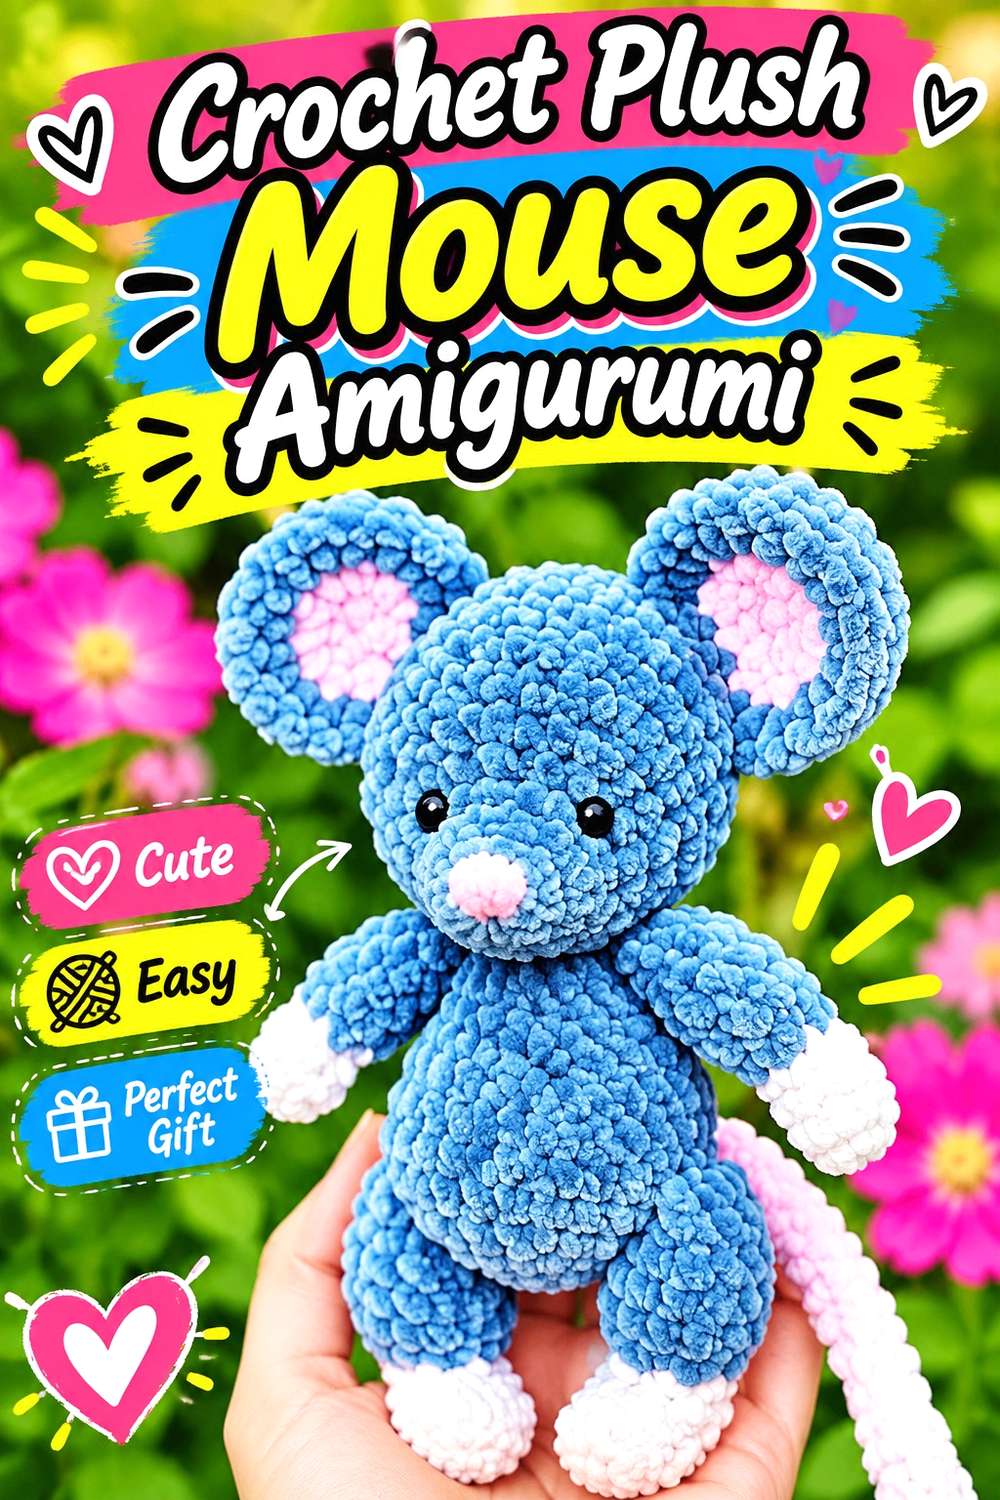
Medintseva toys teaches this mouse through a three-part video sequence. The first installment covers the legs, arms, and body, while the second moves to the head and its attachment; the project continues through the linked third portion for the remaining construction and finishing. The creator describes the finished mouse as roughly seven inches tall.
The mouse gives a Wilderkind collection a smaller mammal without repeating the rabbit’s long-eared profile or the squirrel’s oversized tail. Because the tutorial divides the figure into major body sections, assembly becomes an important part of its appearance. Before attaching pieces permanently, look at the animal from more than one angle and compare the relationship between head and body. A mouse can be visually subtle beside a bear or deer, so positioning it closer to the front of a display helps its smaller form remain legible.
Check Head-to-Body Balance Before Final Assembly
When major components are created separately, a small shift in placement can change how the finished animal appears. Follow the creator’s assembly guidance, but pause before final securing to look at the mouse from front, side, and three-quarter angles. This is particularly useful when the head carries most of the character.
Place Smaller Animals Where They Will Not Disappear
A mouse can easily be overwhelmed by larger woodland figures. If you are building a multi-animal shelf arrangement, place it toward the front or beside another small creature rather than directly behind the chunky bear or broad-tailed squirrel. Scale differences look deliberate when each animal remains visible.
Creator: Medintseva toys
9. Crochet Bow-Tied Frog Amigurumi

Tata Crochet Patterns teaches a complete frog with distinct sections for the head, legs and body, arms, eyes, bow, and final assembly. That inclusion of a bow gives this animal a stronger storybook character than the more naturalistic woodland forms in the collection.
A frog is useful in Wilderkind styling because it broadens the habitat references beyond furry forest mammals. It can suggest ponds, damp leaves, and shaded garden edges without needing an elaborate scene around it. The prominent eyes provide one focal point, while the bow adds another. Decide whether you want both to contribute equally. If the collection already contains several accessorized animals, the bow can make the frog feel intentionally whimsical; if most other animals are plain, it may become the most character-like figure in the group. That contrast can work well when it is deliberate.
Decide How Storybook You Want the Group to Feel
The bow immediately pushes the frog toward a dressed, character-driven presentation. That can be charming beside the deer dolls or bear, but it creates a different mood from a minimally decorated wolf or hedgehog. Think about whether the frog should be the playful exception or whether you want to repeat small accessories elsewhere.
Give the Eyes Enough Visual Space
The eyes are a major part of a frog’s expression and silhouette. Avoid crowding the head with additional flowers, hats, or heavy embellishment before seeing the assembled animal. The eye construction and bow already provide two clear areas of interest, so more detail may make the face harder to read.
Creator: Tata Crochet Patterns
10. Crochet Raccoon Amigurumi
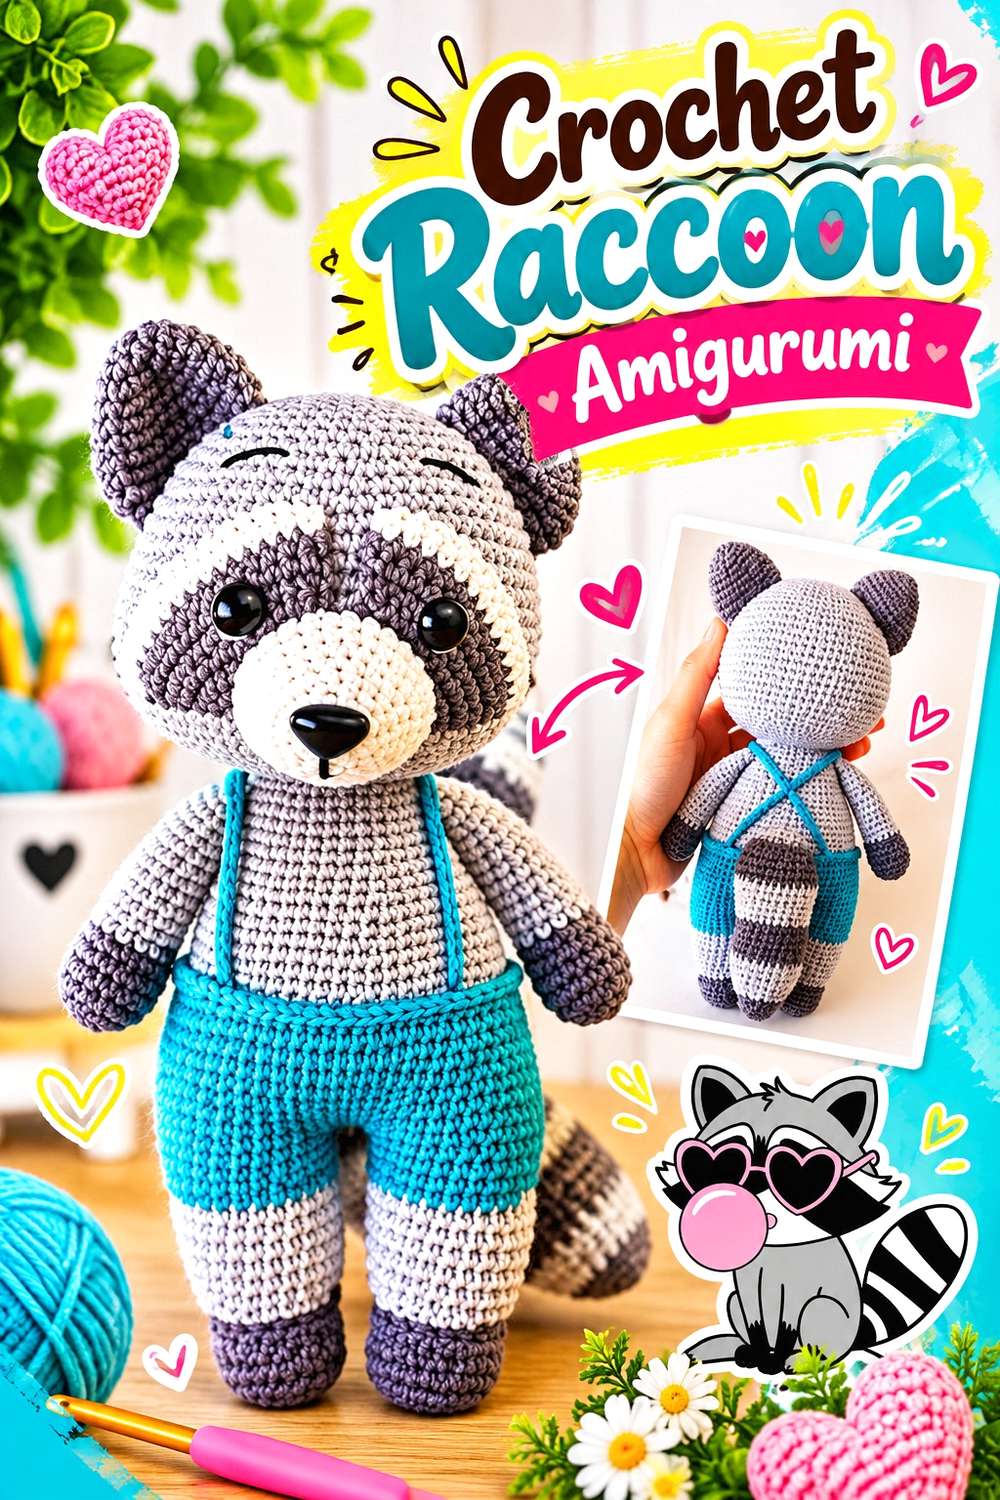
Crocheting with Natasha’s raccoon is taught in two parts, with the second installment continuing the animal rather than functioning as an unrelated variation. The creator also explains that the English presentation is translated from Spanish, so readers should be aware of that language limitation while following the instructions.
For a Wilderkind collection, the raccoon contributes something different from the fox and wolf because contrasting facial and body markings are important to its identity. That makes color placement more structural visually than simply choosing a preferred palette. If you plan substitutions, first note which color changes help define the species and which are purely decorative. A low-contrast combination could soften those markings considerably. The two-part format also makes preparation helpful: have both videos available so you can see how the later details complete the animal established in the first installment.
Preserve the Marking Logic
With a raccoon, contrast can be part of recognition. You do not have to copy a particular natural color palette exactly, but changing the relationship between light and dark areas may affect how quickly the animal reads as a raccoon. If you experiment with color, compare values as well as hues so the important divisions remain visible.
Expect Translated English Instructions
The creator states that the English content was produced through translation from Spanish. That does not prevent the project from being usable, but it is worth knowing before you begin. When wording feels less familiar, rely on the demonstrated crochet alongside the translated text rather than assuming every phrase will match the terminology you normally use.
Creator: Crocheting with Natasha
11. Crochet Winged Bat Amigurumi

MummaJ Crochet’s bat tutorial teaches the animal step by step using US crochet terms. Supporting project information identifies the body and head as one piece, with the ears and wings made separately before assembly.
Those wings are what earn the bat a distinct place in this collection. Unlike most of the animals here, its recognizable silhouette expands sideways rather than upward through ears or backward through a tail. That gives you an opportunity to vary the overall shape of a woodland display. If the bat will sit among other pieces, plan enough horizontal room for the wings instead of squeezing them against neighboring animals. You can also evaluate the piece from the front before final positioning because a slight change in wing angle can affect how clearly the outline reads.
Plan for Width, Not Just Height
A bat may be relatively compact through the body but still require considerable visual width. When you choose a shelf or display area, account for the complete spread of the wings. Crowding them behind a deer or bear defeats much of what makes this animal distinct from the other amigurumi.
Make the Wing Shape the Main Feature
The bat already has a strong graphic profile. Additional clothing or large appliqués could distract from that outline, especially near the shoulders. If you want customization, consider letting palette or small facial choices carry it while preserving the uncluttered wings as the dominant Wilderkind feature.
Creator: MummaJ Crochet
12. Crochet Ammonite Snail Amigurumi
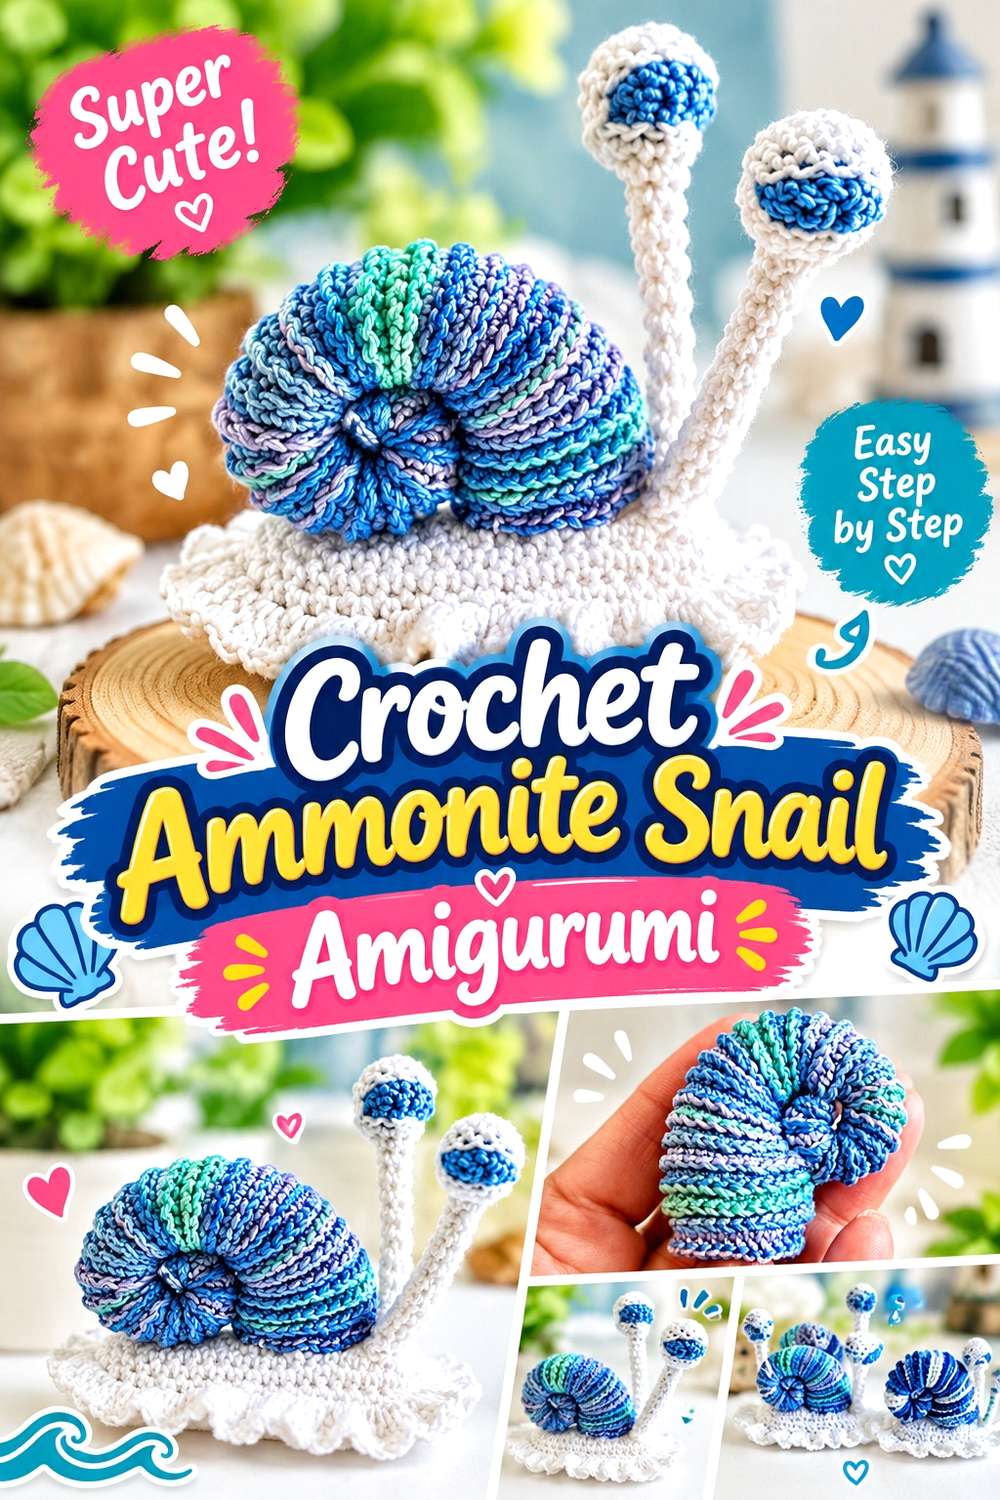
Crochetwithsumi’s ammonite snail brings a completely different form to the collection: a low body paired with a coiled, fossil-like shell. The project is taught through a multipart tutorial, beginning with the linked first video, and supporting information identifies it as a two-part sequence. The listed materials include fine crochet thread, stuffing, and a pipe cleaner.
Because the shell is the immediate focal point, this animal works especially well when you want the Wilderkind theme to move beyond familiar forest mammals. It has an old-world natural-history quality that can sit comfortably beside books, botanical objects, or other small display pieces. The pipe-cleaner component is part of the source’s construction, so this version is particularly sensible to approach as a decorative object rather than assuming the same use as a simple all-fiber plush.
Let the Shell Command the View
The coiled shell gives the snail its strongest visual identity. A side-facing position naturally reveals that form more clearly than placing the animal straight toward the viewer. When arranging several creatures, use the snail’s lower profile to create a foreground layer rather than hiding it behind taller mammals.
Account for the Internal Material
This tutorial’s supply list includes a pipe cleaner, which makes it different from a straightforward yarn-and-stuffing animal. Follow the creator’s construction and intended handling rather than casually omitting or replacing that element. If you specifically want a very soft, all-textile piece, another animal in this list may be a better starting point.
Creator: Crochetwithsumi
13. Crochet Small Wolf Amigurumi
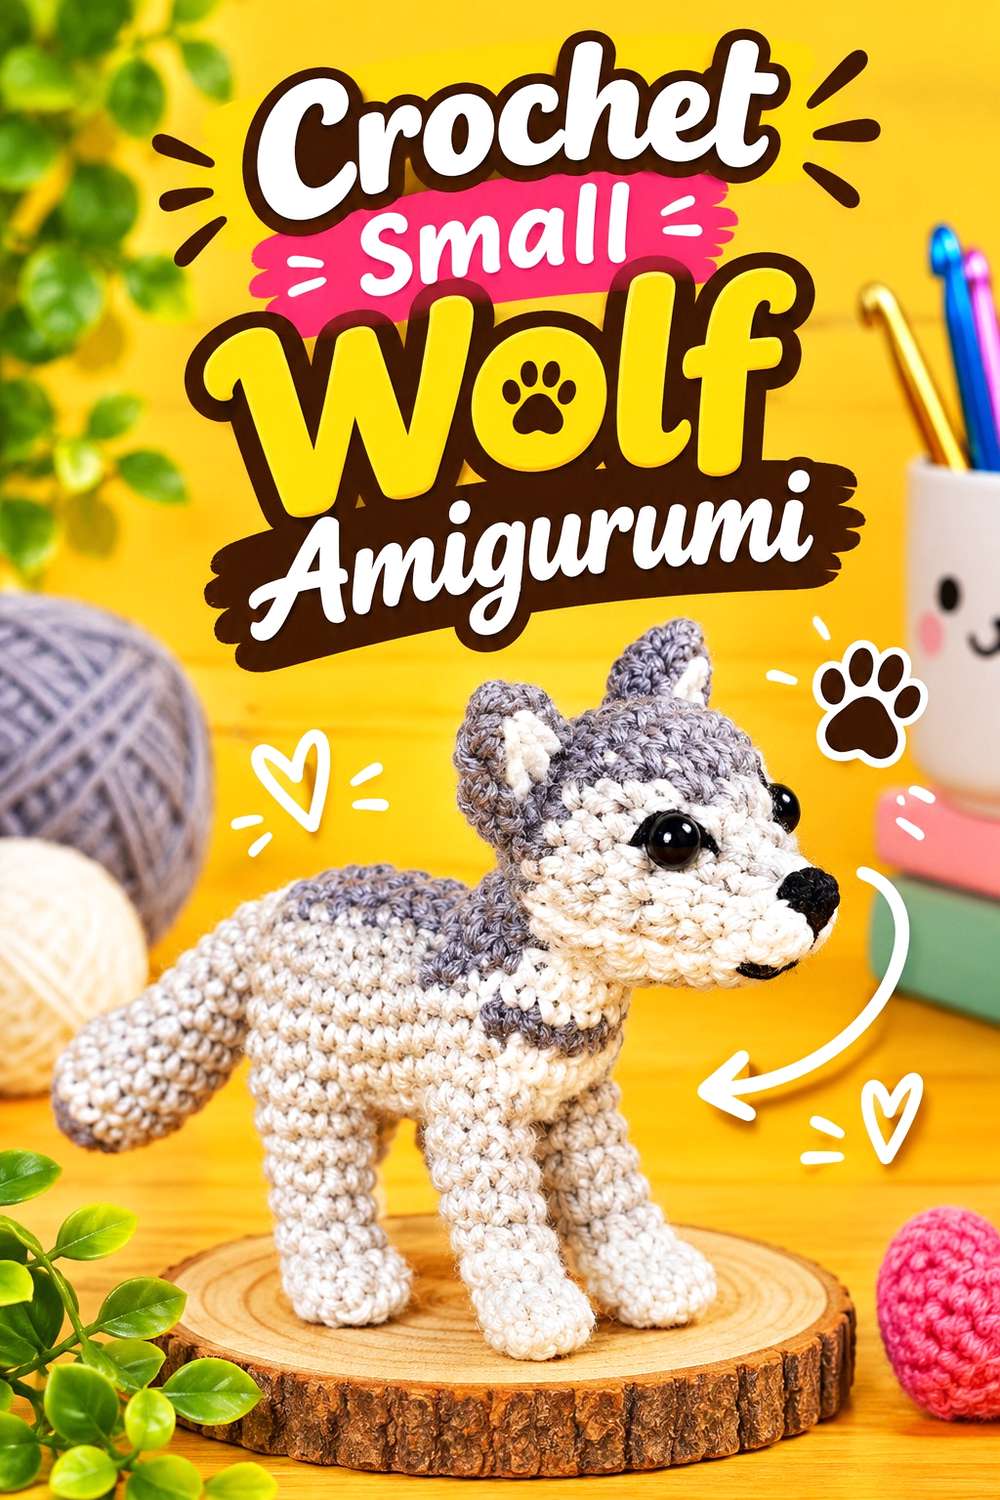
Stella’s Yarn Universe teaches this wolf in two connected parts. The first covers major body construction, including the legs, belly, back, and neck; the second moves into the head, facial details, ears, tail, and assembly. The creator’s supporting page describes the finished example as approximately 7 by 7 centimeters when made with the specified materials and notes that the color changes can be simplified to a single-color version.
Its compact scale makes the wolf useful when you want a recognizable woodland predator without the larger presence of the chunky bear. The source’s colorwork choice also creates a real decision: preserve the changes for more visual definition, or use the creator’s simpler single-color option and let the shape do more of the work. In a crowded Wilderkind collection, that restraint can help the small figure remain clear.
Choose Between Colorwork and a Simpler Surface
The creator explicitly offers a way to simplify the animal to one color. That makes the palette decision more than an arbitrary substitution. If your collection already contains several high-contrast animals such as the raccoon and otter, a single-tone wolf can provide visual rest. If the wolf will stand alone, the original color divisions may give its small form more definition.
Respect the Small Scale During Assembly
On a compact animal, a few millimeters of placement can feel visually significant. Follow the creator’s assembly carefully, particularly around the face and ears, and examine the pieces before fastening everything permanently. Small-scale projects reward deliberate positioning because there is less body area available to absorb noticeable shifts.
Creator: Stella’s Yarn Universe
14. Crochet Color-Worked Otter Amigurumi
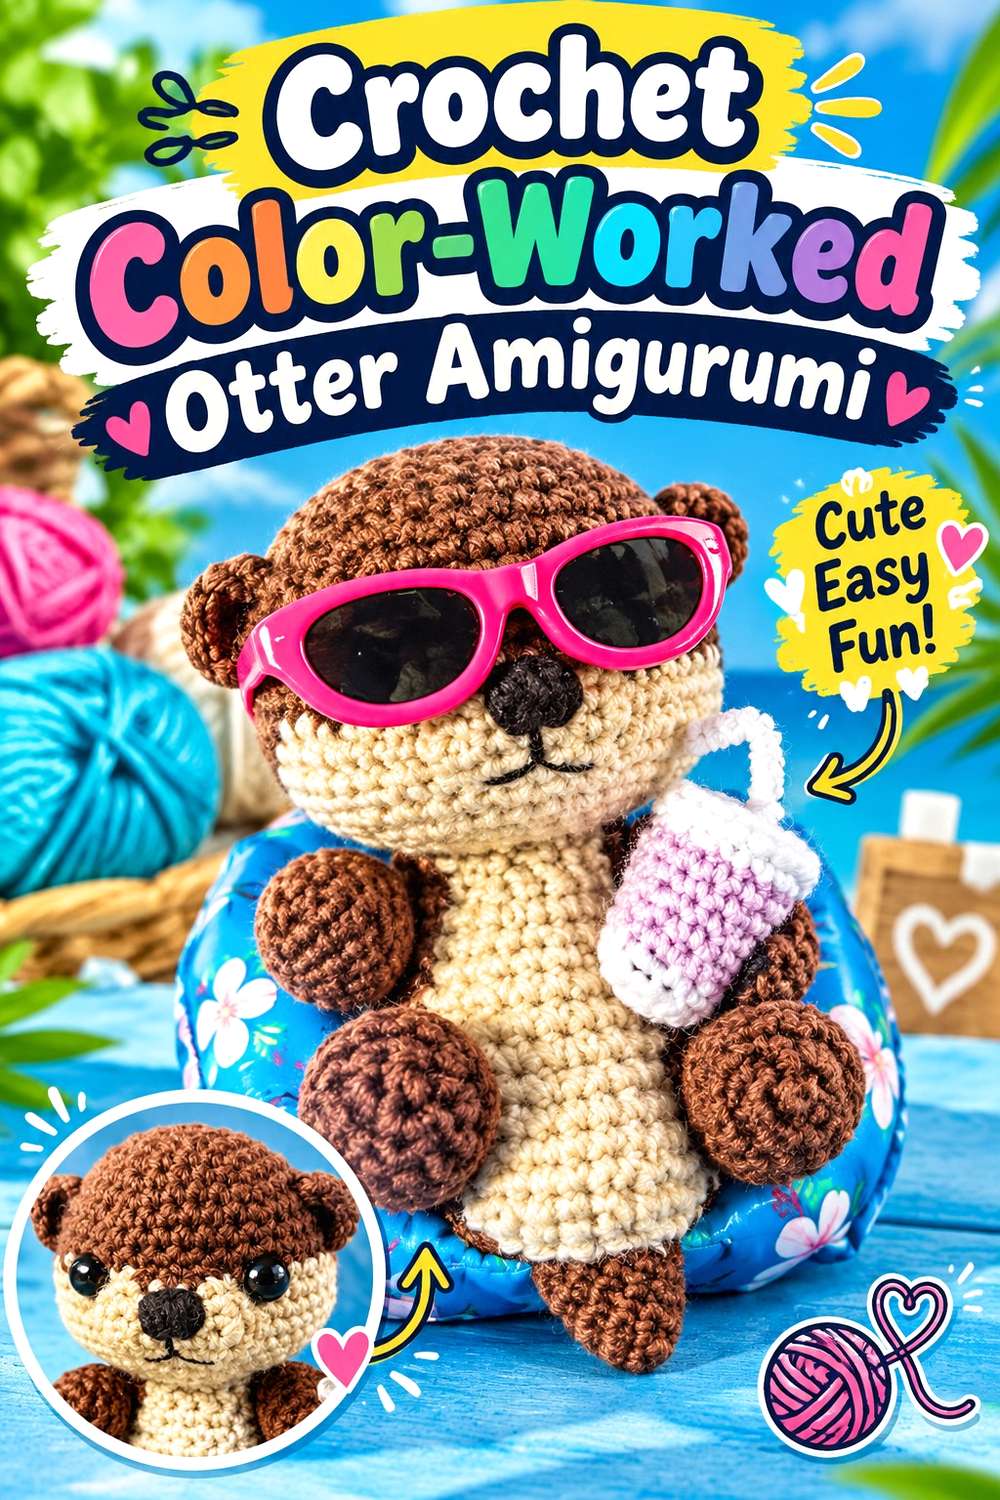
McNocs provides a complete step-by-step crochet otter tutorial and specifically includes guidance for color swapping during the project. That makes the otter a useful bridge between animals defined mainly by silhouette and those where contrasting areas contribute strongly to the finished appearance.
Within a Wilderkind collection, the otter also expands the implied landscape from woodland floor to streams and riverbanks. You do not need to build an entire watery scene for that association to work; simply introducing an animal with a different natural habitat makes the group feel broader. Because the tutorial incorporates planned color changes, consider how much contrast you want before beginning rather than improvising each switch. A subtle combination can produce a quieter figure, while stronger separation can make the shaped areas easier to notice from a distance.
Plan Color Changes as Features, Not Afterthoughts
When a tutorial deliberately includes color swapping, those transitions deserve the same attention as assembly. Prepare the colors you want to use together and compare their contrast before beginning. Changing hue is straightforward stylistically; changing the visual separation between areas can alter how clearly the animal’s shaping appears.
Use the Otter to Broaden the Woodland Story
A Wilderkind collection does not have to be limited to animals found under trees. Adding an otter suggests creeks and river edges, which gives the group a wider sense of habitat. Pairing it near the frog or snail creates a small transition toward wetter environments without needing to add literal scenery.
Creator: McNocs
15. Crochet Woodland Beaver Amigurumi

Crafting at the Poole’s Benjamin the Beaver belongs to a Woodland Amigurumi series and uses the creator’s separate body-base tutorial as part of the construction. The beaver video directs viewers to make that base first, then returns to the species-specific components and assembly.
That dependency is important because the linked beaver video is not completely standalone. In return, the shared-body approach highlights how a few defining components can transform a general plush base into a recognizable woodland animal. For the beaver, the tail is particularly important to the finished silhouette. This makes it a good final project in the collection: after fox tails, deer details, hedgehog texture, bat wings, and snail shells, the beaver demonstrates another way one characteristic shape can carry the species identity.
Complete the Shared Body Base First
Open the linked body tutorial before beginning the beaver-specific video so you understand what must already be prepared. Treat the two videos as one construction path rather than trying to infer the missing base from the later instructions. This is especially important when proportions established in the body need to support the attached animal features.
Keep the Beaver Tail Visible
A beaver can lose much of its recognizable profile when the tail is hidden directly behind the body. If the finished animal will sit on a shelf, test a slight angle so the tail can be seen without turning the face away completely. That one placement decision can make the species easier to identify from a distance.
Creator: Crafting at the Poole
Conclusion
For the strongest Wilderkind effect, choose animals by the feature you want to notice first. The Textured Hedgehog and Chunky Bear emphasize surface, while the Squirrel, Fox, Bat, Ammonite Snail, and Beaver rely heavily on distinctive outlines. The Deer Dolls, Bow-Tied Frog, and Granny Owl lean further into storybook or folk-craft character, while the Rabbit, Mouse, Wolf, Raccoon, and Otter can fill quieter spaces between those stronger shapes.
You do not need all 15 animals in one display. A fox, rabbit, squirrel, owl, and hedgehog already create a clear woodland group; adding the frog, otter, snail, or beaver can extend that setting toward ponds and streams. Use the original tutorials for exact construction details, particularly for the multipart projects and designs with specialized materials.
Frequently Asked Questions
Do Wilderkind crochet animals need realistic colors?
No. The Wilderkind label here describes the woodland-folklore direction of the collection, not a rule requiring naturalistic colors. However, color can contribute to species recognition in tutorials such as the raccoon, wolf, and otter. If you change the palette, pay attention to contrast where the original construction uses separate colors to define parts of the animal rather than assuming every color change is purely decorative.
Which projects rely most on texture rather than color?
The Textured Hedgehog is the clearest example because its raised quill treatment is a defining part of the design. The Chunky Bear also gains much of its visual character from its thicker plush surface, while the Granny Owl introduces layered textile materials. The Ammonite Snail is different again: its coiled shell form provides visual texture through shape rather than relying only on a multicolor palette.
Are all 15 animal tutorials contained in one video each?
No. Several require more than one video. The Fox and Wolf use two-part tutorials; the Squirrel and Mouse are taught through three-part sequences; the Raccoon and Ammonite Snail also span multiple installments. The Beaver additionally relies on a separate shared body-base tutorial before the animal-specific construction. Those dependencies are identified in the individual entries so you can gather the complete sequence before beginning.
Which animals have the strongest silhouette from across a room?
The Bat, Squirrel, Deer, Fox, Ammonite Snail, and Beaver have especially recognizable outer shapes because of wings, tails, antler-related deer form, ears, or the shell. That does not make them inherently better projects, but it can make them useful in a display viewed from farther away. Smaller facial details become more important when you plan to see an animal mostly at close range.
Can I make an animal larger just by switching to thicker yarn and a bigger hook?
Changing yarn and hook size can affect more than overall dimensions. The fabric density, stiffness, facial-component scale, appendage proportions, and amount of stuffing required can all change. Unless the creator specifically provides resizing guidance, it is safer to treat a different material scale as an adaptation rather than a guaranteed proportional enlargement. For a particular finished size, use the source’s stated materials and measurements when those are provided.