Tiny woodland amigurumi gives you plenty of room to experiment with color without needing a large yarn palette. A few carefully placed shades can distinguish a fox’s muzzle, a raccoon’s mask, an owl’s face, or a chipmunk’s stripes while keeping the finished creature readable at a small scale.
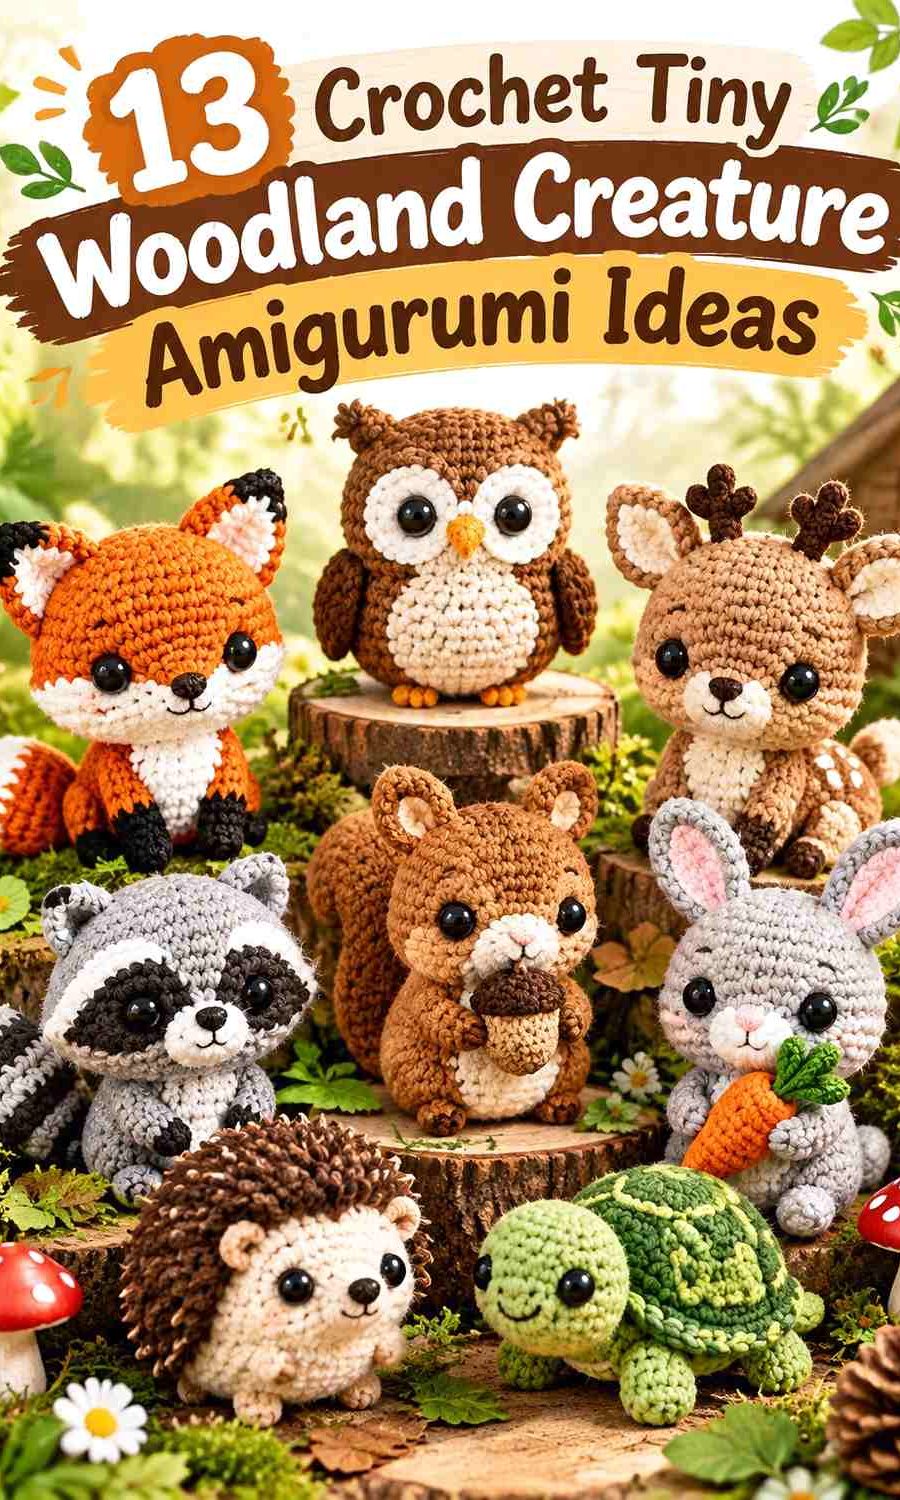
The most effective palettes usually give the body one clear dominant color, then reserve lighter or darker yarn for the features that identify the animal. When every tiny ear, belly, paw, and face marking uses a different shade, the creature can become visually busy very quickly.
These 13 ideas use different woodland animals and color relationships. The credited tutorials support the animal or amigurumi construction concept; the palettes below are independent color adaptations rather than claims about the colors used by each creator.
Quick List
- Rust Orange, Cream, and Dark Brown Crochet Tiny Fox Amigurumi
- Chestnut, Oatmeal, and Soft Gray Crochet Tiny Squirrel Amigurumi
- Mushroom Brown, Beige, and Charcoal Crochet Tiny Hedgehog Amigurumi
- Moss Green, Cream, and Golden Ochre Crochet Tiny Owl Amigurumi
- Warm Taupe, Blush, and Ivory Crochet Tiny Rabbit Amigurumi
- Fawn Brown, Cream, and Cocoa Crochet Tiny Deer Amigurumi
- Forest Brown, Honey, and Cream Crochet Tiny Bear Amigurumi
- Soft Gray, Charcoal, and Ivory Crochet Tiny Raccoon Amigurumi
- Dove Gray, Dusty Pink, and Cream Crochet Tiny Mouse Amigurumi
- Charcoal, Dusty Rose, and Oatmeal Crochet Tiny Mole Amigurumi
- Moss Green, Buttercream, and Rust Crochet Tiny Frog Amigurumi
- Sage, Terracotta, and Cream Crochet Tiny Snail Amigurumi
- Caramel, Espresso, and Ivory Crochet Tiny Chipmunk Amigurumi
Use Strong Color Placement on Tiny Amigurumi Features
Small amigurumi does not give each color much surface area, so placement matters more than the number of shades. A cream muzzle against rust orange can define a fox immediately, while the same cream scattered across feet, tail, ears, belly, and cheeks may weaken that focal point.
Decide first which feature identifies the creature. For a raccoon, it may be the dark facial mask. For a chipmunk, it may be the back stripes. For a hedgehog, the contrast between the face and textured back is especially important. Give the strongest contrast to those recognizable areas.
Check Light and Dark Contrast Before Crocheting Tiny Details
Two different colors can still look almost identical when their lightness is similar. This becomes particularly noticeable on miniature ears, eye patches, belly shapes, and tail markings.
Place the yarns together before starting, or photograph them in grayscale. If an important marking disappears in grayscale, consider choosing a lighter or darker version of one color. You do not need maximum contrast everywhere; save it for features that need to stay readable.
Keep Tiny Woodland Amigurumi Palettes Connected
Repeating a color helps a small creature look intentional. A fox’s cream muzzle can connect to a cream tail tip, while the dark brown nose color can reappear in the feet or ear details. Repetition creates cohesion without requiring extra shades.
If the amigurumi is intended for a very young child, consider the suitability and security of small attached parts. Embroidered facial details may be preferable where detachable components would be inappropriate.
1. Rust Orange, Cream, and Dark Brown Crochet Tiny Fox Amigurumi

Rust orange gives this tiny crochet fox its unmistakable woodland base, while cream can define the muzzle, chest, and tail tip. Dark brown works best as the smallest color, giving ears, nose, paws, or another compact detail enough depth without breaking up the fox’s body into too many dark patches.
Rust Orange Should Dominate the Tiny Crochet Fox Body
Keep rust orange across most of the head and body so the fox silhouette reads clearly before the smaller markings are added. On a tiny amigurumi, changing colors too frequently across the body can interrupt the rounded shape and make the construction look busier.
If you substitute the rust, preserve a warm medium-to-dark orange relationship rather than choosing a very pale peach that becomes too close to the cream.
Cream Makes Rust Orange Fox Muzzle and Tail Details Easier to Read
Use cream where it communicates anatomy: a contrasting muzzle, chest patch, or tail tip can do more than several unrelated cream spots.
Dark brown can then stay concentrated around the smallest facial and ear details. That three-level value structure—rust body, cream highlights, dark brown definition—keeps the fox recognizable even at a compact scale.
Creator Credit: DIY Fluffies
2. Chestnut, Oatmeal, and Soft Gray Crochet Tiny Squirrel Amigurumi
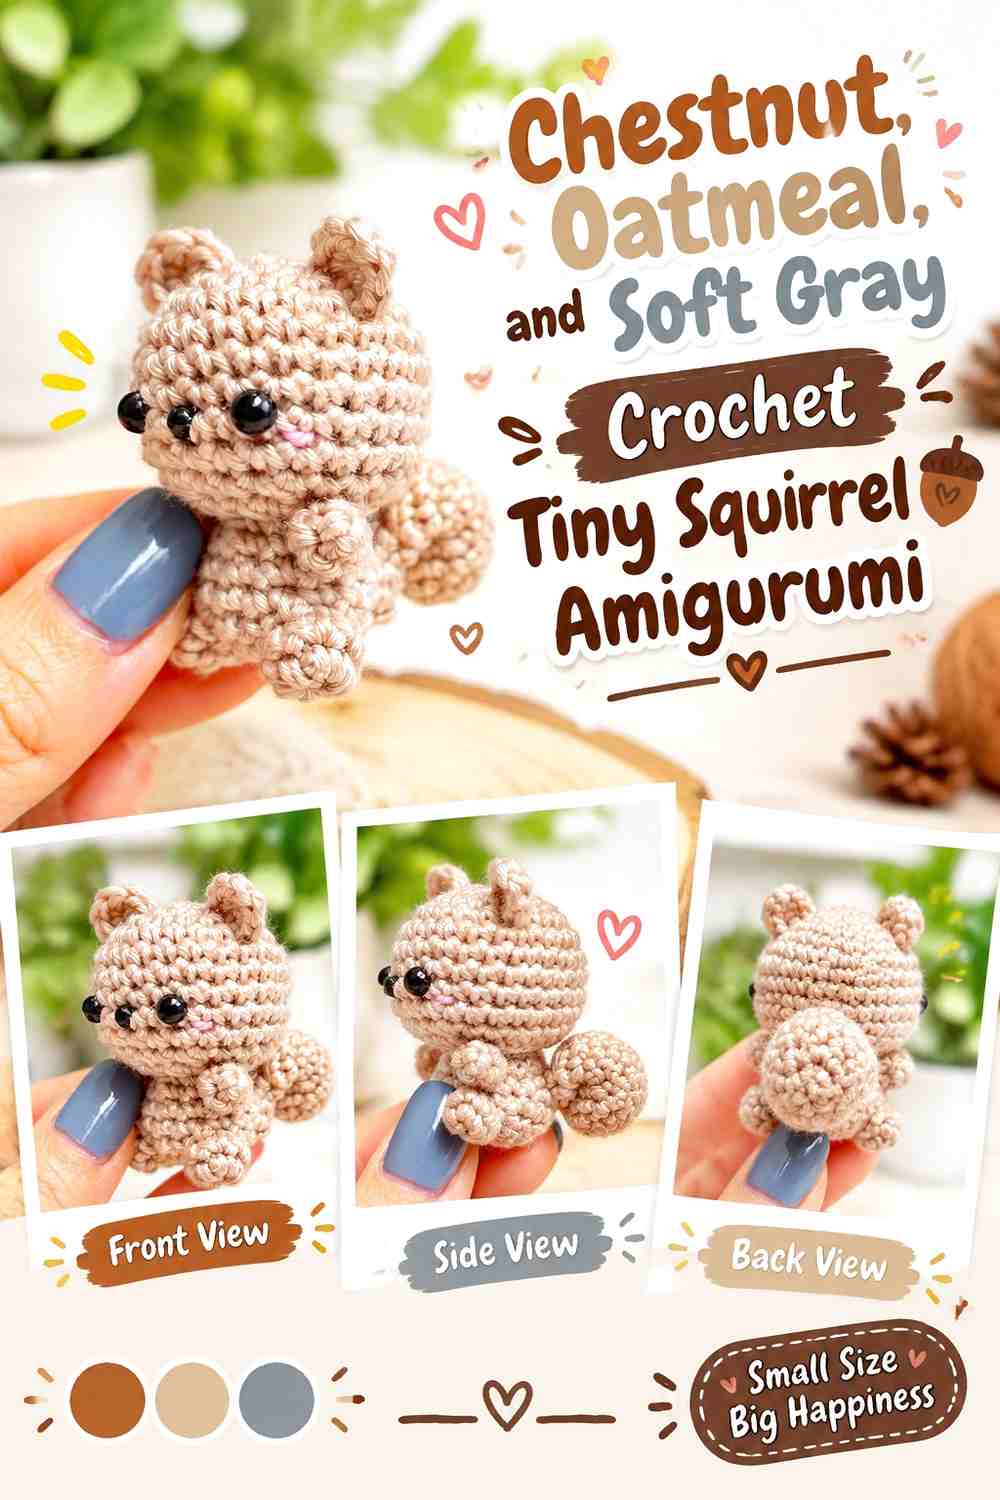
Chestnut can carry the squirrel’s main body and tail, while oatmeal lightens the muzzle or belly. Soft gray gives you an alternative to black for understated paws, nose-area details, or subtle tail definition. This palette works especially well when you want a woodland squirrel without making every feature sharply contrasted.
Chestnut Should Continue Into the Tiny Crochet Squirrel Tail
The tail occupies a large proportion of a squirrel’s visible shape, so keeping chestnut through both body and tail creates continuity. If the tail introduces several new colors, it can start to look detached from the animal.
A small oatmeal section can lighten the underside or face without competing with the tail as the defining feature.
Oatmeal Gives Chestnut Squirrel Features Softer Contrast Than White
Use oatmeal around the muzzle, belly, or inner-ear details when you want separation without a stark light-dark jump.
Soft gray can handle the darkest minor details if pure black feels too strong. Make sure the gray is still visibly darker than oatmeal so tiny facial markings do not disappear.
Creator Credit: Happygurumi
3. Mushroom Brown, Beige, and Charcoal Crochet Tiny Hedgehog Amigurumi
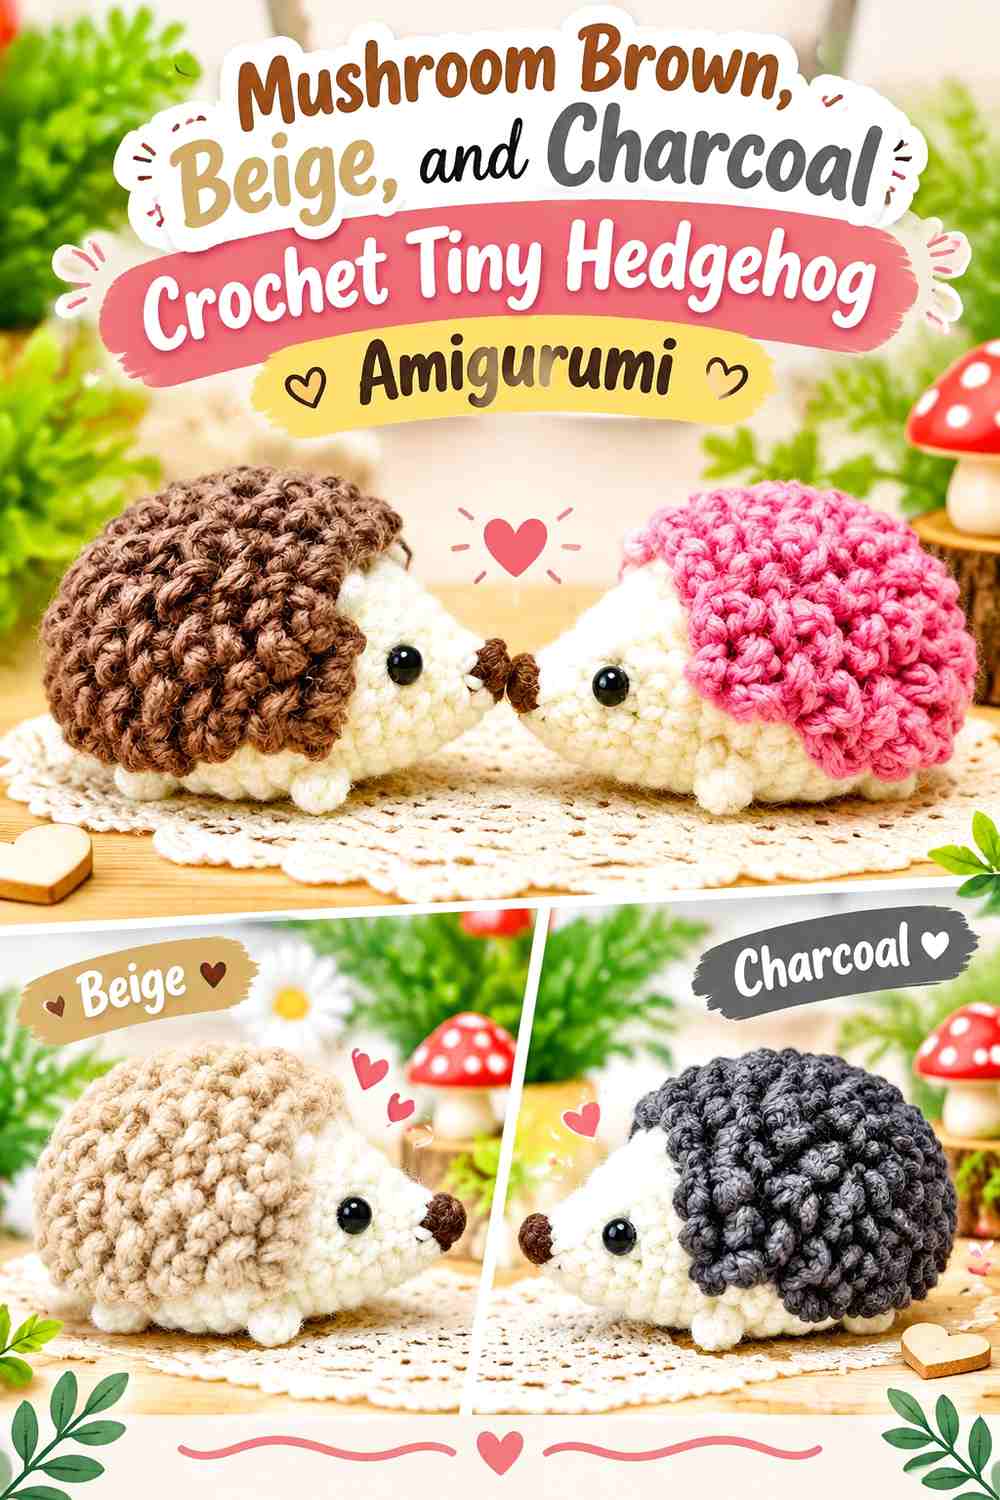
A hedgehog benefits from a clear division between the softer face and the textured back. Mushroom brown can dominate the spiny section, beige can lighten the face and underside, and charcoal can define the nose, paws, or selected darker points.
Mushroom Brown Should Visually Separate the Tiny Crochet Hedgehog Back
Keep the mushroom brown concentrated where the hedgehog’s textured or raised surface appears. This creates an immediate distinction between the back and the smoother beige face.
If the brown and beige are very close in value, choose a slightly deeper mushroom shade instead of adding a completely new color.
Beige Keeps Charcoal Hedgehog Facial Details Visible
A beige face gives charcoal features enough contrast to remain readable at small scale. Reserve charcoal for compact areas rather than spreading it through the entire back, where it could compete with the mushroom brown texture.
This arrangement lets color reinforce the hedgehog’s form instead of simply decorating it.
Creator Credit: Heavenly Crochet Amigurumi
4. Moss Green, Cream, and Golden Ochre Crochet Tiny Owl Amigurumi
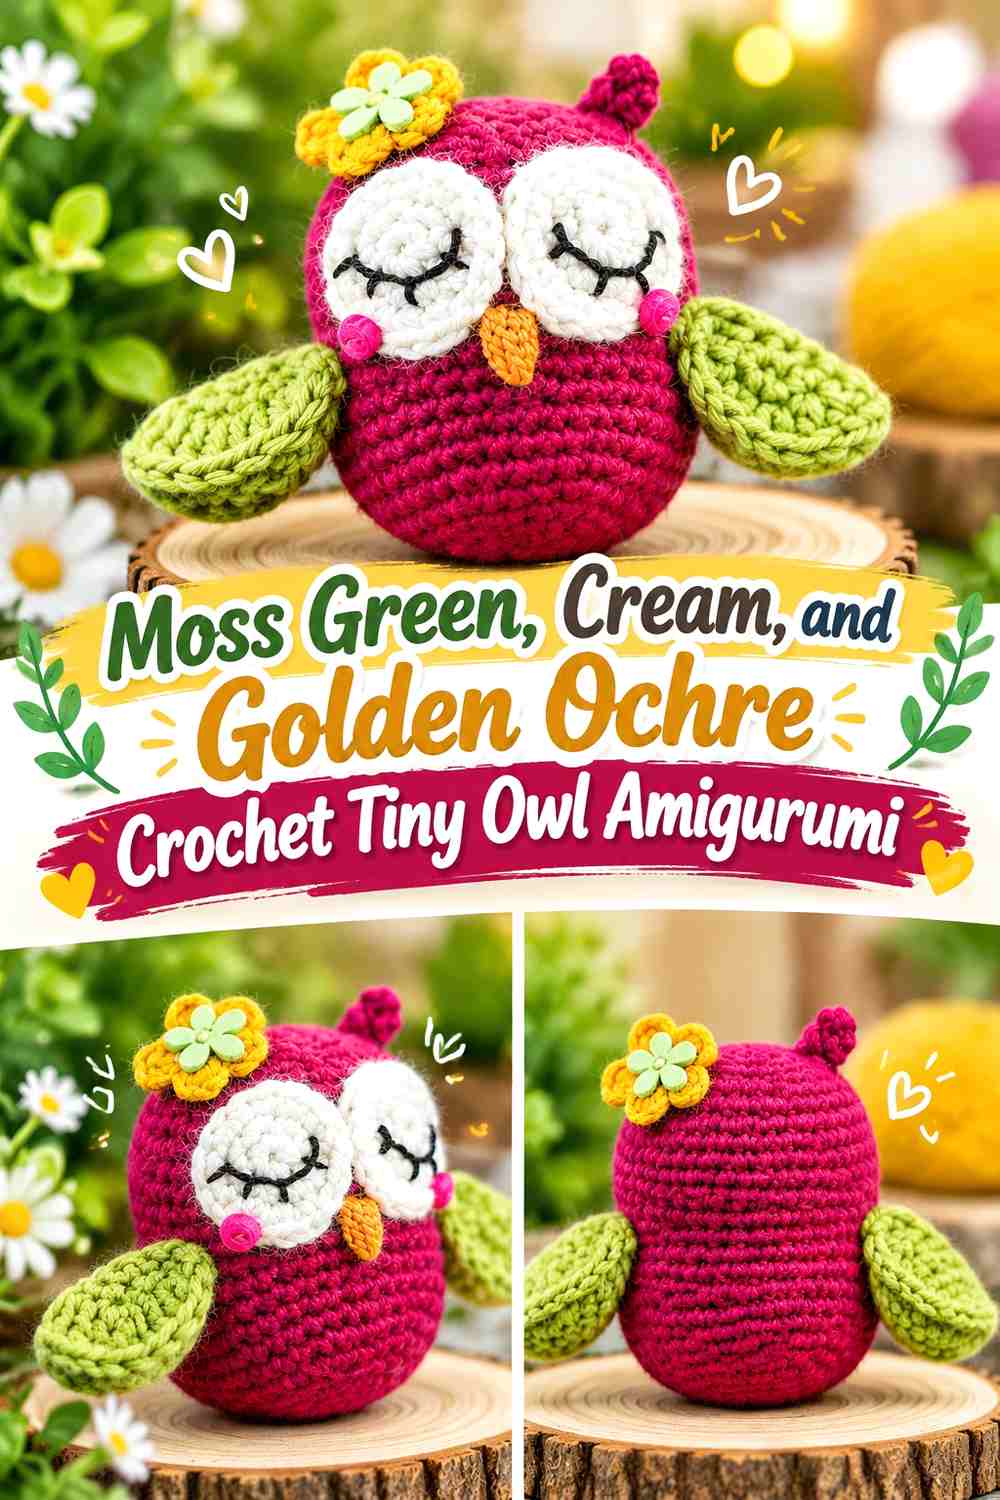
Moss green gives this tiny owl an imaginative woodland direction while still feeling connected to forest colors. Cream can define the large eye areas or chest, and golden ochre can highlight the beak, feet, or small feather details.
Moss Green Works Best as the Tiny Crochet Owl Body Color
Using moss green across the head and body provides a continuous base for the owl’s more detailed face. Because owl eyes naturally attract attention, the body does not need several competing colors.
Keep some uninterrupted green around the cream face pieces so the lighter yarn does not visually consume the entire head.
Cream Makes Moss Green Owl Eyes a Clear Focal Point
Cream is most valuable around the face because the eye area needs to remain distinct from the body. Golden ochre can then appear in the beak or another tiny central detail.
If cream and golden ochre start occupying similar amounts of space, reduce the ochre. The light eye framing should stay more important than the small warm accent.
Creator Credit: Crochetki 88
5. Warm Taupe, Blush, and Ivory Crochet Tiny Rabbit Amigurumi
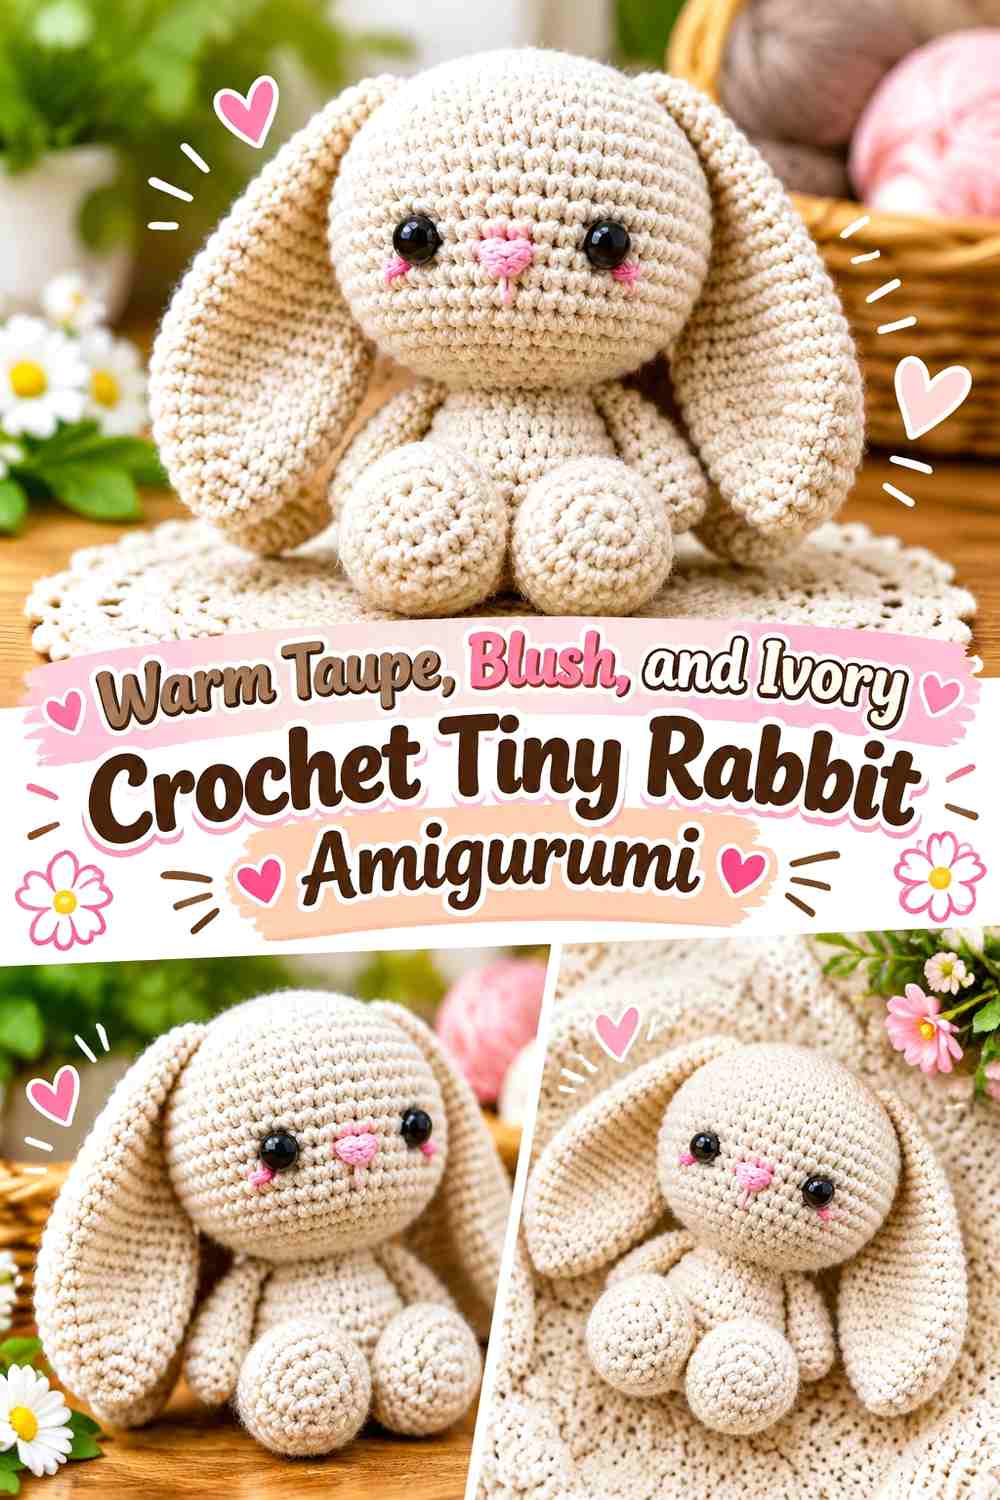
Warm taupe gives the rabbit a quiet neutral body while blush adds controlled color inside the ears or around tiny decorative details. Ivory can brighten the muzzle, tail, or belly without turning the entire rabbit pale.
Warm Taupe Gives the Tiny Crochet Rabbit a Calm Main Surface
Let taupe cover the head, body, and most of the ears. A consistent body color helps long ears remain visually connected to the smaller torso instead of appearing like separate decorative pieces.
If you choose a lighter taupe, ensure ivory still creates enough contrast to show any belly or muzzle detail.
Blush Should Stay Inside Small Taupe Rabbit Details
Blush is most effective when it appears in limited areas such as inner ears or cheeks. Because the rabbit is tiny, even small pink sections can become noticeable.
Ivory can balance the palette on the tail or muzzle, creating a second light point without forcing blush into every feature.
Creator Credit: Odinka Wisanindhi
6. Fawn Brown, Cream, and Cocoa Crochet Tiny Deer Amigurumi
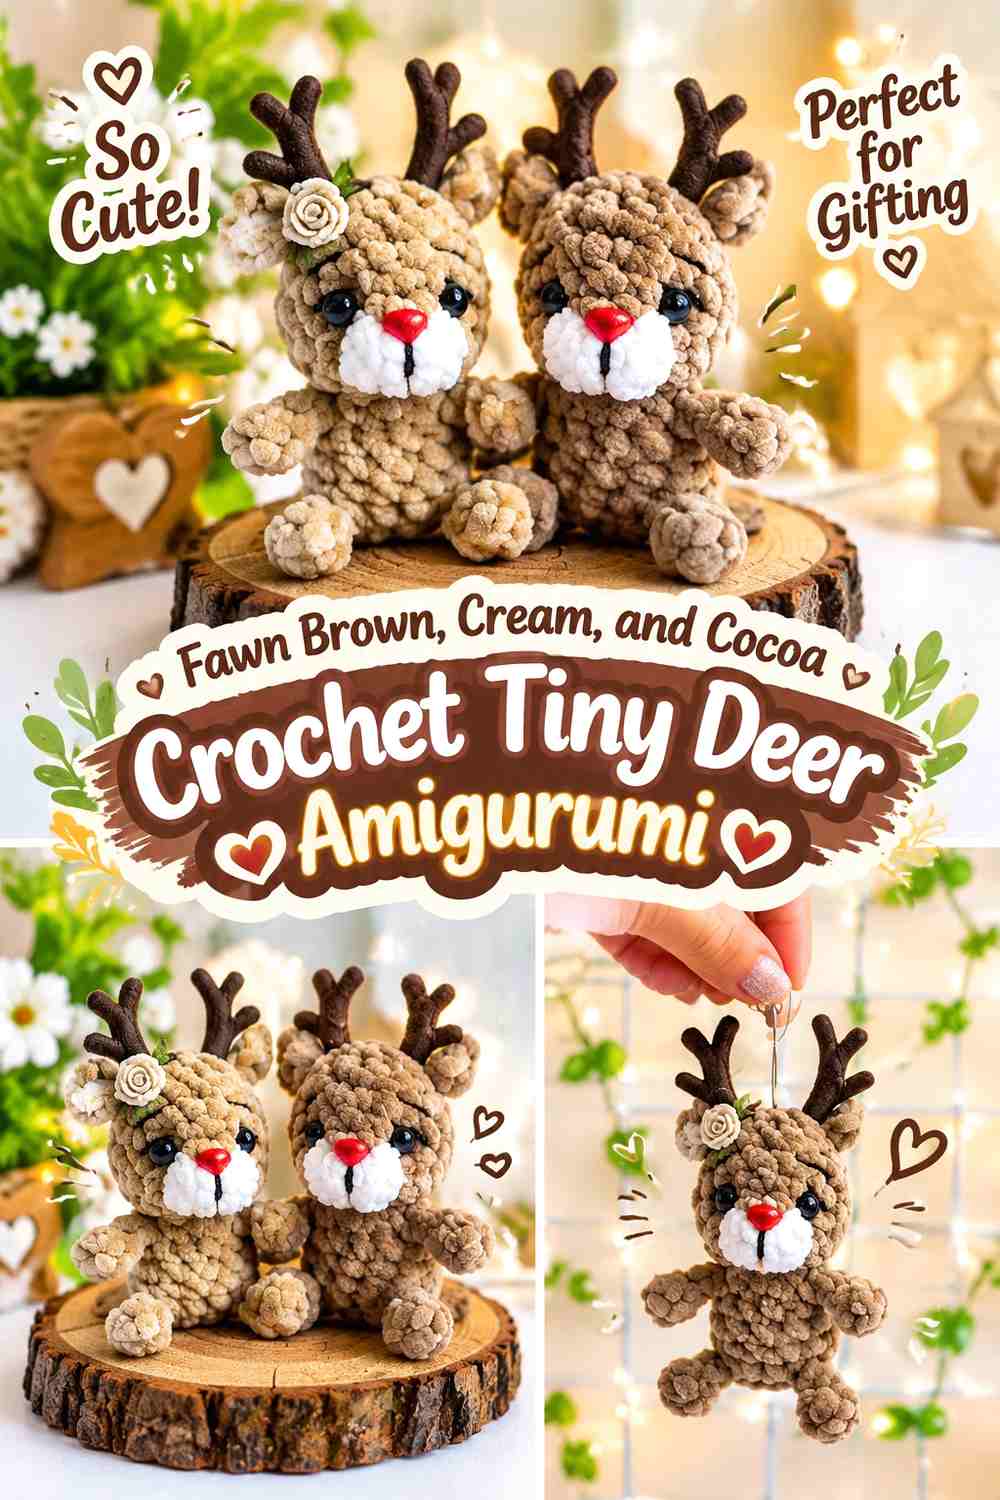
Fawn brown naturally suits the largest sections of a woodland deer, while cream can brighten the muzzle, belly, tail, or small spots. Cocoa supplies the darkest value for hooves, nose, or antler-related details when those features are part of the chosen construction.
Fawn Brown Should Carry Most of the Tiny Crochet Deer Shape
Use fawn brown continuously across the head and body so long legs, ears, and other narrow pieces do not become fragmented by unnecessary color changes.
Cream should remain a supporting shade. A few well-placed light markings usually communicate the deer palette more clearly than covering every limb in multiple colors.
Cream Spots Need Enough Contrast Against Fawn Brown
If you add cream markings, test them against the fawn brown before attaching or embroidering several. Tiny spots can disappear quickly if the two yarns are similar in value.
Cocoa gives you a useful dark anchor around small facial or foot details and keeps the cream from becoming the only contrasting element.
Creator Credit: Amigurumi fairyland
7. Forest Brown, Honey, and Cream Crochet Tiny Bear Amigurumi

Forest brown gives the bear a deep woodland base, honey adds a warmer middle value, and cream works well for the muzzle or another small facial area. This palette creates more depth than a single brown while avoiding unnecessary multicolor patchwork.
Forest Brown Can Anchor the Tiny Crochet Bear Body
Use forest brown over most of the body so the bear maintains a clear rounded silhouette. Honey can appear around the ears or paws, but it should not divide the torso into equal color blocks unless that effect is intentional.
The darker base also gives a small cream muzzle stronger separation.
Cream Keeps Forest Brown Bear Facial Features From Disappearing
A light muzzle gives the nose and mouth area visual space. If the bear uses very dark yarn throughout the face, tiny embroidered details can become difficult to distinguish.
Honey can bridge the gap between forest brown and cream in ears or other small areas, keeping the three-color palette connected.
Creator Credit: Little World of Whimsy
8. Soft Gray, Charcoal, and Ivory Crochet Tiny Raccoon Amigurumi
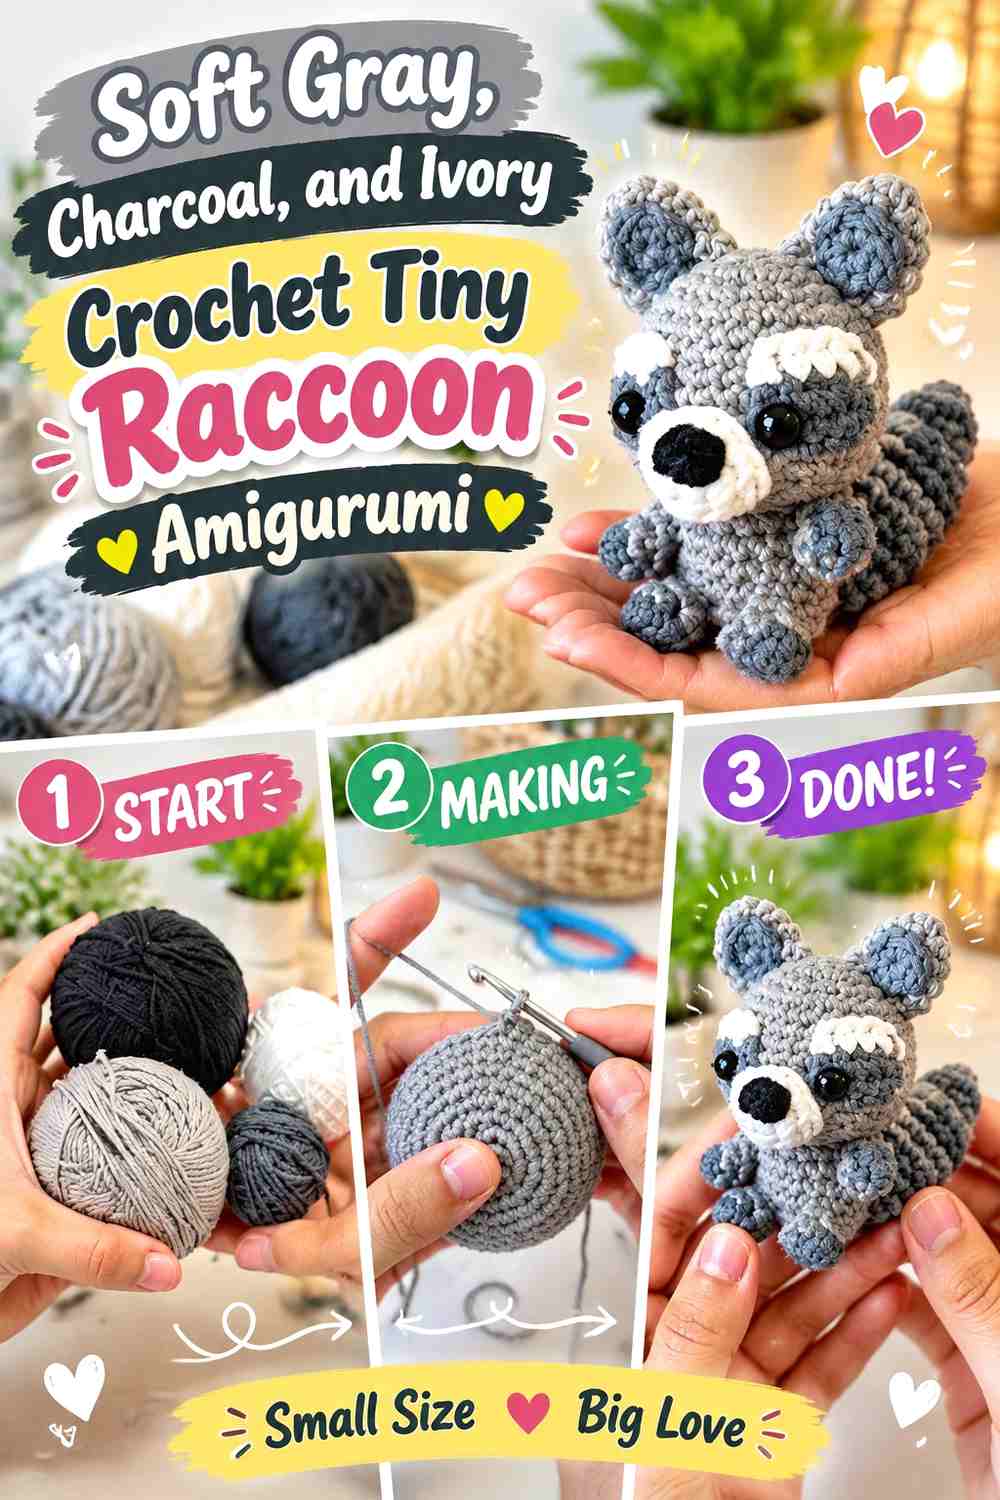
Raccoons depend heavily on recognizable markings, so color placement matters more here than on many solid-colored creatures. Soft gray can form the body, charcoal can define the facial mask and tail rings, and ivory can lighten the muzzle or another small face section.
Charcoal Should Clearly Define the Soft Gray Raccoon Mask
Keep enough charcoal around the eyes for the mask to remain recognizable, but avoid letting it spread so widely that the entire face becomes one dark area.
Soft gray surrounding the mask provides the separation needed to preserve its shape.
Ivory Can Separate Charcoal Raccoon Details Around the Tiny Face
An ivory muzzle or central face area can keep charcoal markings from running together visually. On very small amigurumi, this light break can be particularly useful around the nose.
Repeat charcoal in the tail or another identifying marking so the dark mask does not look like an isolated color choice.
Creator Credit: Addha Amigurumis
9. Dove Gray, Dusty Pink, and Cream Crochet Tiny Mouse Amigurumi
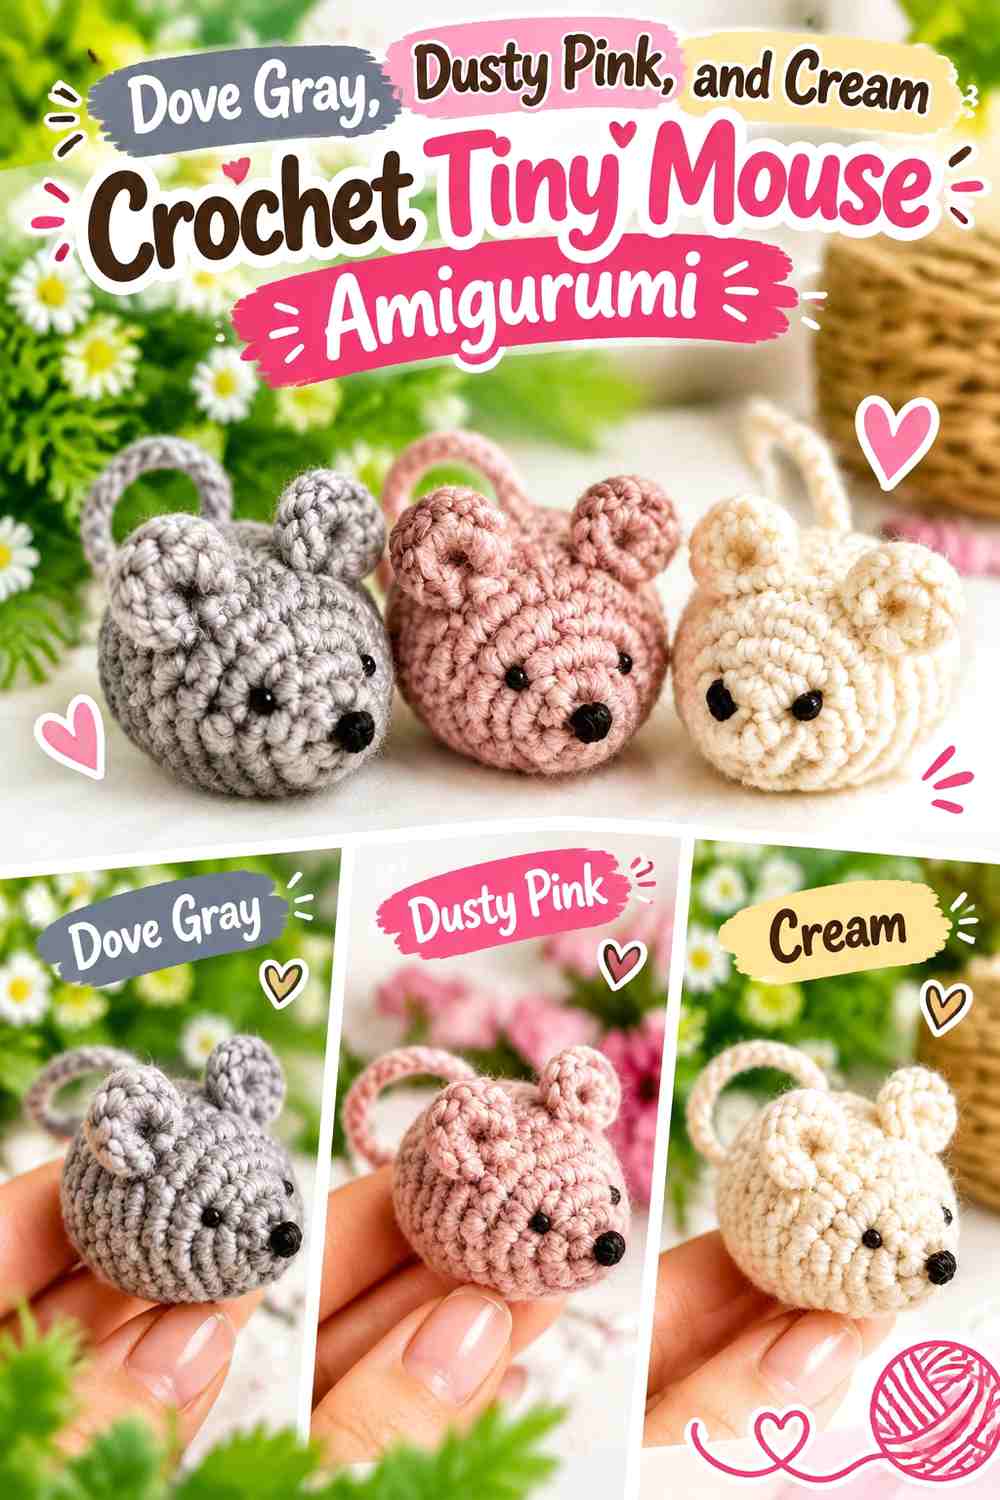
Dove gray creates a soft body color, dusty pink naturally fits tiny ears, paws, or a tail accent, and cream provides a lighter belly or muzzle option. Because the mouse has several delicate features, restraint keeps the finished piece readable.
Dove Gray Should Remain Continuous Across the Tiny Crochet Mouse Body
Keeping the body mostly gray allows the ears and tail to stand out through shape before color is even considered. Too many body color changes can make a very small mouse look visually fragmented.
Cream can be limited to one light focal area if you want the mouse to remain primarily gray.
Dusty Pink Works Best on Small Dove Gray Mouse Features
Use dusty pink in the ears, tail, or another compact detail rather than covering broad sections of the body.
If the pink is extremely pale, compare it directly with cream. The two accents should either be intentionally tonal or different enough that tiny neighboring details do not merge.
Creator Credit: Amigurumi_Joys
10. Charcoal, Dusty Rose, and Oatmeal Crochet Tiny Mole Amigurumi

Charcoal provides a convincing dark base for this tiny mole, while oatmeal can lighten the snout and dusty rose can pick out paws, nose-area details, or another small soft accent. Because the body is already dark, the lighter colors should concentrate around the features that would otherwise disappear.
Charcoal Should Dominate the Tiny Crochet Mole Body
Keep charcoal uninterrupted across most of the head and torso so the unusual mole silhouette remains the main visual information.
Adding several pale patches to a tiny dark body can quickly make the animal look spotted rather than naturally shaded.
Oatmeal and Dusty Rose Can Reveal Charcoal Mole Details
Oatmeal works well where you need the strongest separation, such as a small muzzle or face area. Dusty rose can then occupy an even smaller amount of space around paws or a nose accent.
If the rose is too dark, it may disappear into charcoal. Choose enough value difference that the tiny detail remains visible.
Creator Credit: Miniature Crochet
11. Moss Green, Buttercream, and Rust Crochet Tiny Frog Amigurumi
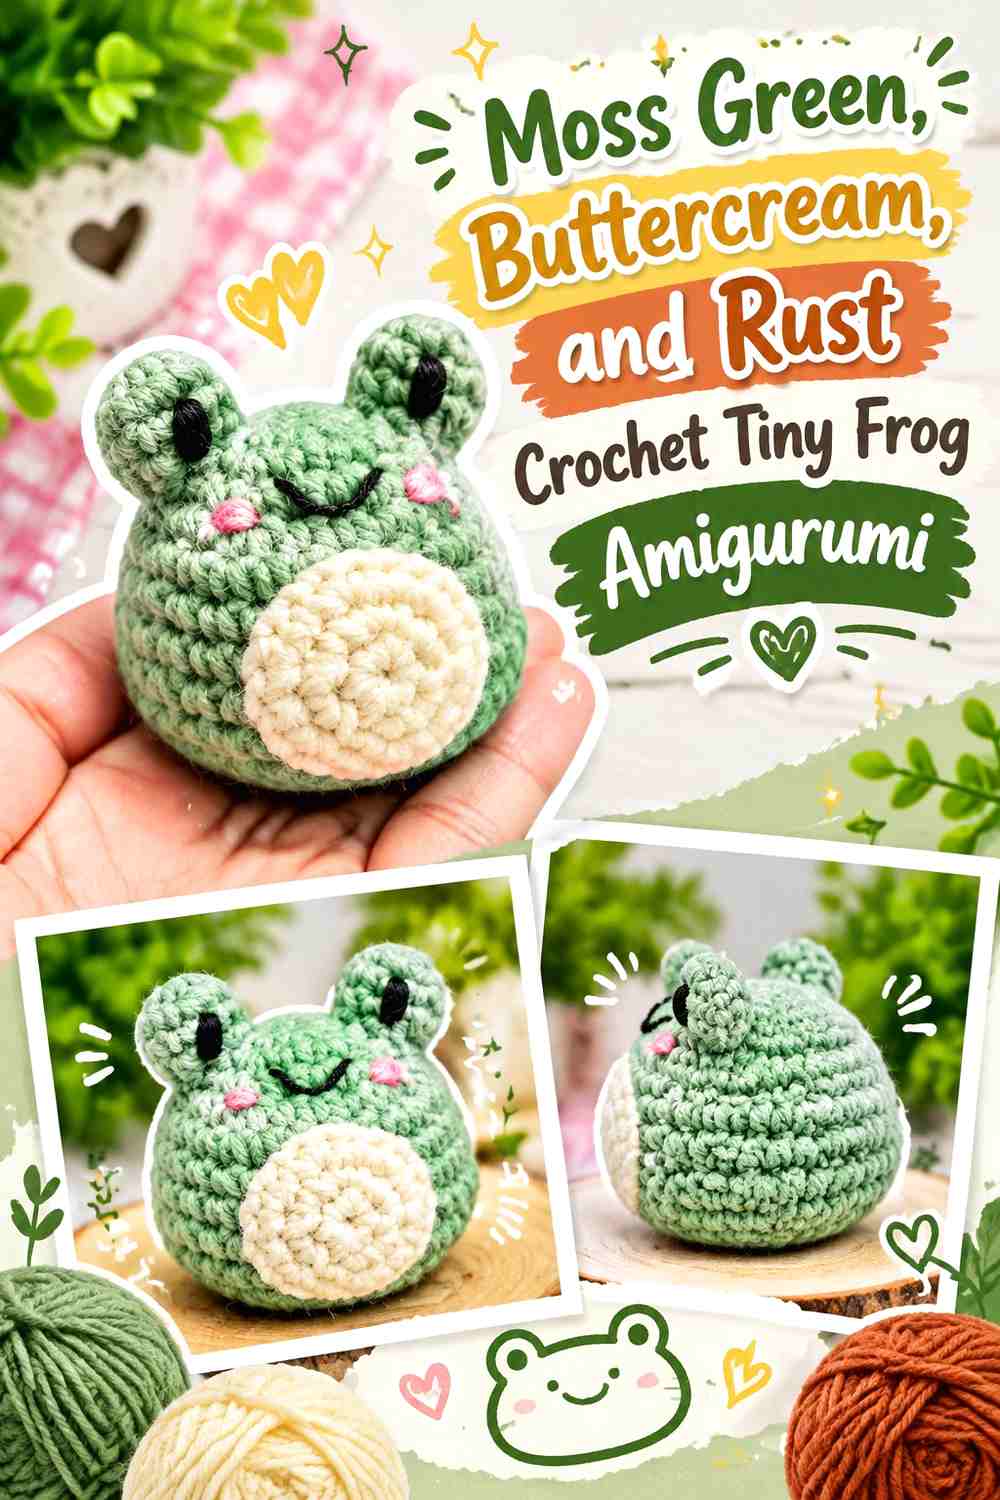
Moss green gives the frog a woodland rather than tropical direction. Buttercream can lighten the belly or eye area, while rust provides a small warm counterpoint for cheeks or another decorative detail.
Moss Green Should Cover Most of the Tiny Crochet Frog
Let green remain continuous around the head and body so the frog’s rounded form stays easy to identify. Buttercream works better as a controlled contrast than as a second equal body color.
This is particularly helpful around raised or protruding eye areas, where too many colors can make the face visually complicated.
Buttercream Keeps Rust Accents Clear Against Moss Green
Buttercream can separate the green body from a small rust detail, especially if rust and moss are similarly dark.
Treat rust as an accent rather than another major section. A small amount can warm the palette without turning the frog into a three-way competition between equally strong colors.
Creator Credit: pitachan
12. Sage, Terracotta, and Cream Crochet Tiny Snail Amigurumi

A snail gives you a natural opportunity to split the palette between the body and shell. Sage can cover the body, terracotta can dominate the shell, and cream can provide a spiral highlight or small facial detail.
Terracotta Should Make the Tiny Crochet Snail Shell the Main Accent
Because the shell is the snail’s strongest visual feature, giving it the warmest color makes the shape immediately noticeable.
Keep enough terracotta uninterrupted for the shell silhouette to remain clear instead of breaking it into many small stripes.
Cream Can Separate Terracotta Shell Details From the Sage Body
Use cream sparingly in a shell spiral, edging concept, or another small detail when sage and terracotta need additional separation.
If you substitute the sage, keep it noticeably different from terracotta in both hue and value so the shell does not merge into the body.
Creator Credit: Cuddly Stitches Craft
13. Caramel, Espresso, and Ivory Crochet Tiny Chipmunk Amigurumi
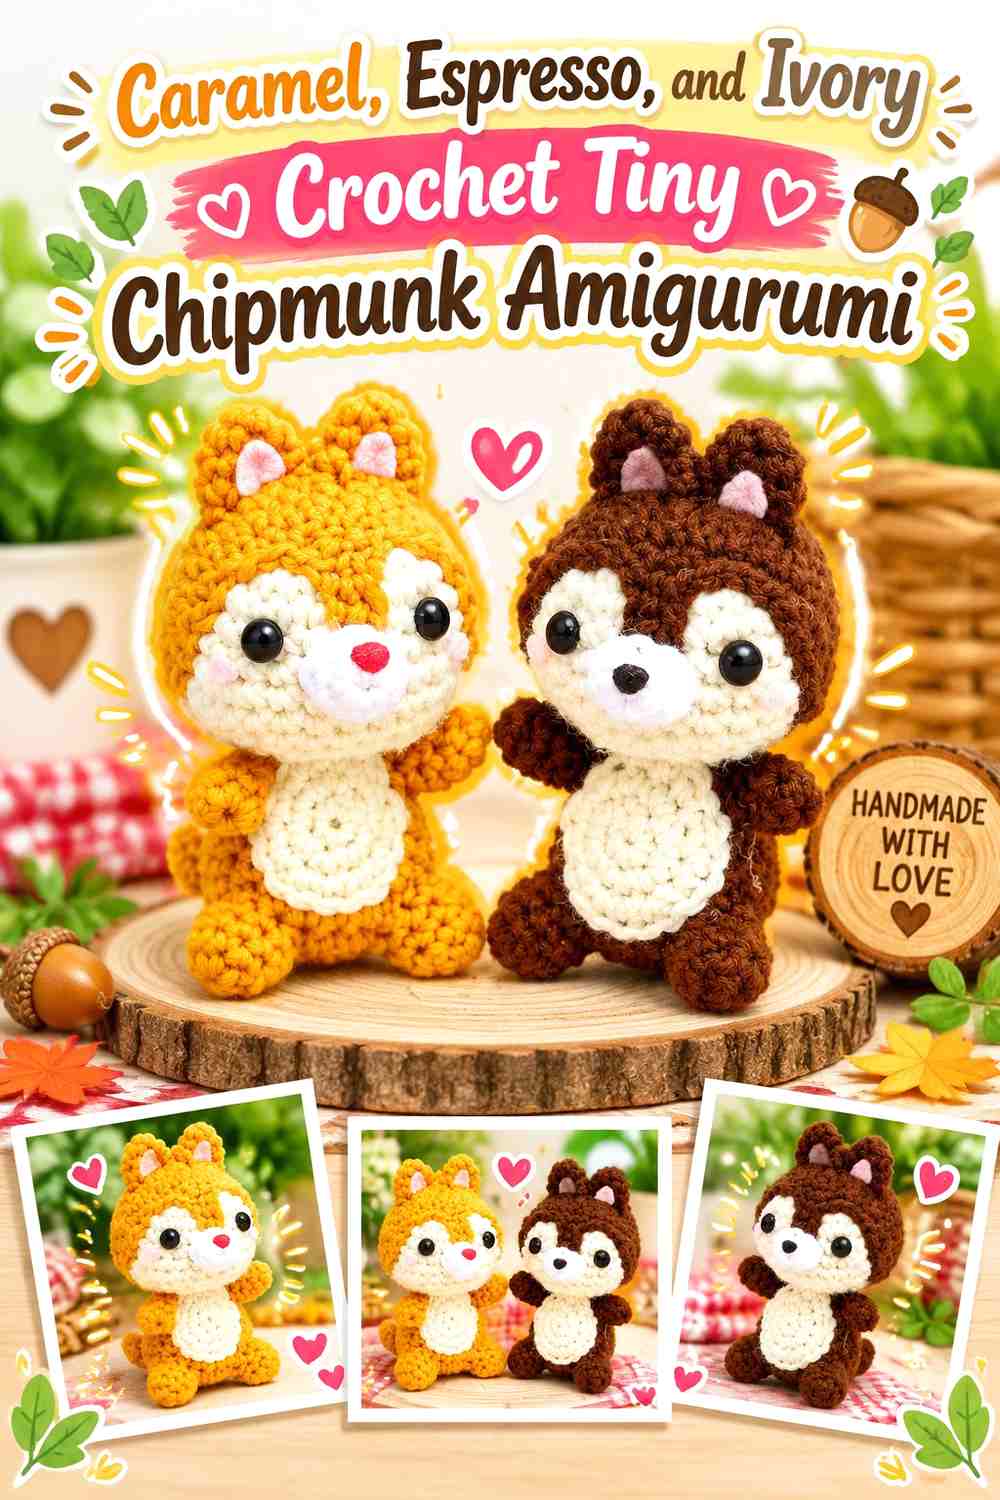
Caramel gives the tiny chipmunk its main warm body color, espresso provides dark stripes and other defining markings, and ivory creates the light stripe or belly contrast. This palette depends on controlled repetition because the back pattern can become crowded quickly at miniature scale.
Espresso Should Define the Caramel Chipmunk Stripes Clearly
Use espresso where the chipmunk needs its darkest identifying marks and keep the surrounding caramel sections visible. If the dark stripes become too wide, they can overwhelm the small back and make caramel feel like the accent instead of the body color.
Ivory Keeps Espresso Stripes Separate on a Caramel Chipmunk
Ivory can sit beside or between darker markings when additional separation is needed. Its light value prevents neighboring espresso details from turning into one large dark block.
Repeat a small amount of ivory on the belly or muzzle if you want the stripe color to feel connected to the front of the amigurumi.
Creator Credit: Ami Amour
Which Tiny Woodland Amigurumi Color Palette Should You Choose?
For classic woodland colors, the rust fox, chestnut squirrel, fawn deer, forest-brown bear, and caramel chipmunk keep recognizable animal markings while leaving enough room for small neutral accents.
For softer colors, try the taupe-and-blush rabbit, dove-gray mouse, or sage-and-terracotta snail. These palettes use muted hues but still protect important features through light and dark contrast.
If you want something less literal, the moss-green owl and moss-green frog show how an imaginative color can still feel woodland-inspired when cream, ochre, rust, or another earthy supporting color keeps the palette grounded.
Conclusion
Tiny woodland amigurumi benefits from simple color hierarchy. Start with one dominant body shade, identify the feature that makes the animal immediately recognizable, and give that feature the strongest useful contrast. A fox needs its muzzle and tail markings to stay visible, a raccoon benefits from a defined mask, and a chipmunk needs clear stripes.
Before committing to several tiny color changes, compare the yarns together and check whether each additional shade adds useful definition. Often, three colors are enough: one for the body, one lighter supporting shade, and one darker or warmer accent.
Use the credited tutorials for their exact crochet construction, then adapt the palettes independently to create a coordinated woodland collection.
Frequently Asked Questions
How many colors should I use for tiny woodland crochet amigurumi?
Two or three colors are enough for many tiny animals. One can dominate the body, while a lighter or darker shade defines identifying features such as the muzzle, belly, mask, tail, or stripes.
How can I make tiny amigurumi facial details easier to see?
Increase the light/dark contrast around the face rather than adding more colors. A light muzzle on a dark body or a dark mask against a medium body usually provides clearer separation than several similar mid-value shades.
Can I use non-natural colors for woodland creature amigurumi?
Yes. Moss green owls, lavender rabbits, muted blue bears, or other imaginative palettes can still read clearly as woodland animals when the creature’s important markings and body shapes remain distinct.
How can I tell whether two amigurumi yarn colors are too similar?
Place them side by side and view them from farther away. You can also photograph them in grayscale. If two important areas become almost indistinguishable, increasing the value difference may improve the finished amigurumi.
Which colors should I use for the smallest crochet details?
Small details generally benefit from stronger contrast because they occupy so little surface area. Dark brown, charcoal, cream, or another clearly lighter or darker palette shade can work well for noses, paws, stripes, eye patches, and tiny markings.
How do I keep a set of woodland amigurumi creatures coordinated?
Repeat a few color families across different animals rather than giving every creature an unrelated palette. Cream, oatmeal, brown, moss, rust, sage, and charcoal can recur in different roles while each animal still has its own dominant color.
Should I use safety eyes on tiny woodland amigurumi for children?
Consider the intended recipient and whether small attached components are appropriate. For items intended for very young children, embroidered facial features may be a more suitable option than detachable small parts.